RX-Tech Mines - Square Corridor Around Elevator Shaft
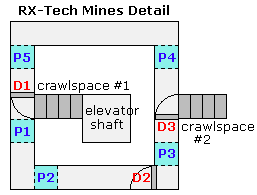
In addition to the screenshots below, you may find this diagram useful.
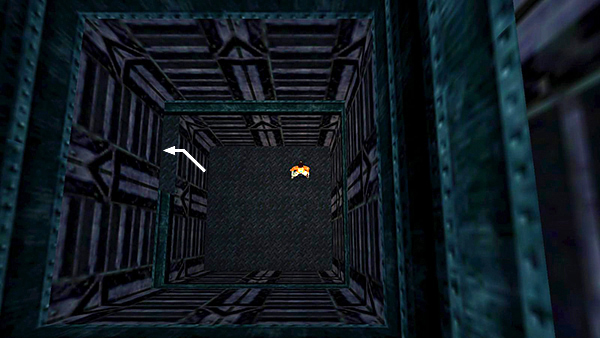
From the starting position, turn right and pull up into a crawlspace.
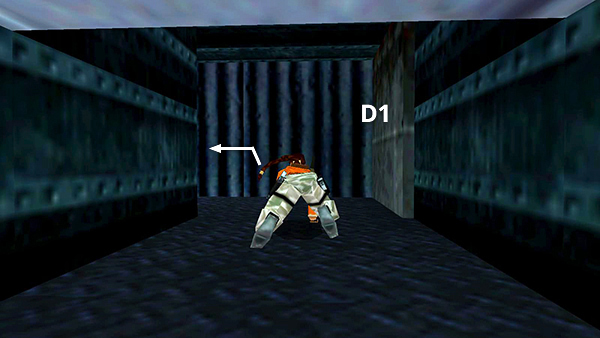
Crawl through until Lara can stand. The first of 3 automatic doors is on your right. This door is labeled D1 on the diagram. Head to the left.
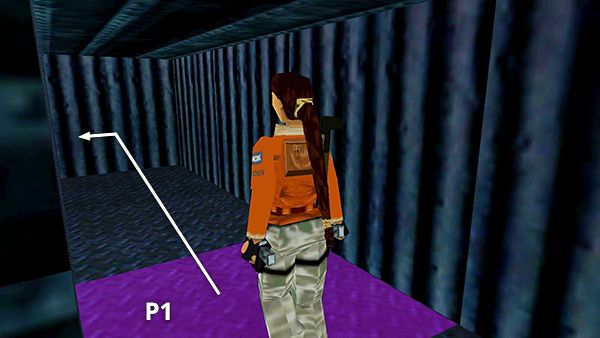
When you step on an invisible pressure pad in the floor (P1), highlighted in the screenshot above, you'll hear a door closing elsewhere. That's the door on the far side of the square hallway (D3). Go forward to the corner and turn left.
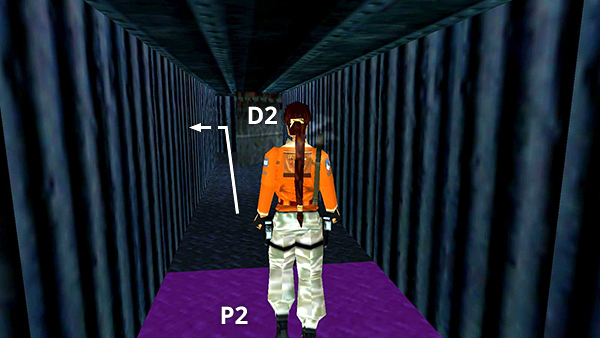
As you step onto a second invisible pressure pad (P2), the door ahead (D2) opens. Continue forward and around the next corner.
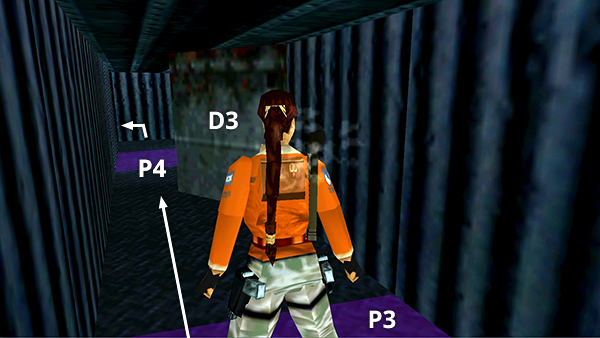
When you step onto a third invisible pressure pad (P3), the next door ahead (D3) opens. When this door opens it blocks a second crawlspace on the right wall. When you pass the door and step on the fourth invisible pressure pad (P4), the second door (D2) closes. Continue around the corner...
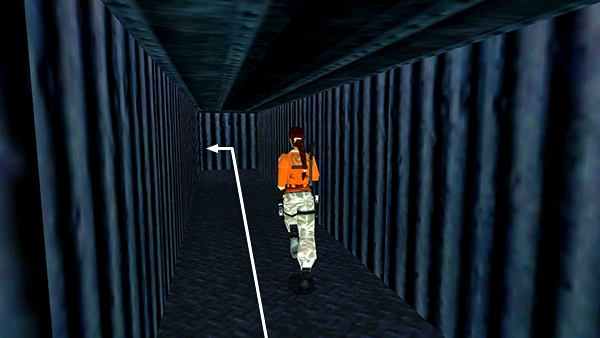
...along the straight section of hallway with no doors, and around the next corner.
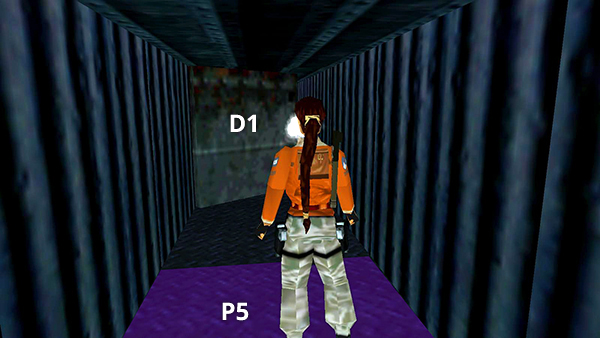
As you round the corner to arrive back at the start, you'll step on yet another pressure pad (P5). This opens the first door (D1) directly ahead of you, covering the first crawlspace.
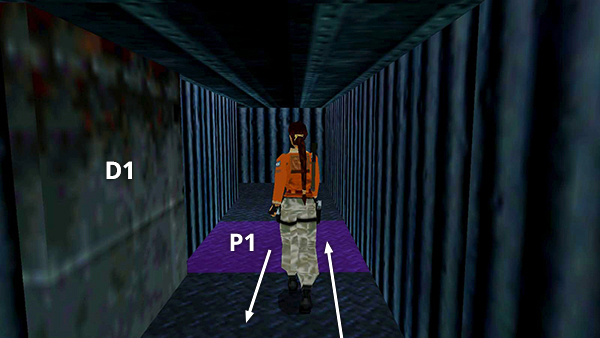
Walk past the open door onto the first pressure pad (P1). This is the same one you stepped on earlier when you emerged from the first crawlspace. You'll hear the third door (D3) close again. Turn around and follow the hallway...
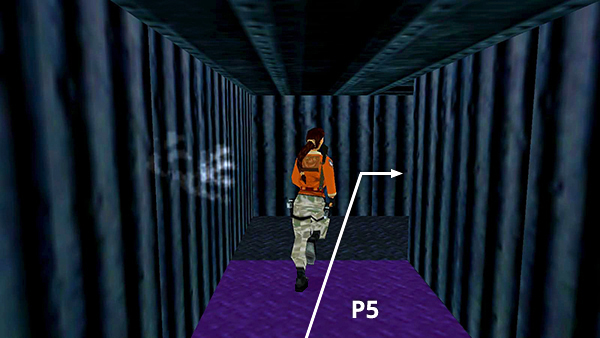
...back around to the right. (Stepping on P5 has no effect this time.)
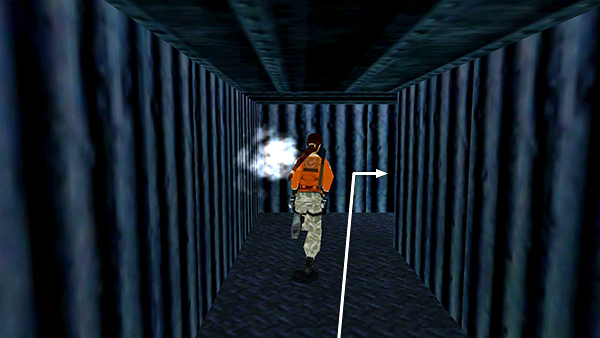
Continue along the section with no doors and turn right again at the next corner.
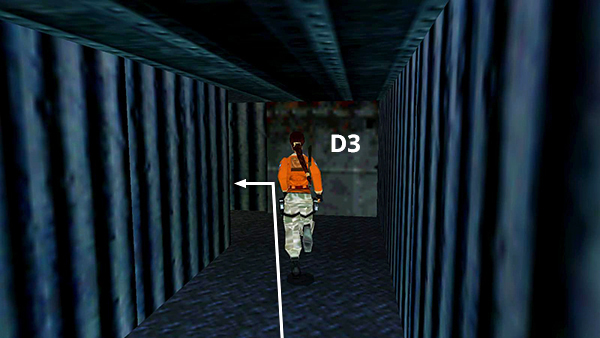
When you reach the next door (D3), it will be closed, allowing you to access the crawlspace on the left.
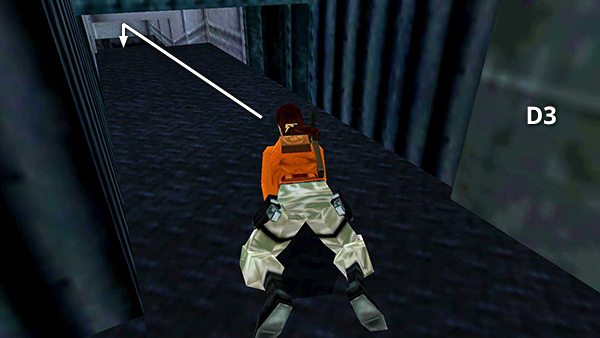
Follow the crawlspace to a hole in the floor. It's a long way down, so back up to the edge...
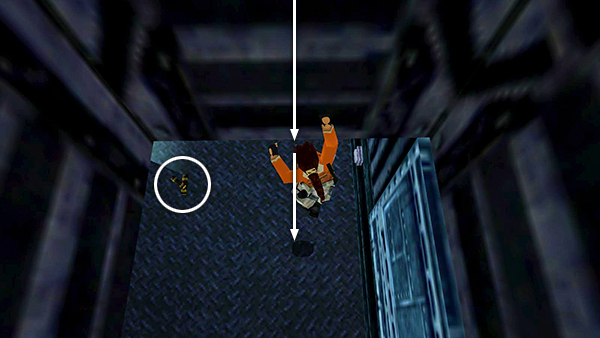
...climb down the ladder, and drop into the room below, where you'll find some MP5 clips.
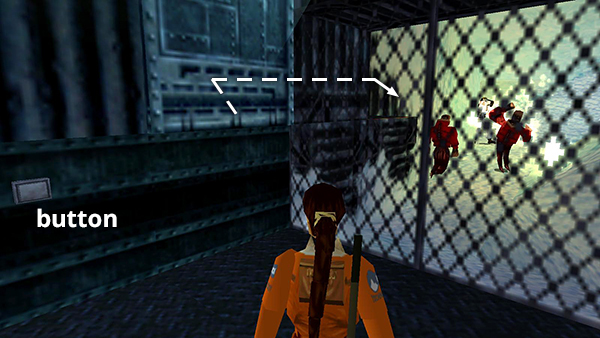
Watch through the fence as a man in a white suit carrying a flamethrower euthanizes a couple of mutants. Then press the button to open the door and go outside.
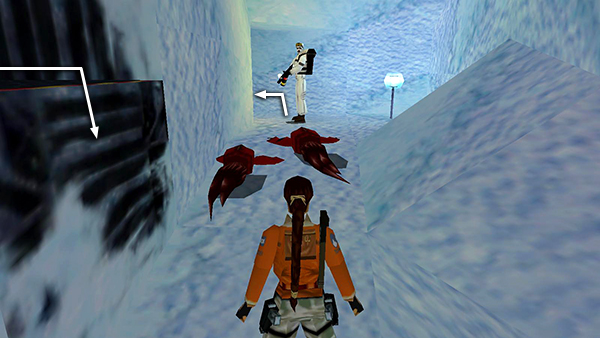
Head around the corner...
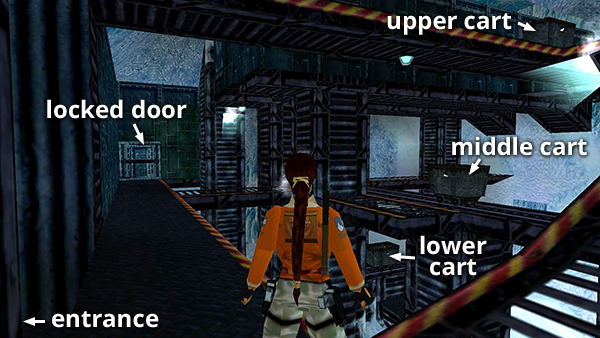
...to the MINE CART JUNCTION where several tracks converge.
Copyright © 1998- - Stellalune (
). All rights reserved. Feel free to copy or print this walkthrough for personal use. By all means, share it with friends, but please include this credit line so people can send me their feedback. No part of this walkthrough may be reproduced on another site without permission. Follow this link for details about this site's advertising and privacy policy.