RX-Tech Mines - Pool with Winch and Yellow Submersible (part 1)
If you have trouble during the following sequence, try using the exposure meter bug (i.e., save in a new slot and reload to reset the exposure meter). Just be sure you don't accidentally save as Lara is about to freeze or drown!
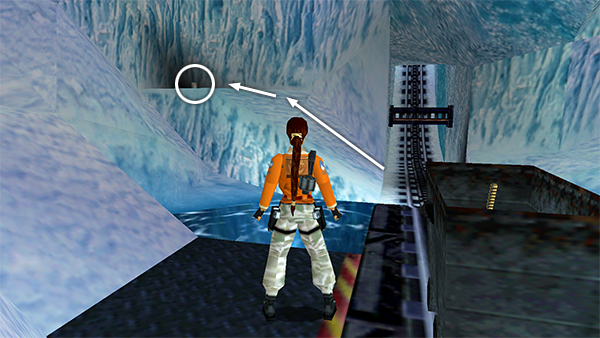
Pick up the flares on the snowbank ahead on the left.
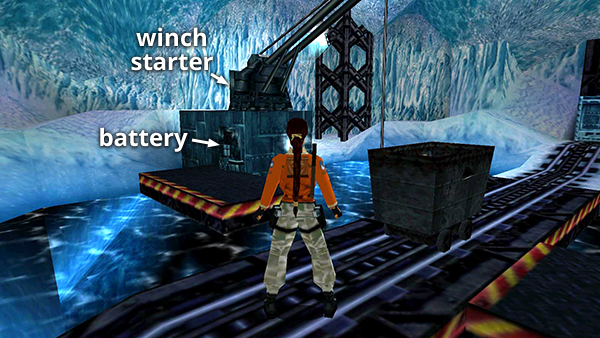
Jump over to the WINCH. Place the LEAD ACID BATTERY in the opening on the side. Climb onto the upper platform and use the WINCH STARTER to get it going. The order in which you use the two items doesn't matter.
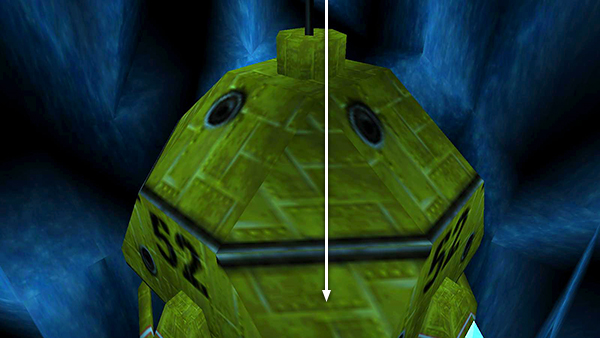
Once you've used both items, the winch activates, lowering the yellow submersible farther into the pool and also opening a door on the wall of the pool below it.
NOTES: If you're missing the battery or the winch starter, you'll need to retrieve them now. You can also go back for the first 2 secrets. See this separate page for details.

Now comes the hard part: a long swim through freezing water. While standing on the winch platform near the starter handle...
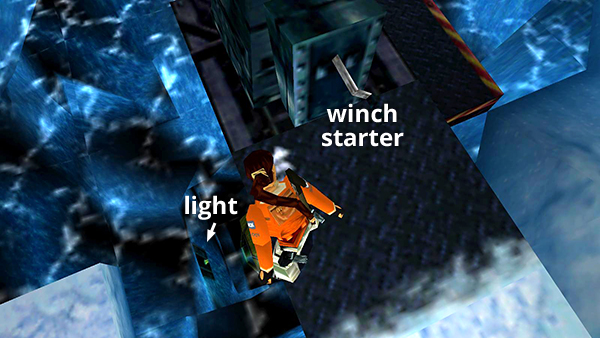
...look over the left side into the pool. Notice the single yellow light on the wall.
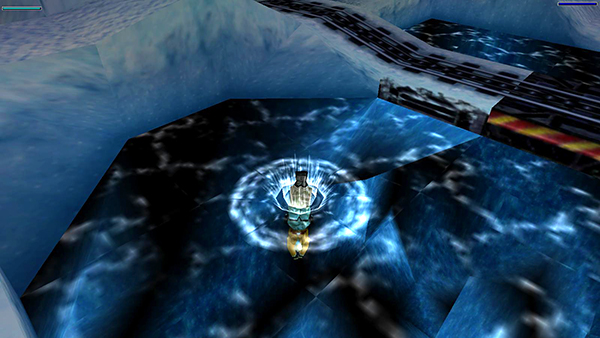
Dive in...
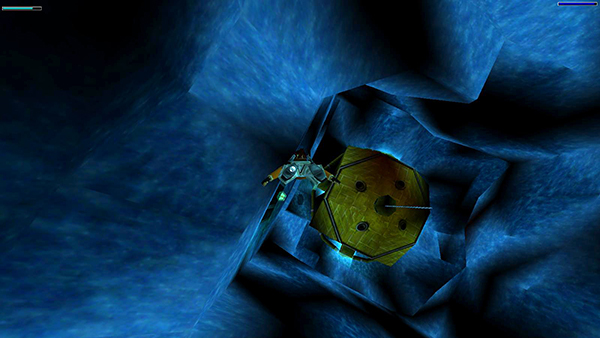
...swim down toward that light...
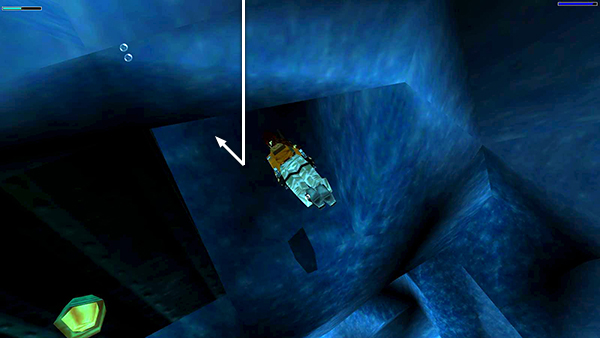
...and into the passageway just to the right of it.
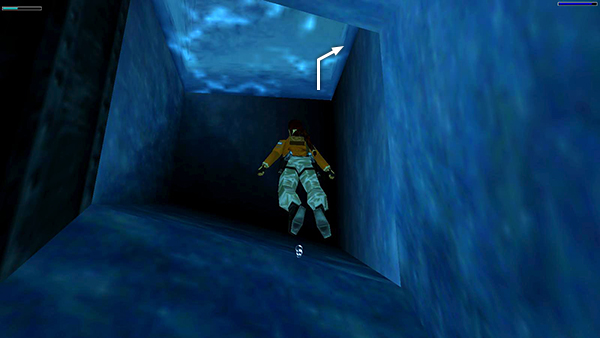
Inside the opening, on the right, there's a little ledge where you can climb out of the water, get air, and warm up.
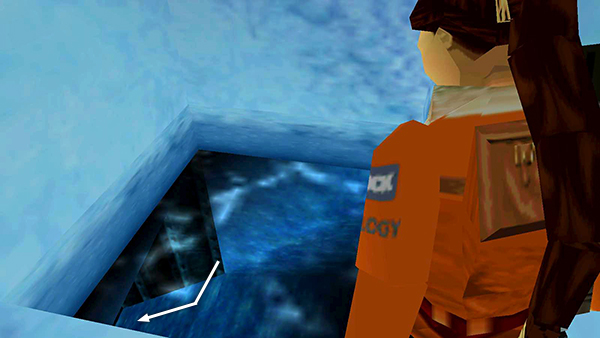
When you're ready for the next leg of the journey, position Lara near the right wall of the alcove, facing the opening, angle her to the left, and jump in.
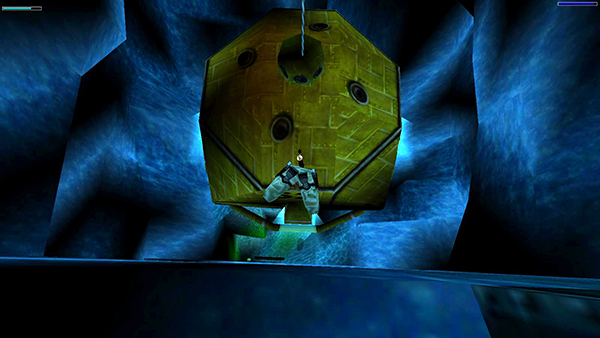
Swim down along the wall...
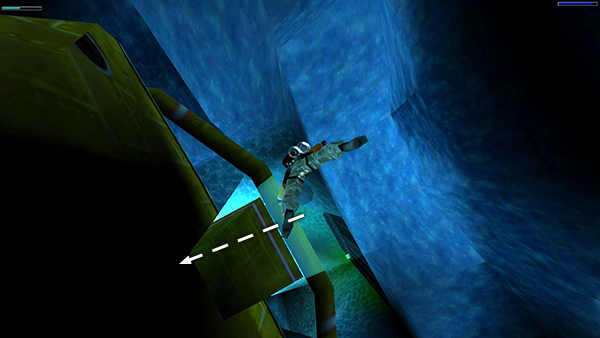
...underneath the submersible...
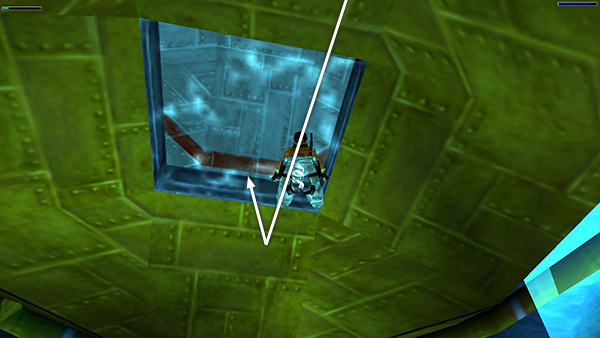
...and up to the bottom of it, where you'll find an opening you can climb into.
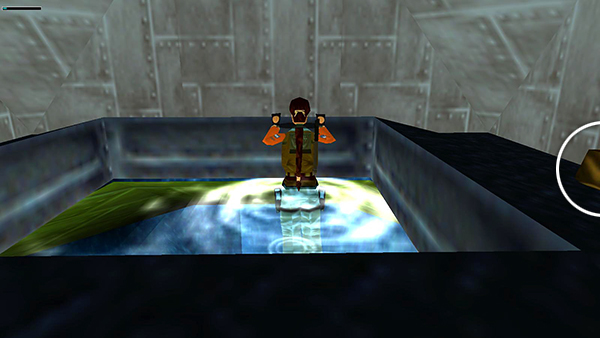
There's a large medi pack inside.
Copyright © 1998- - Stellalune (
). All rights reserved. Feel free to copy or print this walkthrough for personal use. By all means, share it with friends, but please include this credit line so people can send me their feedback. No part of this walkthrough may be reproduced on another site without permission. Follow this link for details about this site's advertising and privacy policy.