Temple of Puna - Large Room with Rolling Blades (part 1)
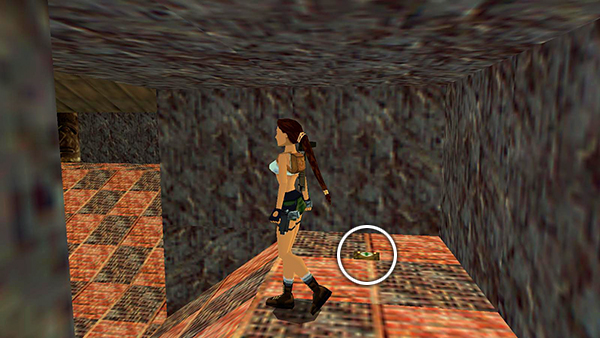
Climb onto the ledge and pick up a small medi pack.
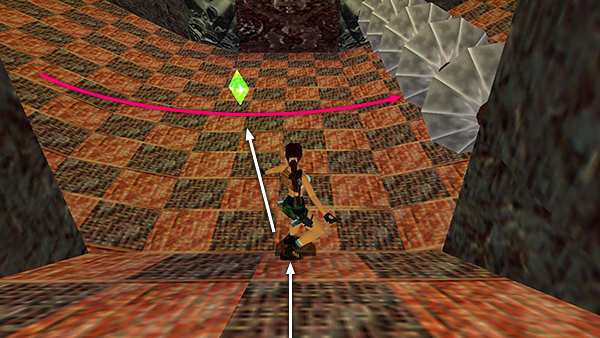
The room below has sloped sides, a closed door directly opposite the ledge where you're now standing, 4 buttons (2 on each side wall to open that door), and a row of rolling blades moving back and forth. Just as the blades roll past toward the right, slide down and run forward to the save/power-up crystal.
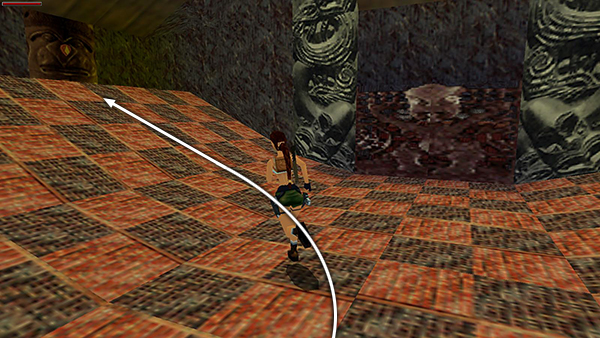
Keep running as you curve around to the left and up the slope.
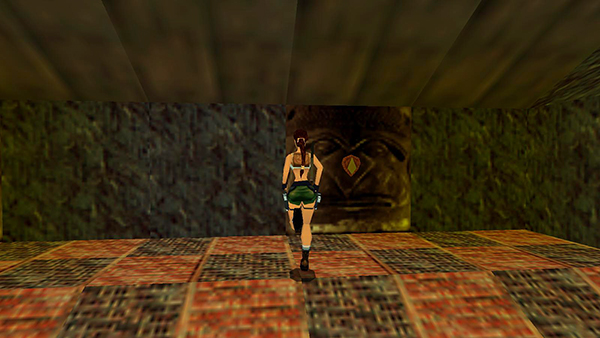
Position Lara at one of the seams between the tile with the button and an adjacent tile.
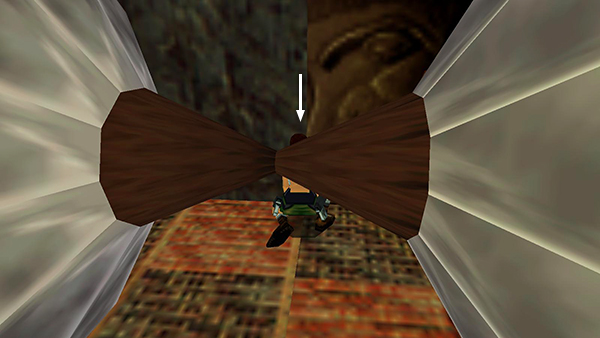
Duck and you'll be safe there from the blades.
NOTES: The order in which you press the buttons doesn't matter. I recommend going clockwise or counterclockwise around the room starting and ending with the buttons farthest from the entrance. Also, it's not necessary to crouch if you're standing exactly on the seam, but if you're even a little bit off to the left or right, the "axle" of the blade can hit Lara unless you crouch. The corners of the room are safe as well, but they're not as close to the buttons.
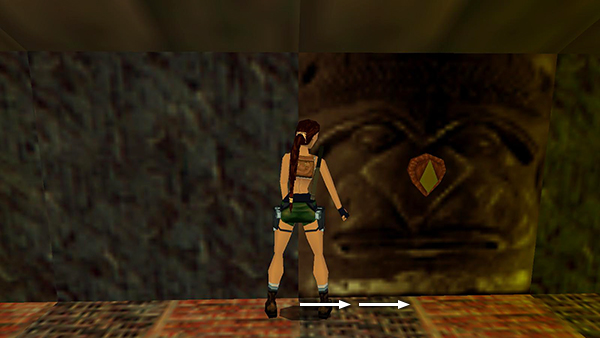
When the blades roll away, stand up, sidestep twice toward the first button and press it.
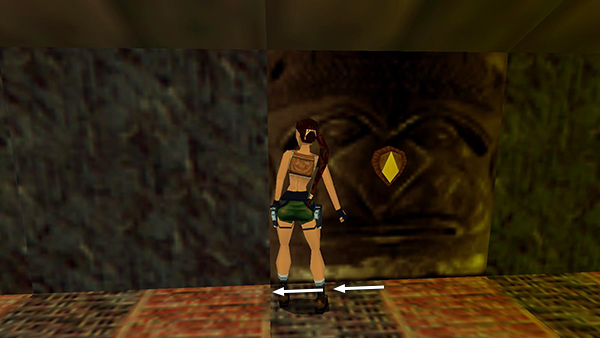
Then sidestep twice to get back to the seam...
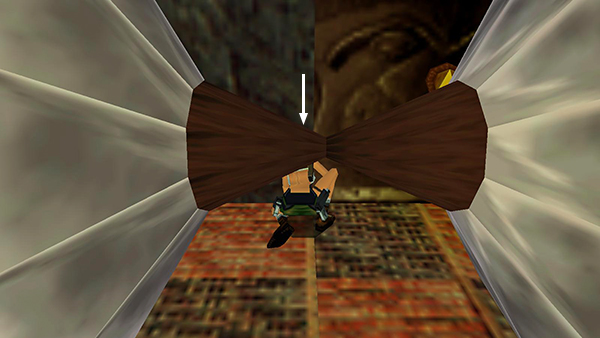
...and duck again.
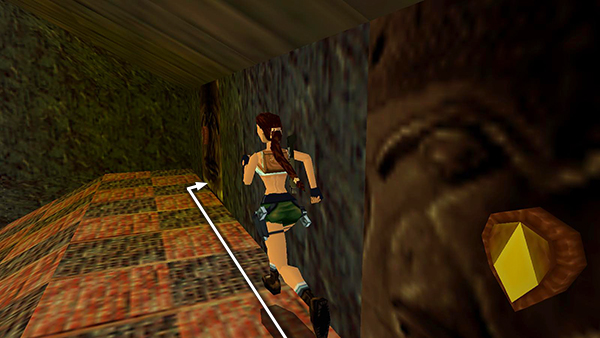
The next time the blades roll away, stand up and run to the second button.
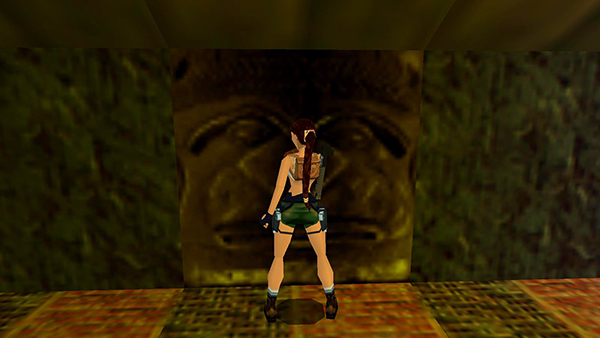
Press it.
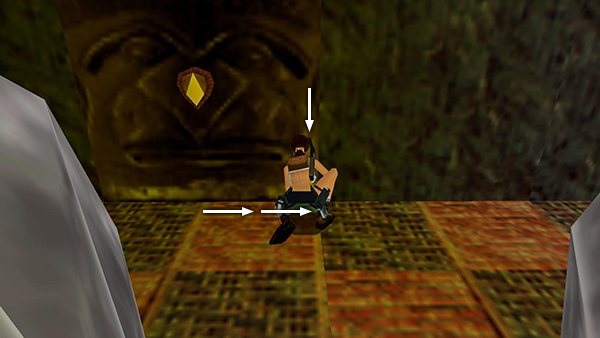
Then quickly sidestep twice to one of the seams and duck. (If you need more time, you can also stand on the seam and duck before pressing the button, then again afterwards.)
Copyright © 1998- - Stellalune ( ). All rights reserved. Feel free to copy or print this walkthrough for personal use. By all means, share it with friends, but please include this credit line so people can send me their feedback. No part of this walkthrough may be reproduced on another site without permission. Follow this link for details about this site's advertising and privacy policy.