Lud's Gate -
Large Underwater Room with
Diamond-Shaped Openings (part 1)
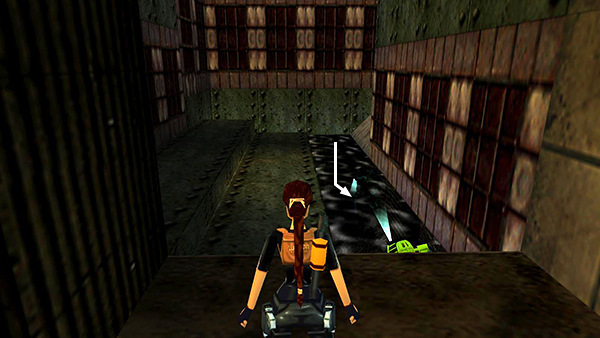
When you've collected everything in the room with the guard and frogman, return to the pool where you got secret #6 and either swim or drive the UPV down the long, diamond-shaped tunnel toward the next area.
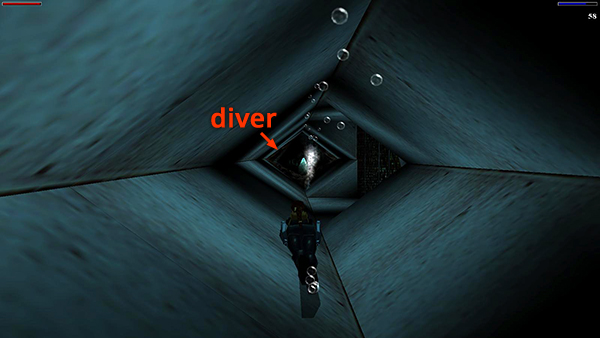
Another diver lies in wait about halfway along the tunnel, and there's a crocodile in the next room. You can use the UPV to harpoon both, but I found it easier to swim into the tunnel, kill the diver with the handheld harpoon gun, and return to the previous room for air.
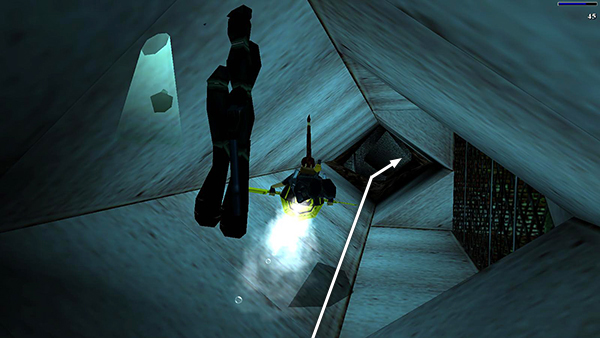
Then drive the UPV along the tunnel all the way into the next room—a large, flooded room with four diamond-shaped openings on each wall.
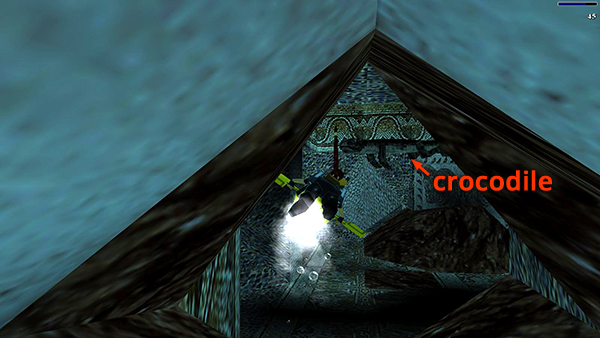
When the crocodile swims out to meet you. Either harpoon it with the UPV...
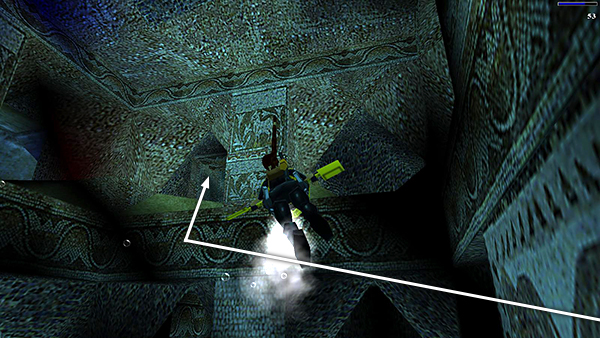
...or drive up to the top left opening on the right wall, where you'll find an air pocket.
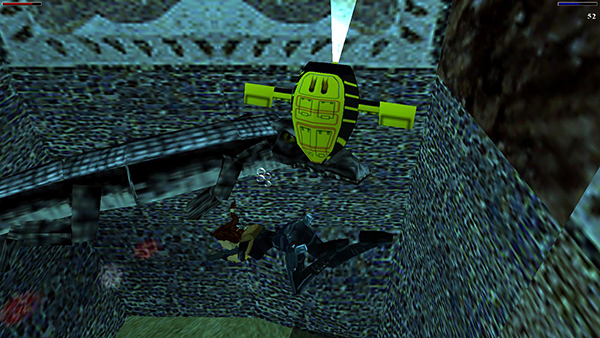
Let go of the UPV, take a breath, and then deal with the croc.
- OR -
Alternatively, swim into the diamond-shaped tunnel to get the diver's attention, lure him back to the ledge where you started, climb out of the water, and shoot him with pistols from above. Then repeat the same process with the crocodile. This is especially helpful if you don't have many harpoons.
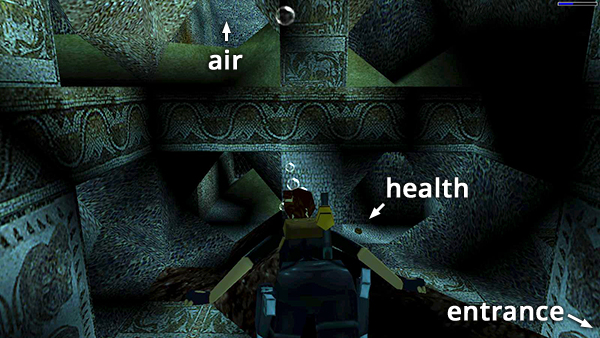
When the coast is clear, pick up a few things: a large medi pack in the lower right opening on the same wall as the air space...
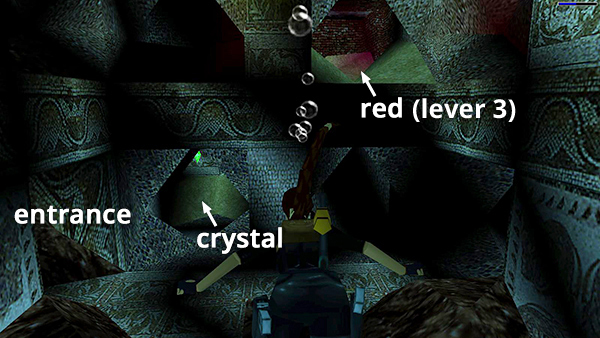
...and a save/power-up crystal in the lower left opening on the wall with the red opening (i.e., just beyond the corner from the entrance).
Copyright © 1998- - Stellalune (
). All rights reserved. Feel free to copy or print this walkthrough for personal use. By all means, share it with friends, but please include this credit line so people can send me their feedback. No part of this walkthrough may be reproduced on another site without permission. Follow this link for details about this site's advertising and privacy policy.