Lud's Gate - Underwater Areas
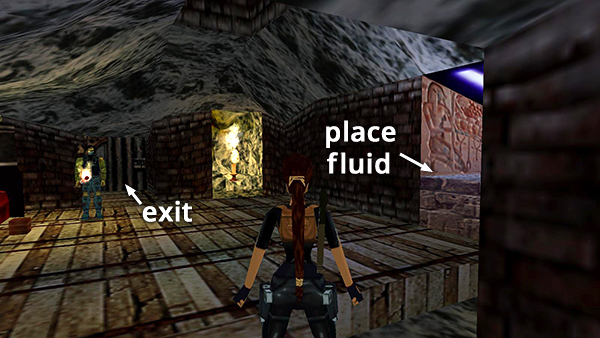
After placing the EMBALMING FLUID in the lighted alcove inside the LAIR OF THE DAMNED, the exit opens. Go through...
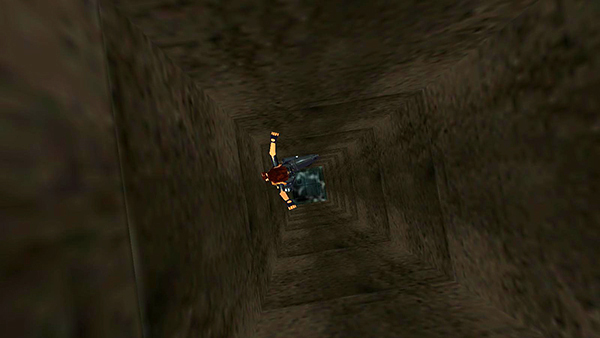
...and fall through the trapdoor, down a long shaft, and into a pool.
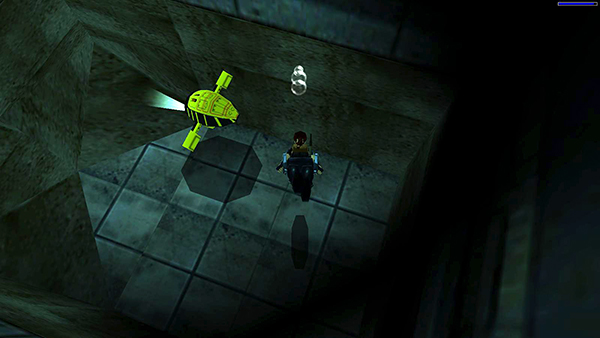
Swim down into the room below to find the underwater propulsion vehicle (UPV).
The main walkthrough includes notes about the UPV controls.
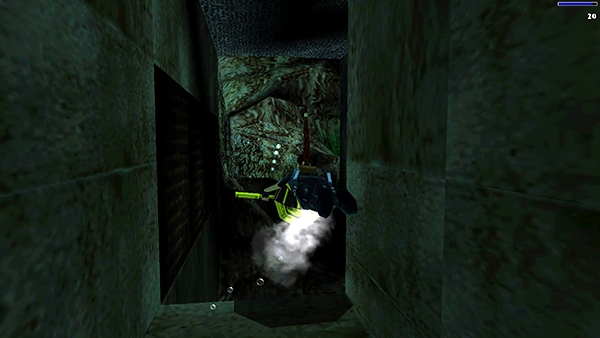
Surface for a deep breath. Then grab the UPV and drive it through the tunnel into the large cavern ahead.
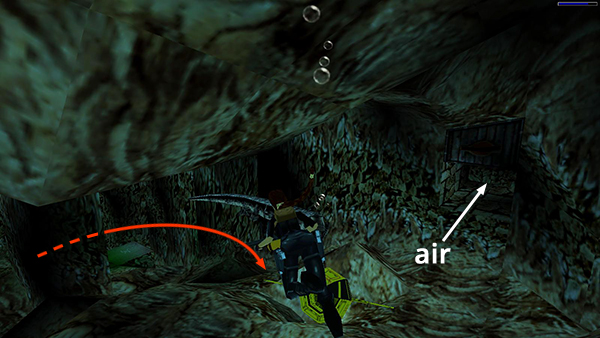
As you enter the cavern, a crocodile swims toward you from the far right corner. Kill it and quickly head for the first opening on the right wall (i.e., the small, rectangular hole with the wooden crate set into the wall above it). If you've brought the UPV, leave it outside the opening and swim through.
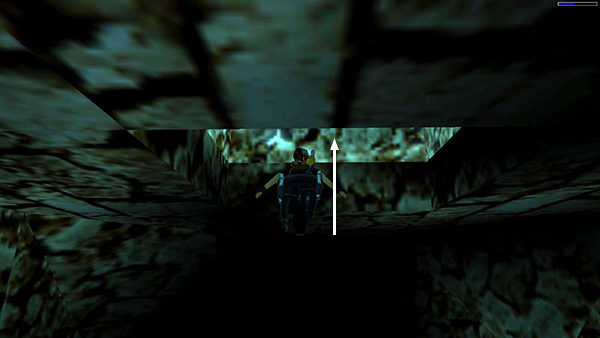
Inside there's an air hole in the ceiling where you can breathe.
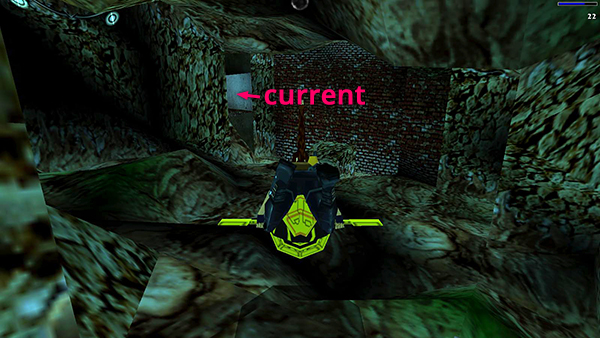
Do not go into the wide, brick-lined tunnel in the far left corner until you're finished here. The current will sweep Lara into the next room, and you won't be able to get back.
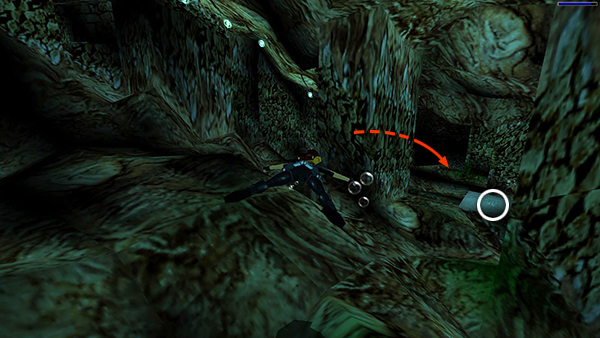
Scour the area for goodies, but be careful; another crocodile comes out when you pick up the harpoons on the square concrete block.
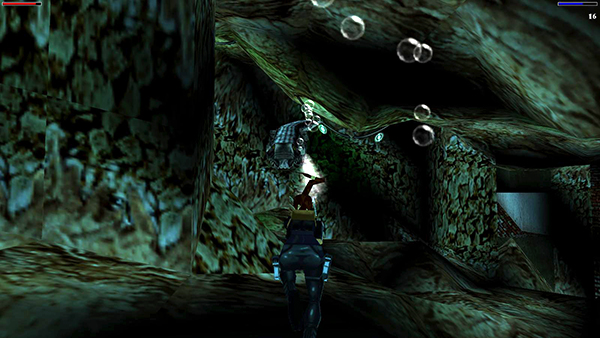
Kill the croc. Then head back to the air hole so Lara doesn't drown.
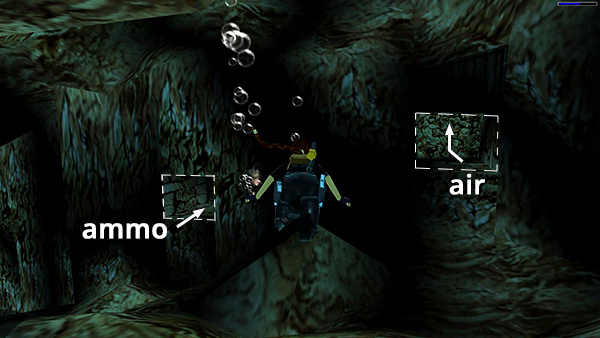
Now you can explore freely. Just watch your air supply and return to the room with the air pocket as needed. Other items here are: Uzi clips in the room next to the one with the air pocket...
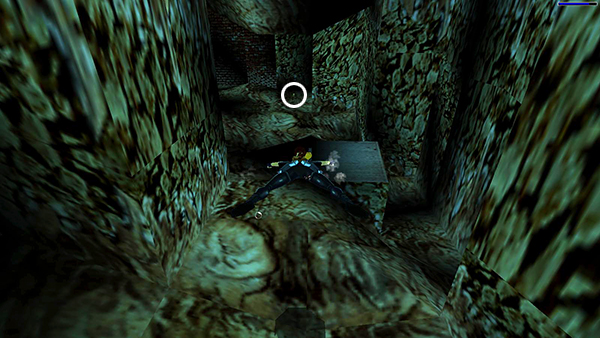
...a small medi pack on the bottom near the concrete block...
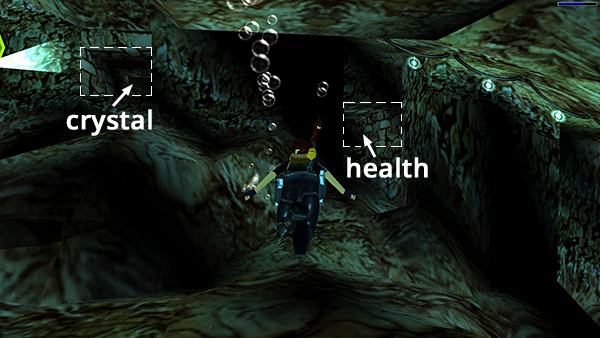
...a save/power-up crystal and 2 bunches of harpoons in the room opposite the one with the air space; a large medi pack and 2 more bunches of harpoons in the next room to the right of the one with the crystal...
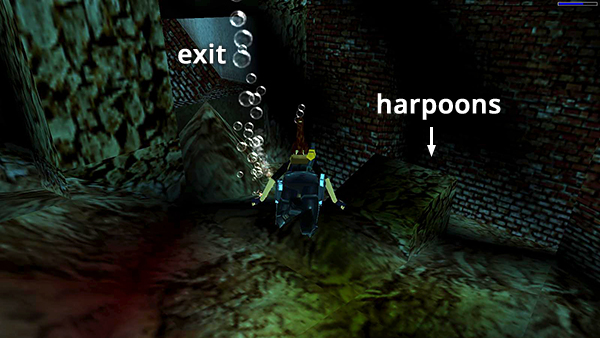
...and finally another bundle of harpoons hidden behind a block near the brick wall to the right of the exit.
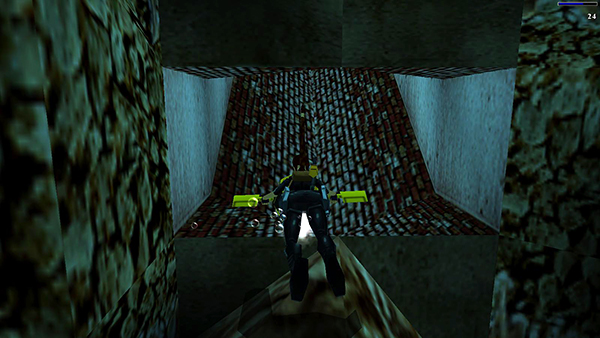
When you have everything, swim or drive the UPV through the wide, brick-lined tunnel in the far left corner of the cavern.
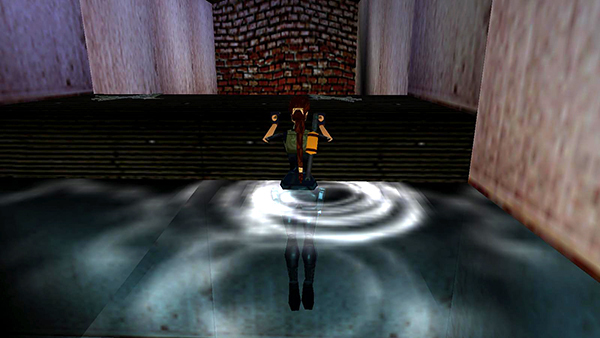
Leave the UPV behind and climb out on a wide ledge with 2 bundles of harpoons.
Copyright © 1998- - Stellalune (
). All rights reserved. Feel free to copy or print this walkthrough for personal use. By all means, share it with friends, but please include this credit line so people can send me their feedback. No part of this walkthrough may be reproduced on another site without permission. Follow this link for details about this site's advertising and privacy policy.