Jungle - Multi-Level Room with Spikes and Hollow Tree (part 1)
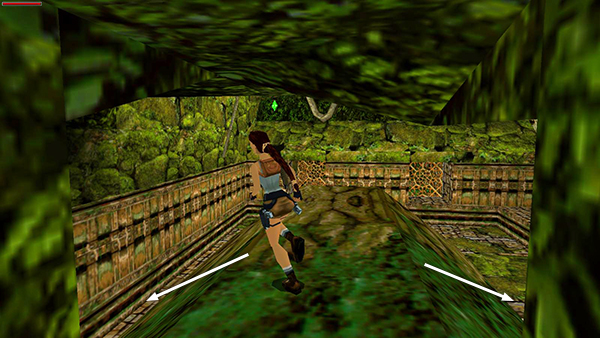
Slide down either side of the tree trunk into the room below.
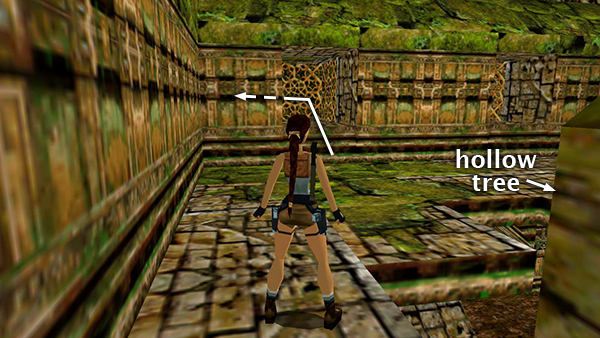
Avoid the hole in the floor. There are spikes below. There's also a secret inside the hollow end of the fallen tree, but I advise waiting to go after it. The route described here involves less backtracking. For now, follow the helpful monkey through the grated window on the left into a low-ceilinged passageway with a wall made of gold lattice.
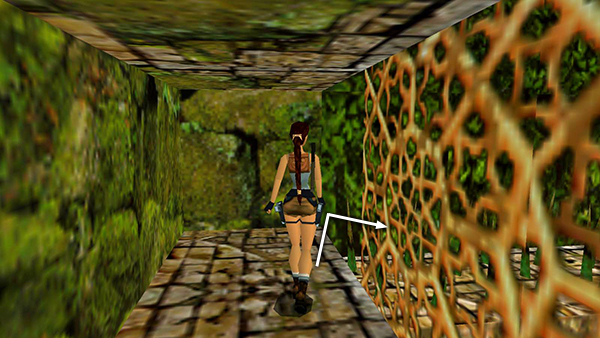
At the end of the passageway, turn right and walk through the spikes. Lara will not take damage as long as she's walking.
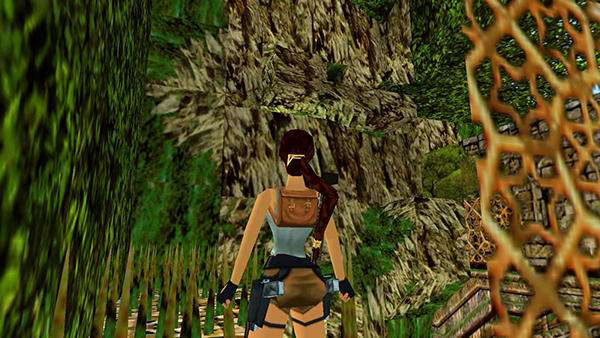
The camera shifts to show a cave opening high above. That's where you're headed next.
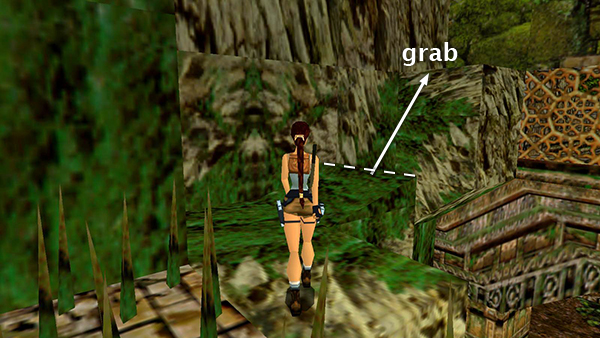
Proceed carefully through the spikes and on toward the far wall. Turn right and walk to the edge of the sloping green block (marked by a dashed line in the screenshot above). Then take a standing jump across the gap to grab the ledge ahead. Pull up and take the small medi pack sitting on this ledge. (This does not appear in the PC demo.)
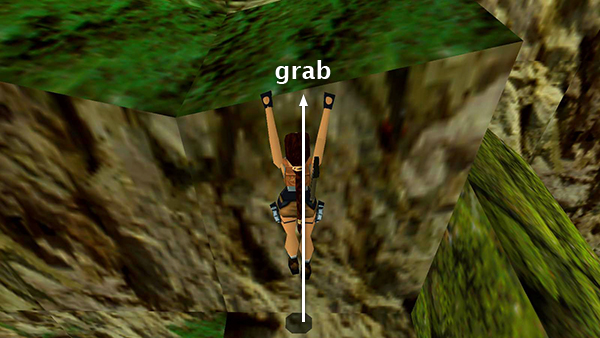
Face the wall with the horizontal crevice and position Lara with her chest against it. Jump straight up and grab the crevice.
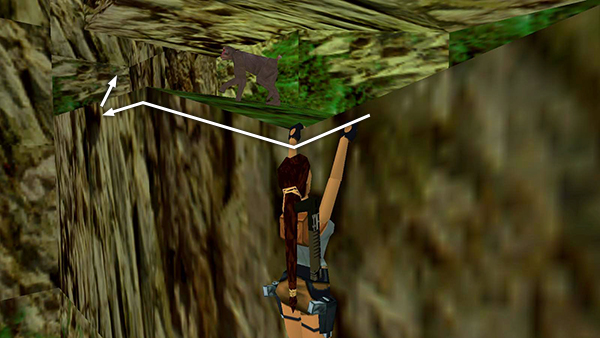
Continue holding Action to hang on and then traverse to the left until you can pull up. Kill the monkey if you're feeling particularly hostile; otherwise just continue.
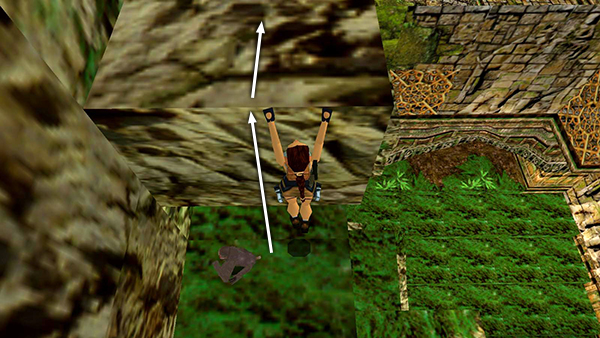
Climb onto the stone block above the crevice where you just traversed.
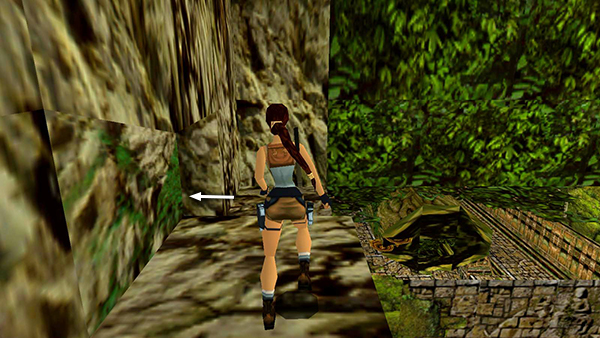
Hop down on the other side and enter the dark passageway, where you'll meet another monkey.
Copyright © 1998- - Stellalune ( ). All rights reserved. Feel free to copy or print this walkthrough for personal use. By all means, share it with friends, but please include this credit line so people can send me their feedback. No part of this walkthrough may be reproduced on another site without permission. Follow this link for details about this site's advertising and privacy policy.