Jungle - Small Room with Moving Wall of Spikes
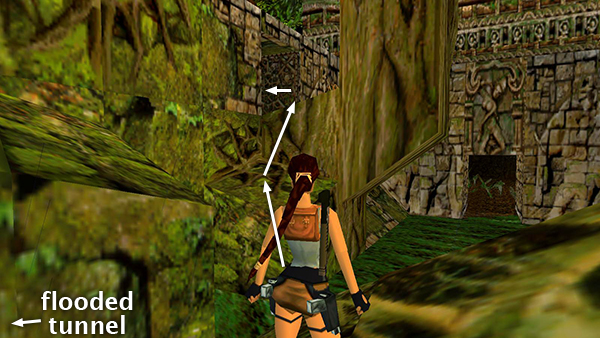
Back at the COURTYARD, climb up the rocks and go behind the bent tree to find the window you just opened with the switch. If you've come from the flooded tunnel, it's just ahead on the left (as shown above).
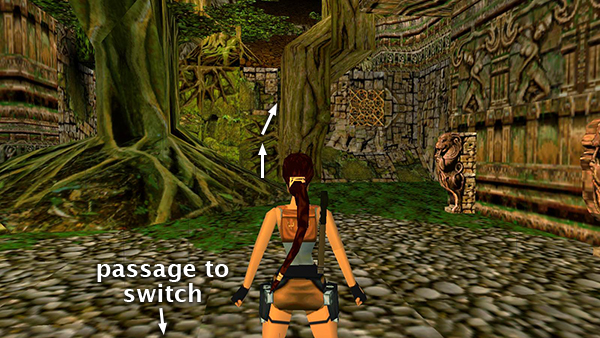
If you've come from the passageway with the switch, where you followed the thieving monkey, it's directly ahead (as shown above).
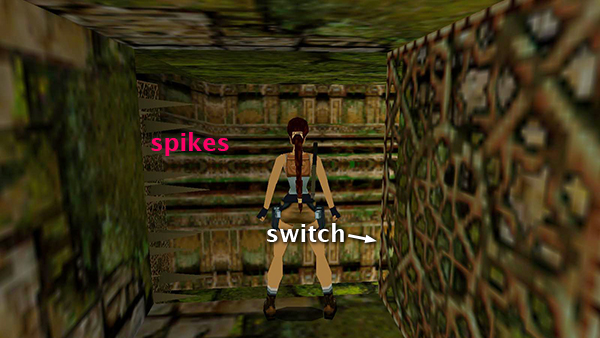
Hop down into the room below. The window closes behind you, but the wall of spikes doesn't move yet, so it's safe to look around. There's another switch on the wall ahead.
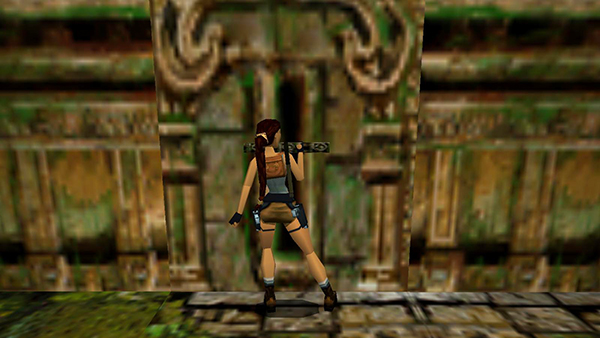
When you pull the switch, the spikes start moving toward you.
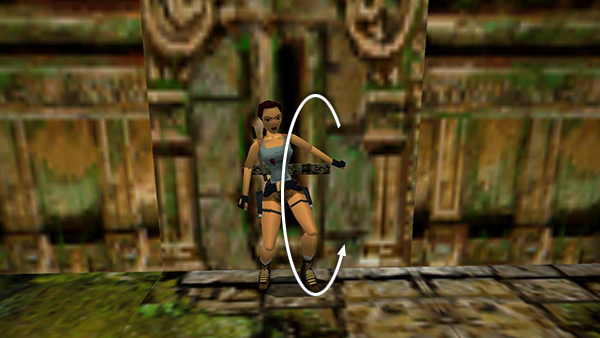
Immediately roll...
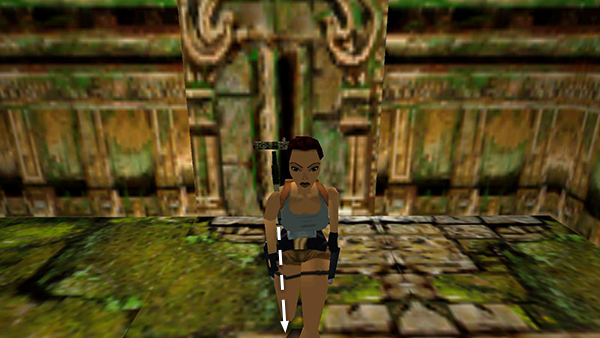
...and take a running jump up into the alcove on the opposite side of the room so Lara doesn't get skewered.
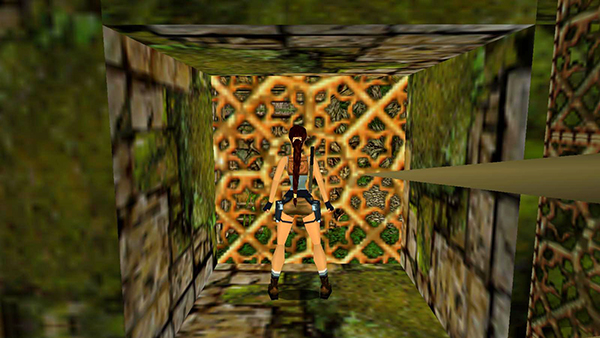
Wait here for the spikes to pass.
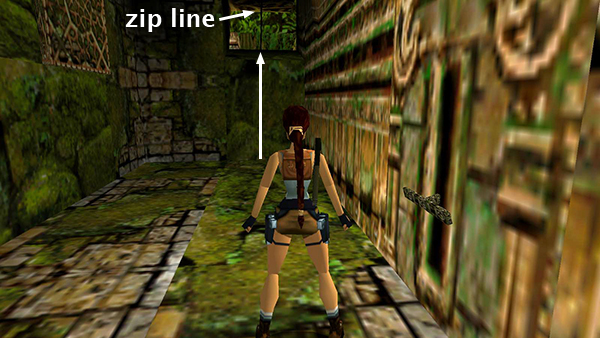
Then hop down and climb up into the opening where the spikes originated. Walk to the edge, so Lara is standing beneath the zip line handle.
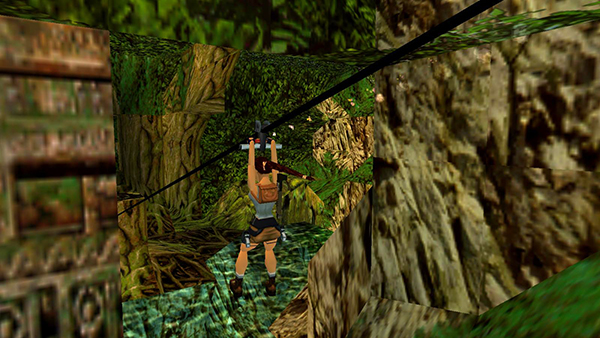
Press and hold Action to ride the zip line down across the water.
Copyright © 1998- - Stellalune ( ). All rights reserved. Feel free to copy or print this walkthrough for personal use. By all means, share it with friends, but please include this credit line so people can send me their feedback. No part of this walkthrough may be reproduced on another site without permission. Follow this link for details about this site's advertising and privacy policy.