Jungle - Room with Pool, Lit Torches and Movable Block
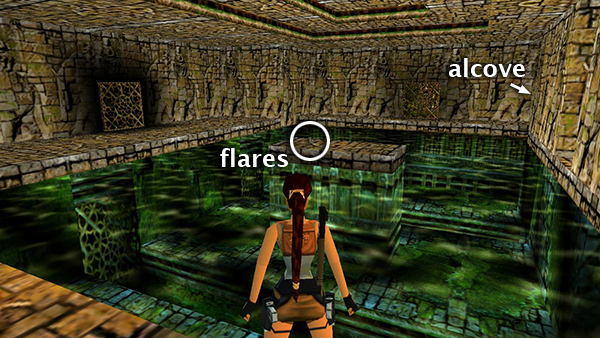
You'll enter this room through a doorway flanked by lit torches. There are also two golden doors, one on the opposite wall and one on the left. First, swim to the platform in the middle of the pool and pick up the flares. Then swim across to the golden door opposite the doorway with the torches. Follow the walkway to the right to find an alcove with a movable block embedded in the right wall.
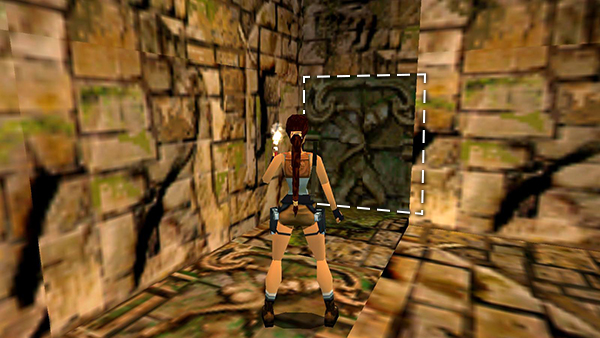
If you're having trouble locating the movable block, try lighting a flare. The block will appear darker than the surrounding walls.
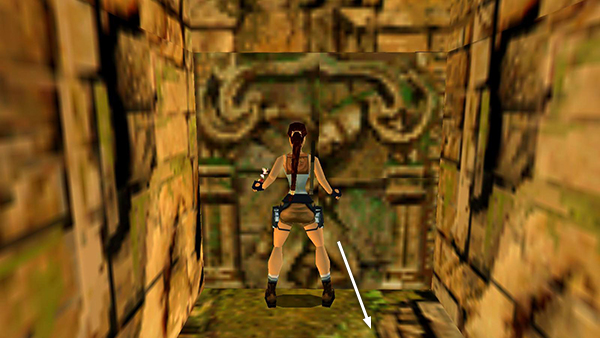
Position Lara so her chest is against this block. Hold Action and she'll go into a crouch, showing she's ready to move the block. Then press Back to drag it along the floor. Pull the block again to open up a passageway behind it, but don't go there yet.
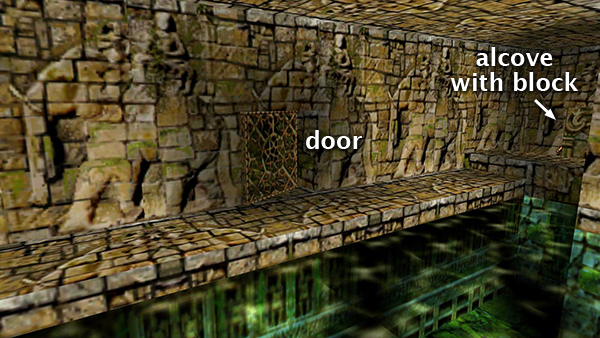
Moving the block also opens the golden door on this side of the room. Go there now. (In the demo, there is a tiger lurking inside.)
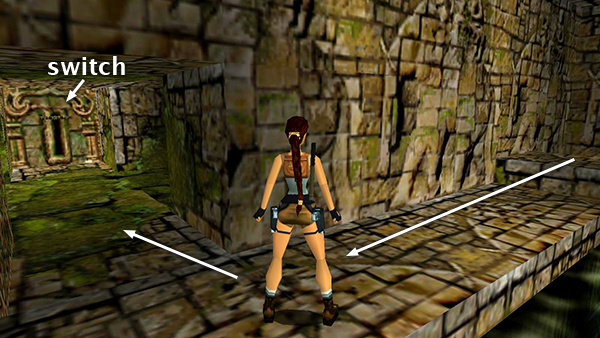
Enter and pull the switch.
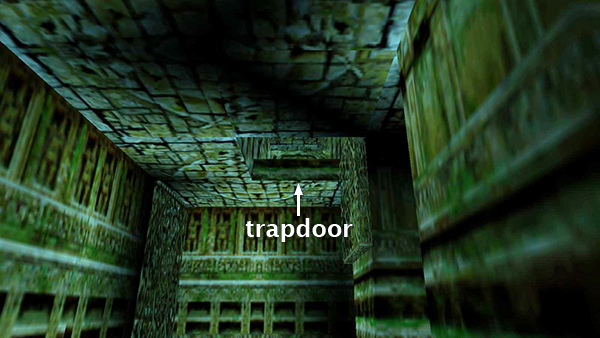
This opens a trapdoor behind the movable block.
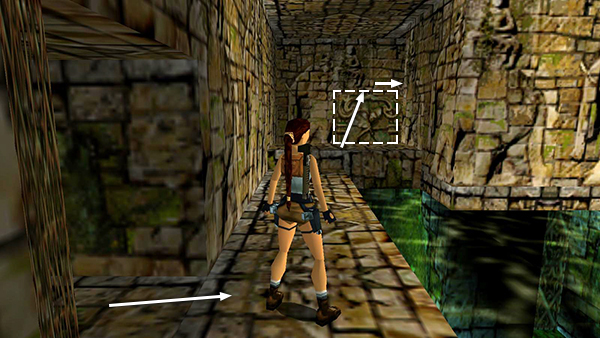
Return to the block, climb over it...
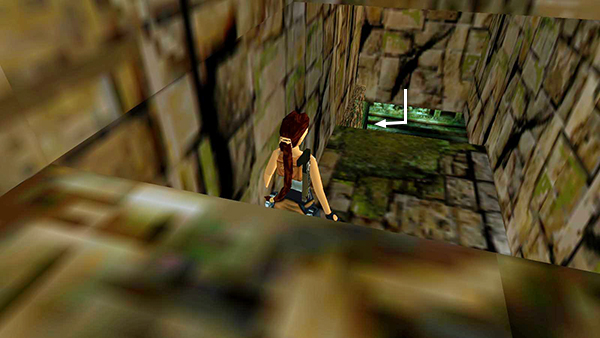
...and drop into the water. Swim forward, left, then upward to surface in a room with a bridge-like walkway.
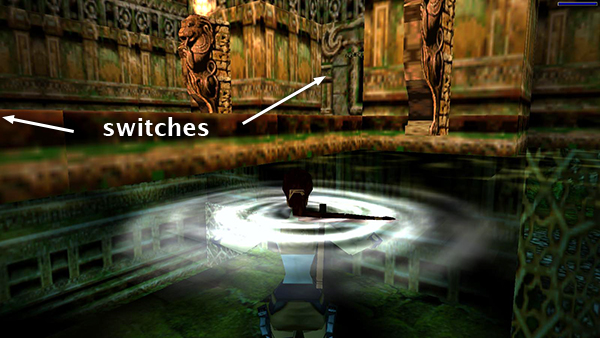
There are 2 switches here—one at each end of the walkway. Use both of them. One opens the second gold door back in the larger room with the movable block; the other opens the underwater gates leading back into that room.
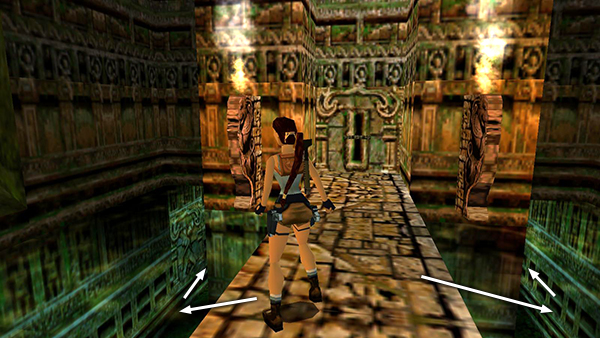
Swim down through either of the gates you just opened to get back to the larger room.
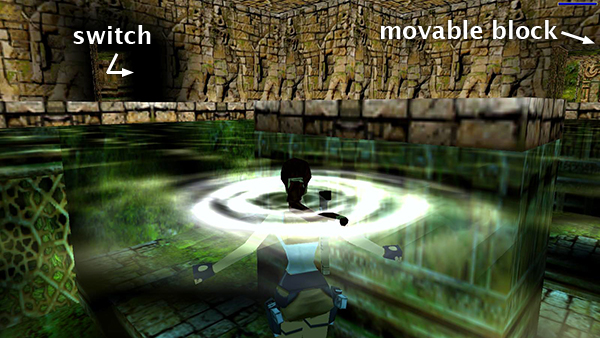
Back in the ROOM WITH THE POOL, LIT TORCHES AND MOVABLE BLOCK, go through the gold door you just opened (i.e., the one opposite the empty alcove, not the one opposite the lit torches).
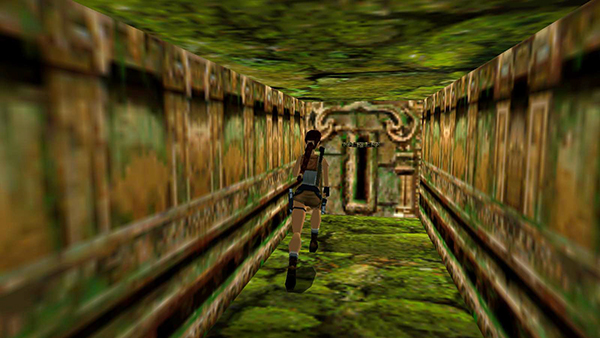
Follow the passageway to the end and use the switch.
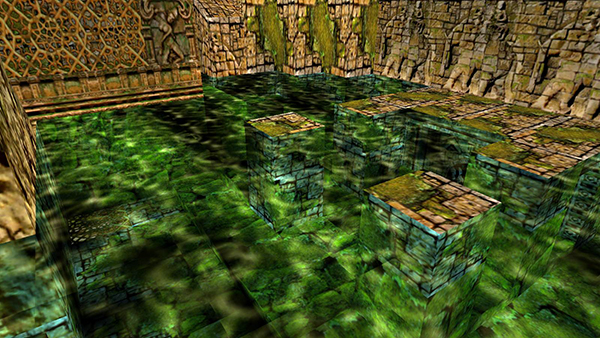
Doing so floods the MOSSY AREA WITH THE SQUARE PILLARS outside.
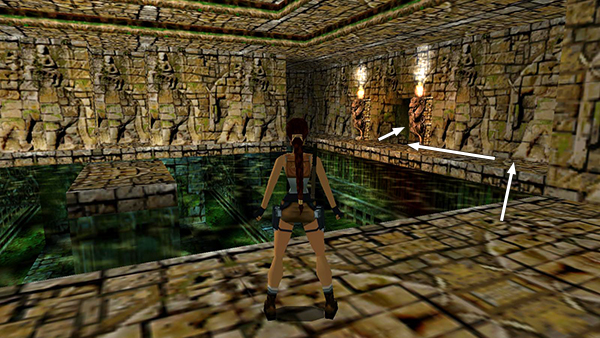
Return there via the doorway flanked by lit torches.
Copyright © 1998- - Stellalune ( ). All rights reserved. Feel free to copy or print this walkthrough for personal use. By all means, share it with friends, but please include this credit line so people can send me their feedback. No part of this walkthrough may be reproduced on another site without permission. Follow this link for details about this site's advertising and privacy policy.