Nevada Desert - Canyon with Pool and Waterfalls (part 1)
Includes Secret #2
NOTES: There are lots of ledges and climbable surfaces in this area and consequently many different paths through it. This walkthrough covers several possible routes that include all kills, items, and secrets. If you miss any jumps while exploring this area and end up in the pool below, you'll either have to reload your last save or make your way back to the top of the canyon. For directions, check out the later section of the walkthrough, CLIMBING BACK TO THE TOP OF THE CANYON.
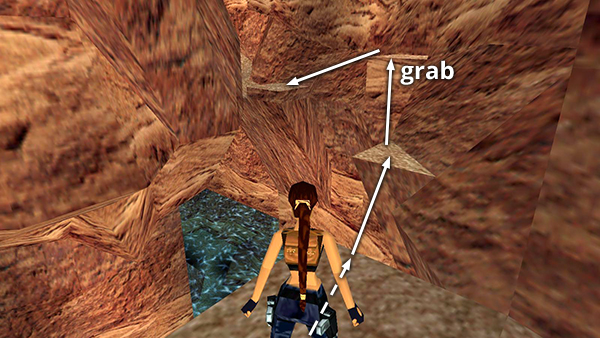
From the ledge overlooking the pool, where you first enter this area, turn right and take a running jump with Action to land on the small, triangular ledge. Take a standing jump to grab the next higher ledge. Pull up, turn left, and shoot a vulture. Then jump down to the next ledge.
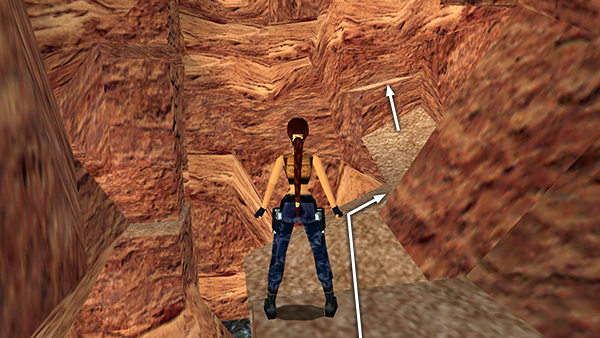
Follow this ledge to the end and climb onto the chest-high block directly ahead.
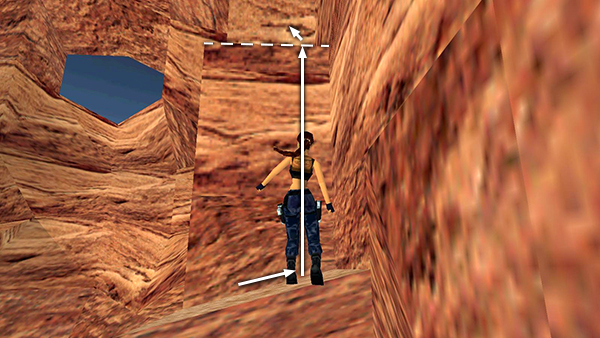 Sidestep a little to the right if necessary and then pull up onto the next higher block.
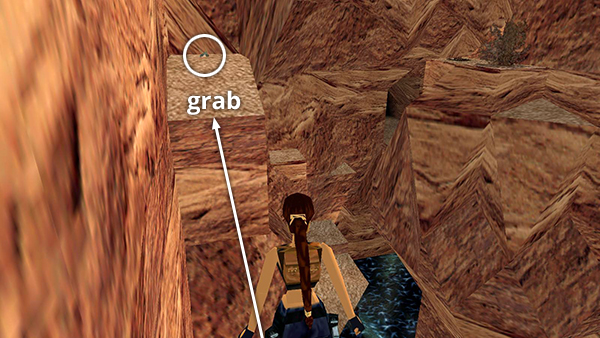 Turn around, so the canyon wall is on Lara's left, and take a running jump to grab the ledge directly opposite. Pull up, walk forward, and pick up some Uzi clips.
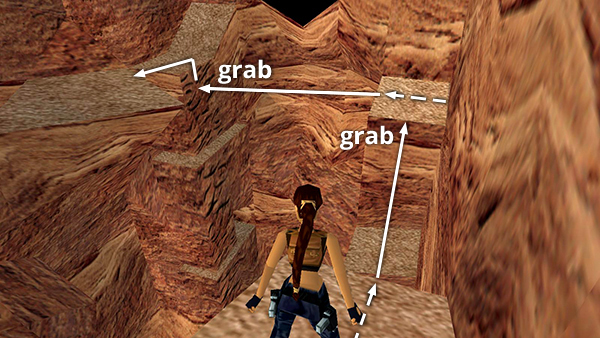
After picking up the Uzi clips, turn around again and take a running jump to grab the edge of the high corner block where you were a moment ago. If you don't want the next secret, turn left, take a running jump across the pool, and grab onto the climbable wall (with the dark handholds) on the other side of the canyon. Then climb onto the ledge above. Skip the rest of this section and pick up the walkthrough here.
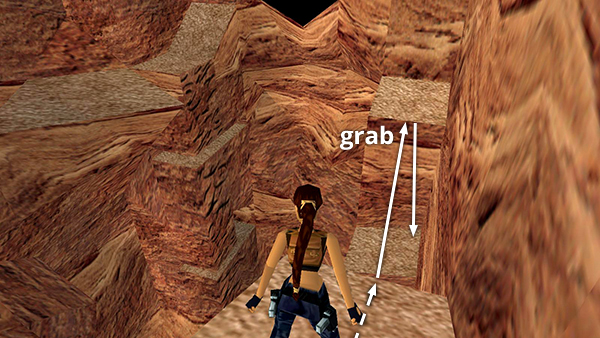
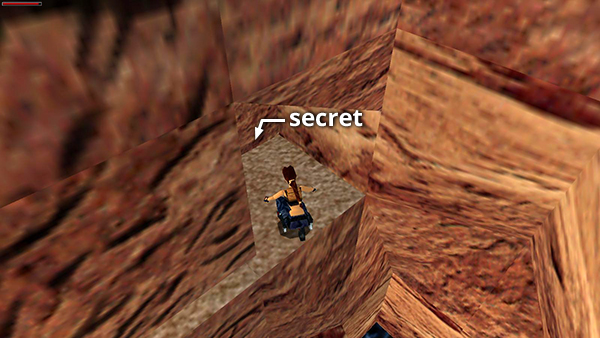
If you do want the secret, there are several ways to reach it. The quickest is to drop down onto the block just below the high corner block, as shown in the screenshot above.
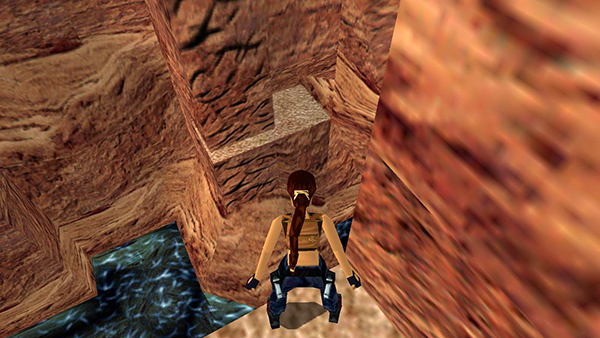
Then turn left to face out across the pool. Walk to the edge and use the Look button to check Lara's angle. Reposition her if necessary so she's squarely facing the opening at the bottom right of the climbable wall.
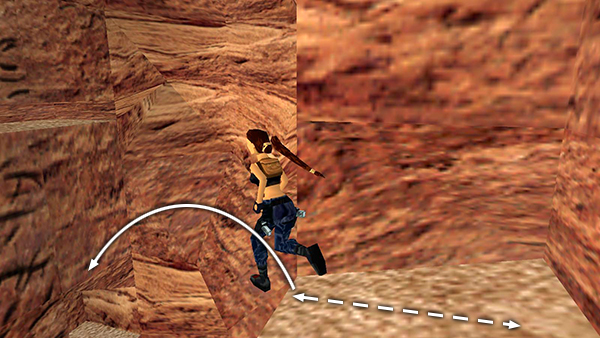
Hop back once and then take a running jump across the pool...
...pressing Action while Lara is in the air in order to lower her arc slightly so she doesn't hit her head on the top edge of the opening. This is SECRET #2. Inside you'll find Desert Eagle and MP5 clips.
Follow this link for an alternate path to the secret.
Copyright © 1998- - Stellalune ( ). All rights reserved. Feel free to copy or print this walkthrough for personal use. By all means, share it with friends, but please include this credit line so people can send me their feedback. No part of this walkthrough may be reproduced on another site without permission. Follow this link for details about this site's advertising and privacy policy.