Crash Site - Raptor Pool - Lt. Tuckerman's Key (part 1)
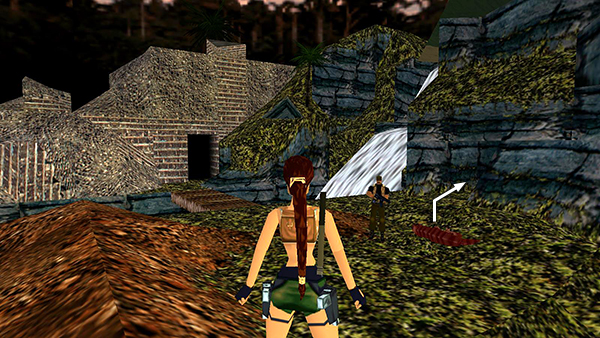
Go through the second doorway on the right wall when facing the stream.
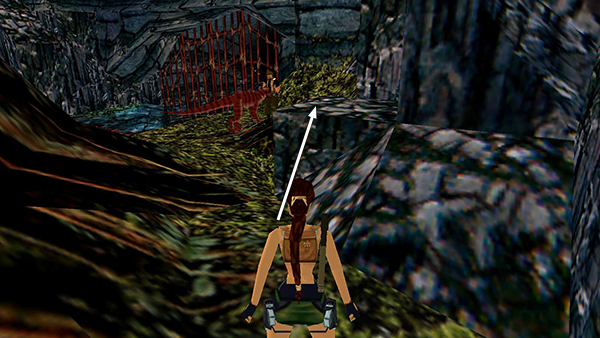
Follow the passageway to an overgrown area where a soldier battles another raptor. There's a raised block just inside on the right where you can jump to safety.
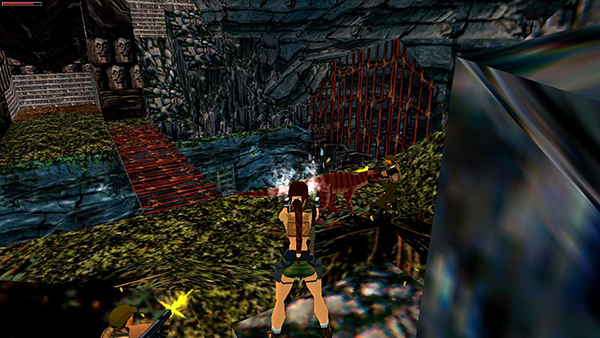
If the soldiers in the previous area survived, they'll rush in and help fight the raptor. Again, if you or the raptor kills any of the men, they'll drop MP5 clips (so possibly 3 sets in all, including the two from the previous area).
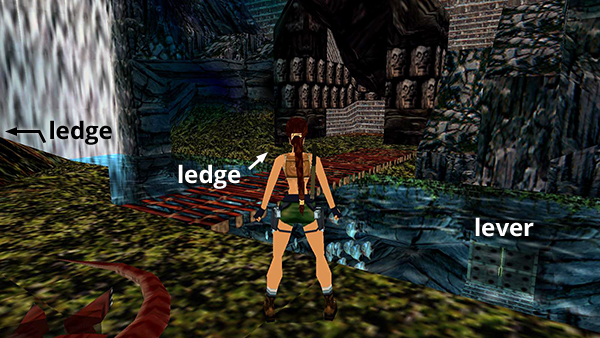
There's a tempting underwater lever in the pool and a wooden bridge leading to the other side. But don't go swimming or attempt to cross yet. The bridge will collapse beneath you, plunging you into the piranha-infested water. If you fall in and manage to avoid being devoured, there are two spots where you can climb out: at the middle of the opposite bank and on the near bank, in the corner by the waterfall.
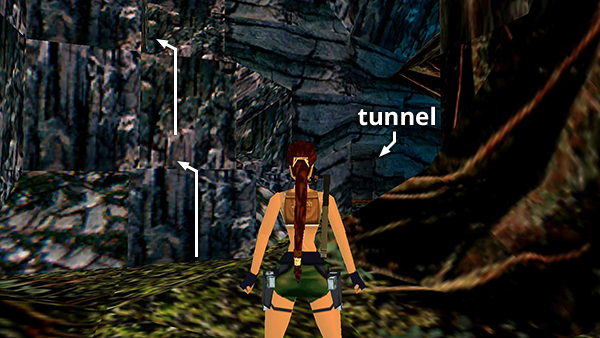
Another raptor lurks in the trees above. If you climb onto the ledge above the "safe" block...
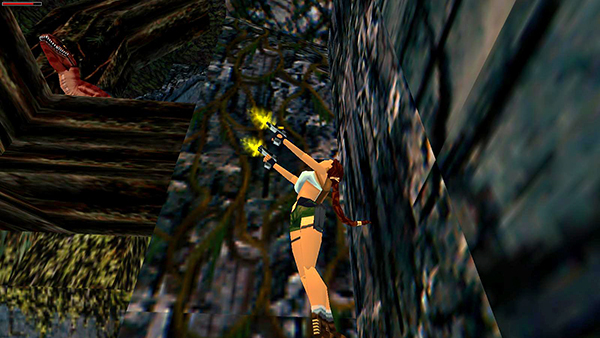
...then draw weapons, you may be able to kill the raptor from below by jumping up and down while firing. If not, just keep going.
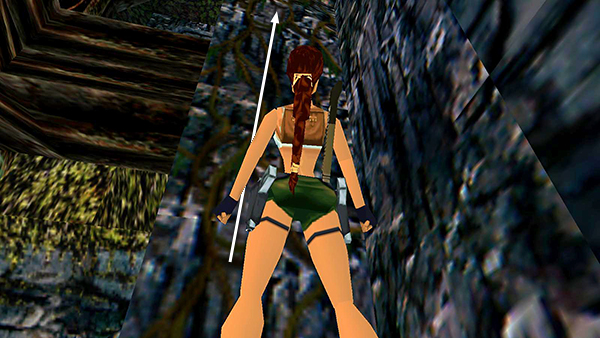
Climb the vine-covered wall that extends upward toward the raptor's branch.
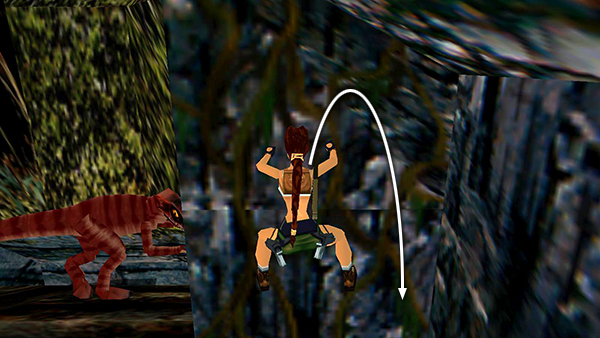
At the top, wait for the raptor to move around toward the end of the branch nearest you. Then press and hold Jump to backflip onto the angled block behind you...
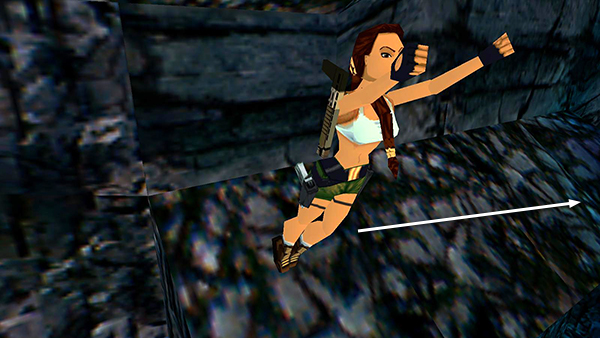
...and then spring forward onto the branch.
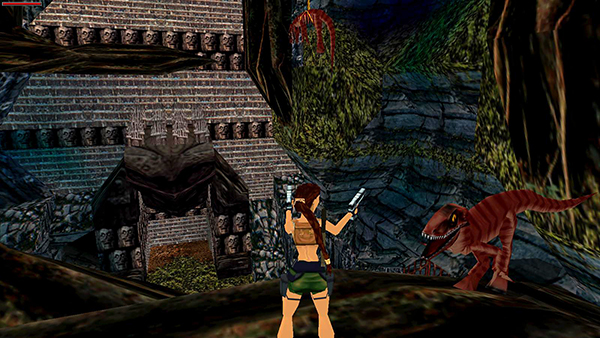
Finish off the raptor if you didn't already. Fighting it while standing on the branch can be difficult, since the raptor tries to shove Lara off the edge.
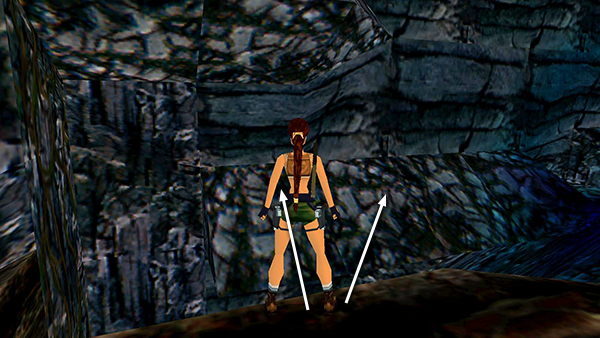
To avoid it, turn around and jump onto the sloping ledge. Be sure to hold Action so Lara doesn't bang her head on the overhanging rock. Or aim for the next section just to the right, where there is no overhang.
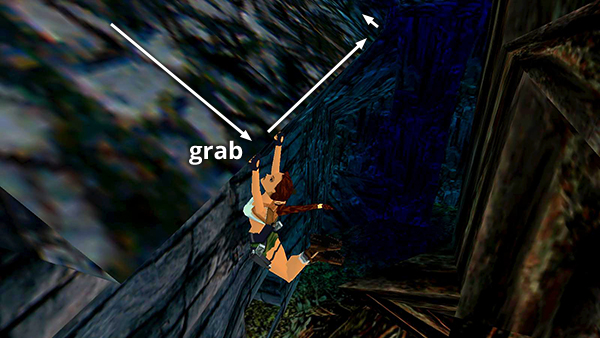
Then slide back, grab the edge, and traverse to the right until you can pull up on the blue ledge in the corner.
- OR -
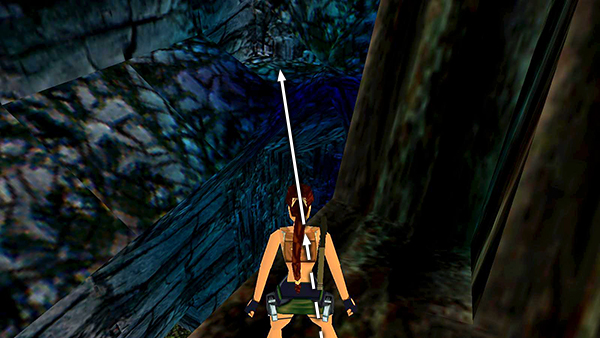
Instead when you first land on the branch with the raptor, turn left and take a running jump onto the blue ledge.
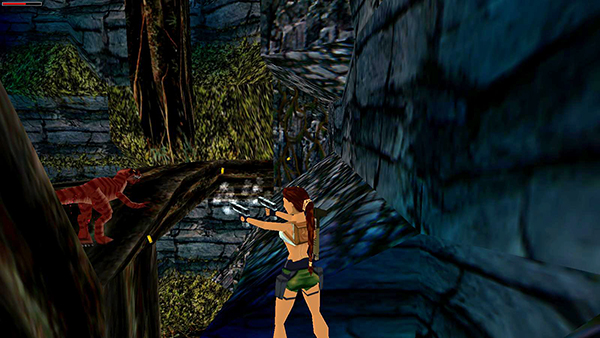
You can then shoot the dinosaur from safety or avoid it altogether.
Copyright © 1998- - Stellalune ( ). All rights reserved. Feel free to copy or print this walkthrough for personal use. By all means, share it with friends, but please include this credit line so people can send me their feedback. No part of this walkthrough may be reproduced on another site without permission. Follow this link for details about this site's advertising and privacy policy.