Crash Site - T. Rex Nest - Commander Bishop's Key (part 1)
Includes Secret #2
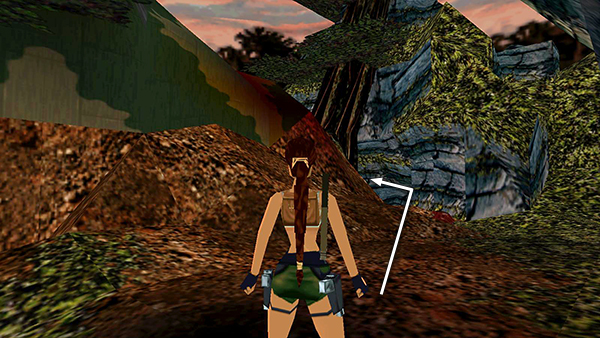
Move around the front of the downed aircraft. When you pass the thick, square tree trunk at the nose of the plane...
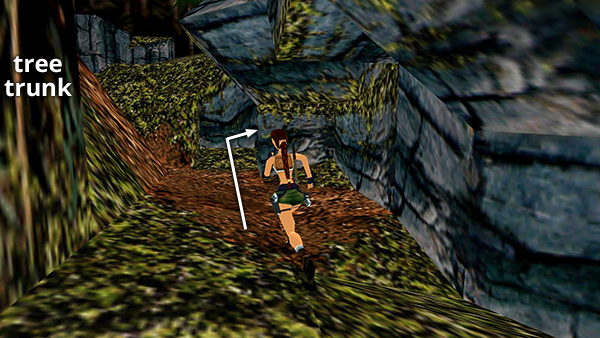
...instead of continuing all the way around to the other side of the aircraft, turn right, into the corner with the blocky, gray rocks. Here you'll find a passageway leading to a side area.
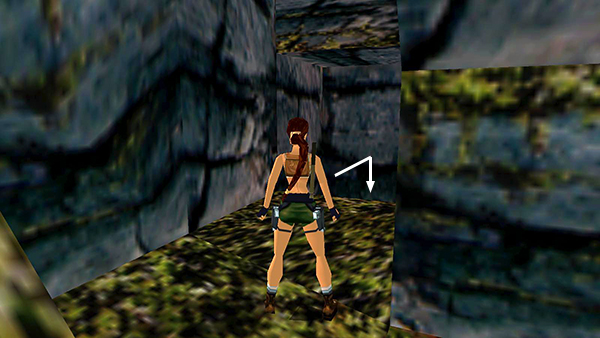
Drop down, follow the tunnel...
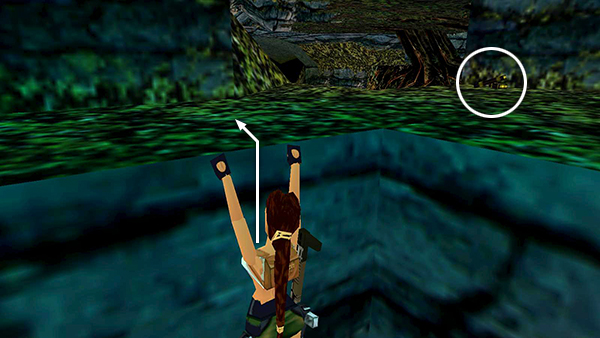
...and climb out on a ledge with some MP5 clips or the MP5 SUBMACHINE GUN if you don't already have it.
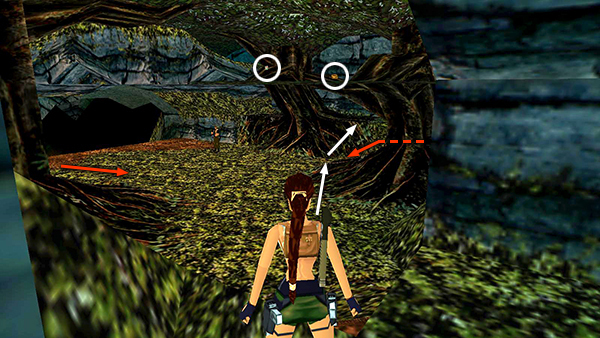
Before hopping down into the low, flat area ahead, have a look around. There's a soldier on patrol and some goodies in the treetops. When you come down off the ledge and move into the clearing, 2 raptors emerge from the left and right (orange arrows).
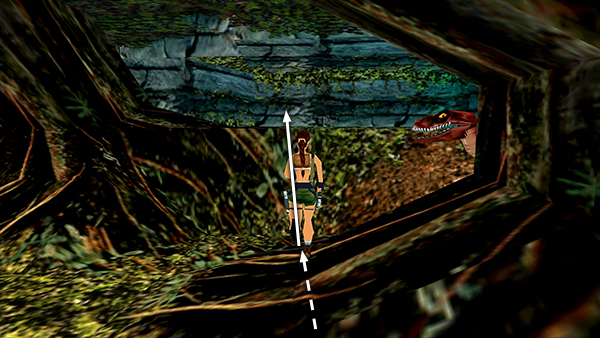
If you want a safe spot from which to shoot, run across clearing and jump onto the long, flat ledge between the two trees. The raptors can't reach Lara here.
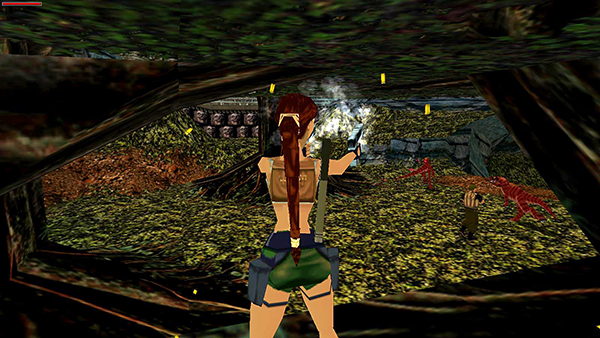
You can then help the soldier with the dinos or just wait and see how the fight turns out and finish off any survivors.
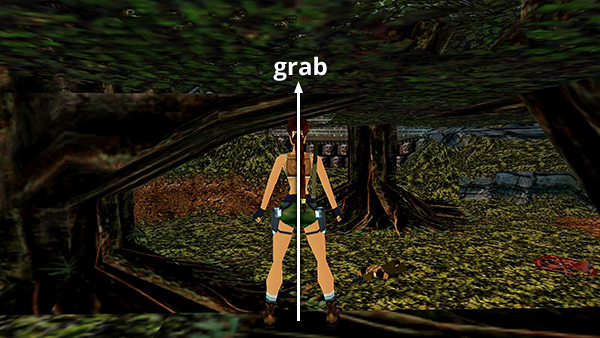
Afterward, take a standing jump from the edge of the ledge to grab the tree branch running parallel to the ledge.
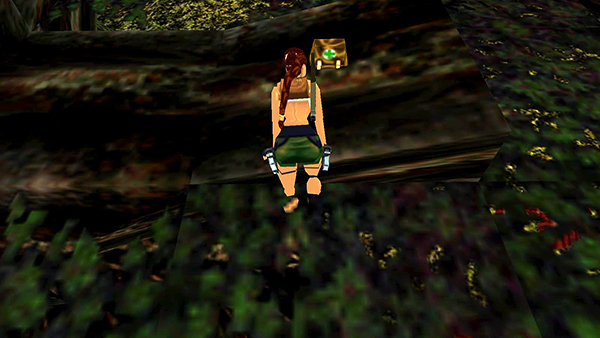
Pull up and grab the large medi pack.
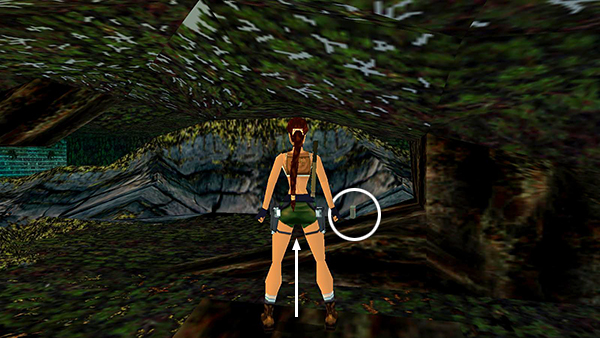
Walk to the right end of the branch and take a standing jump without grabbing to land on the branch with the flares. This is SECRET #2.
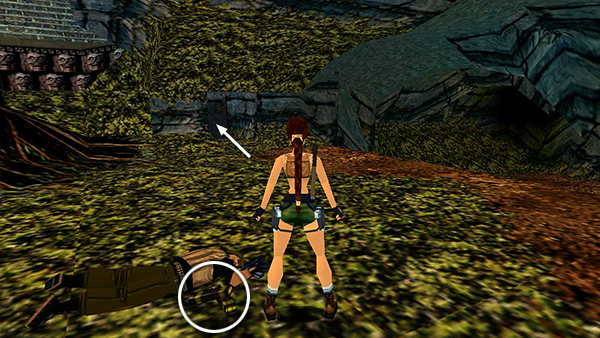
Drop to the ground. If the soldier didn't survive the last skirmish, pick up the MP5 clips near his body. If you like, go into the passageway on the left when facing the slope that leads down into the next area.
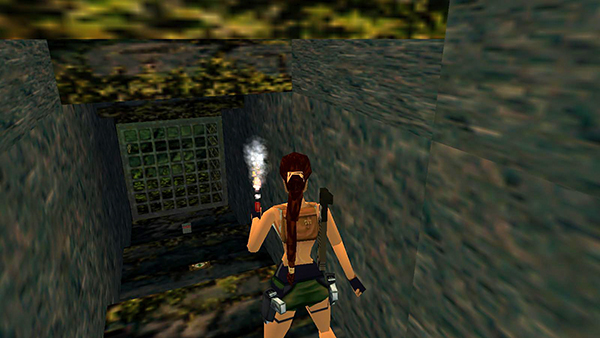
At the bottom of the steps, near the closed gate, you'll find a small medi pack and some flares. You'll have another opportunity to get these items later.
Copyright © 1998- - Stellalune ( ). All rights reserved. Feel free to copy or print this walkthrough for personal use. By all means, share it with friends, but please include this credit line so people can send me their feedback. No part of this walkthrough may be reproduced on another site without permission. Follow this link for details about this site's advertising and privacy policy.