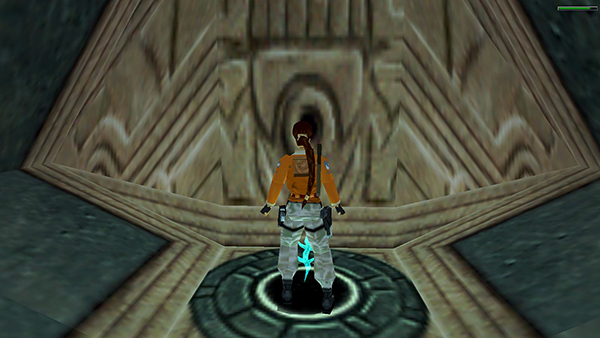
Meteorite Cavern - Final Boss - Mutant Willard
The following sequence is also shown in this short video walkthrough.
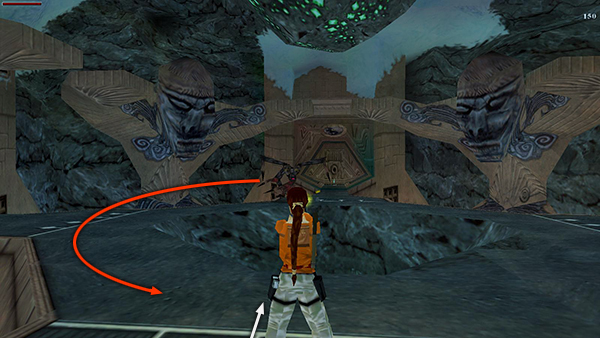
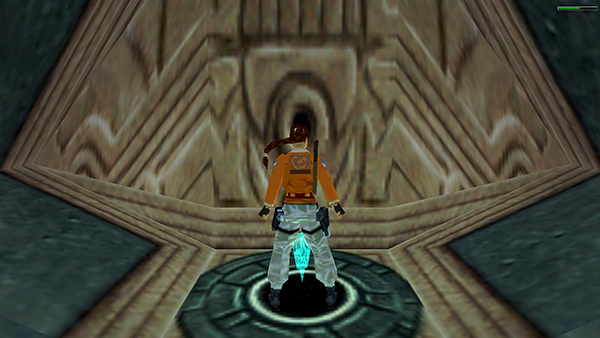
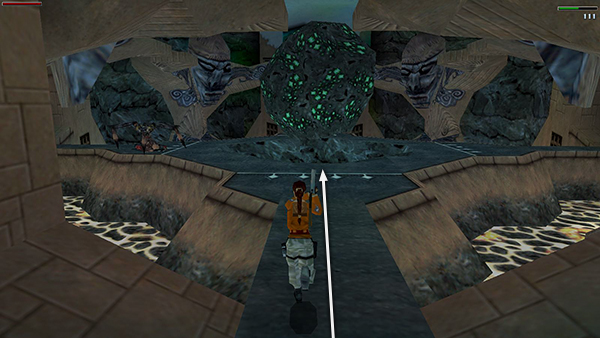
As soon as the level starts, draw the Desert Eagle, step forward across the white line on the floor, and start firing as Willard approaches. (Remember, he only hurls blue energy when Lara is standing beyond the white line in one of the "spokes" not in the ring around the central crater.)
If you don't hesitate, you should be able to get off 10 shots before Willard reaches Lara. This is enough to stun him temporarily.
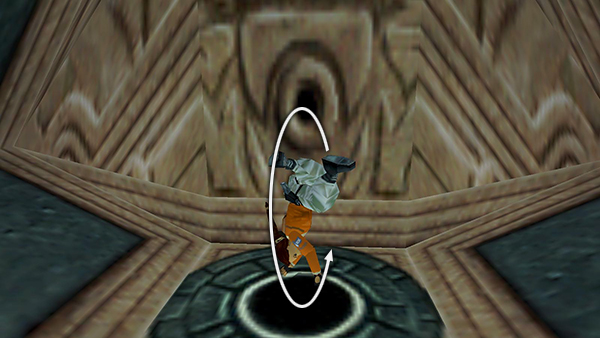
Don't wait for him to collapse, just trust that the 10 shots will do it. Holster your gun and sprint around the circle away from him and outward along the next spoke. You'll hear a "thump" and see the screen shudder slightly as he falls down behind you.
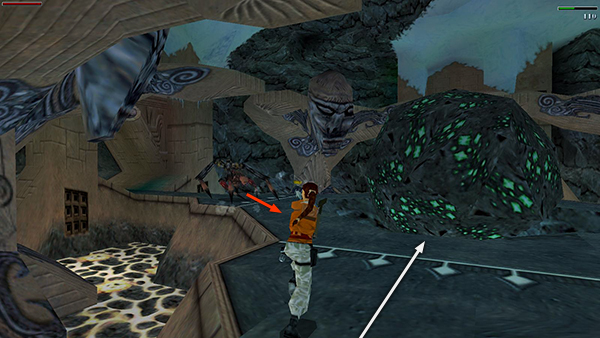
NOTE: Do not sprint down the nearest spoke. Go for the next one in the circle; otherwise when Willard gets up again, he'll be too close to Lara, making it harder to get away.
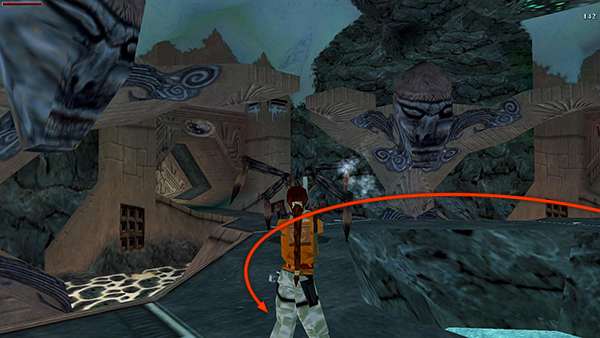
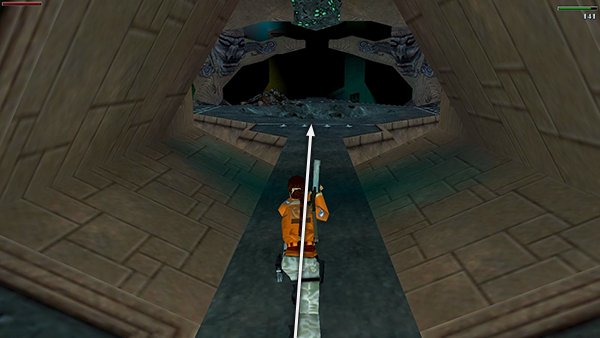
Your stamina bar should just run out as you near the ARTIFACT. If not, release sprint as you approach so you don't overshoot the artifact.
Stop and press Action to pick it up.
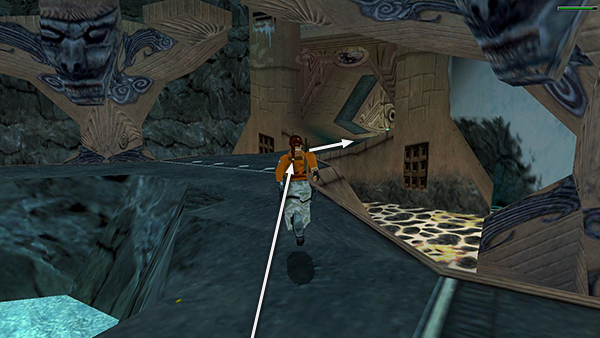
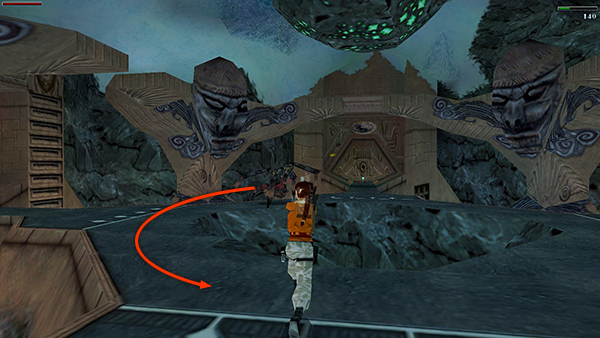
Then immediately roll...
...draw your gun, and sprint back along the spoke and across the white line. Again, be sure to ease off the sprint button as you reach the center ring so Lara doesn't slide into the crater full of blue liquid.
NOTE: If you like, you can save in the middle of the fight, but I recommend doing so only after you've retrieved each of the artifacts. If Willard is just getting up as you're approaching the center, then save. Be sure to use a new slot in case you've misjudged. If he's powering up to fire, then it's already too late. Reload and try again.
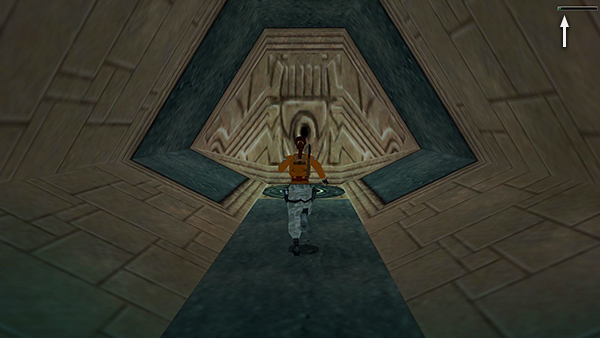
As you near the white line, Lara should target Willard again. Fire 10 more rounds into him as he moves toward you.

This will stun him once more. He should then slump down close to where Lara was standing. Now turn away from him...

...and sprint to the next spoke and retrieve the artifact there the same way.
Repeat this twice more to get the remaining artifacts. I haven't included screenshots for all, since the process is the same each time. You can watch the video if you want to see the whole thing.
When you take the FOURTH ARTIFACT...
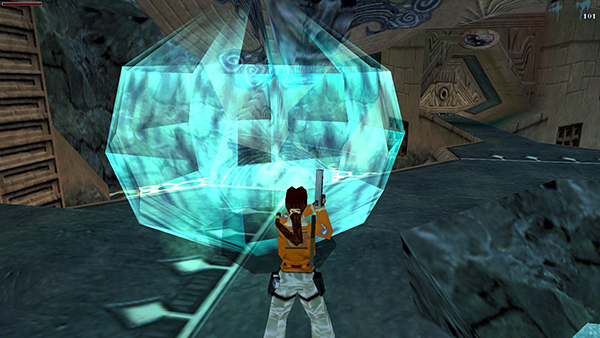
...roll and sprint back to the center once more. This time, as you approach, the huge meteor sinks back into the crater and Willard is now vulnerable.
Start firing again as soon as Lara gets a lock on him but also take care to move back across the white line into the center ring. Then he won't start hurling blue energy.

Carefully back away from him if necessary but keep firing. Ten more Desert Eagle rounds should finish him off.
No more big, annoying spider!
Copyright © 1998- - Stellalune (
). All rights reserved. Feel free to copy or print this walkthrough for personal use. By all means, share it with friends, but please include this credit line so people can send me their feedback. No part of this walkthrough may be reproduced on another site without permission. Follow this link for details about this site's advertising and privacy policy.