Area 51 - Electric Train Track (part 2)
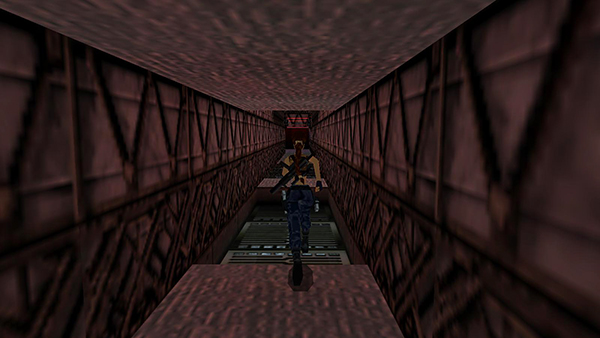
Walk over the first set of grates. It's safe.
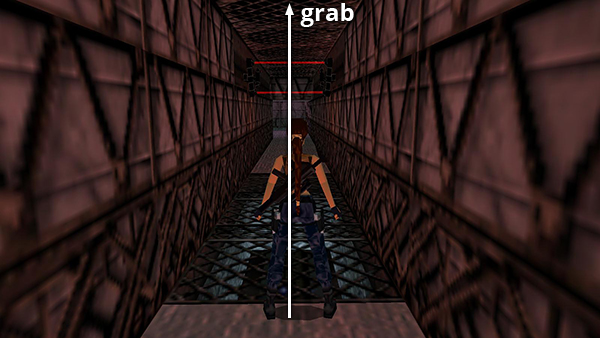
When you come to the second set, use the ceiling grates to monkey swing over them; otherwise you'll fall onto the electrified track when the grates below fall open as you pass over them.
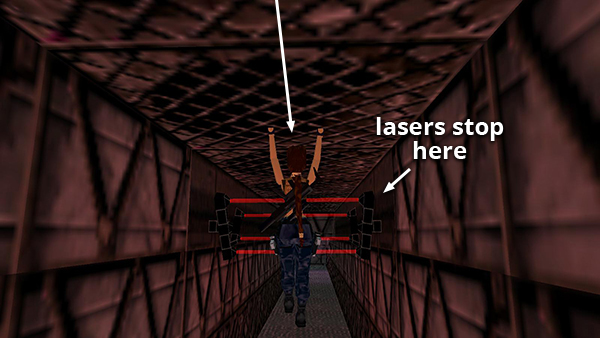
To prevent Lara from being fried by the moving laser trap, monkey-swing as close to it as you can. As long as you stop before the darker section on the wall, Lara will be safe, since that's as far as the trap goes.
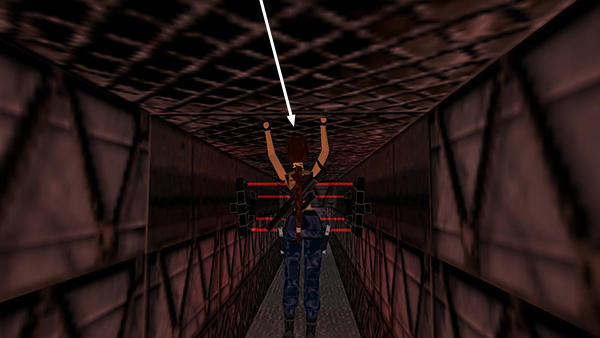
Wait until the laser array moves away and follow it...
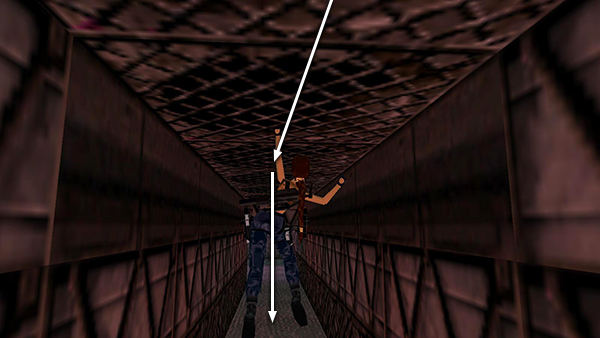
...forward two squares, until you can drop onto solid floor.
NOTE: If you're able to hear the game audio, listen as you monkey swing along and you'll hear the first two grates fall open as you pass over them. Then pause and wait for the laser array to move off before swinging forward after it. You'll hear the third grate fall open as you pass. Then continue forward onto the next square before dropping down.
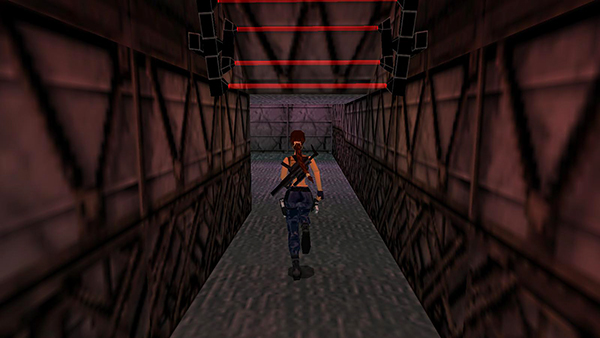
Follow the passageway to a room with an opening in the floor.
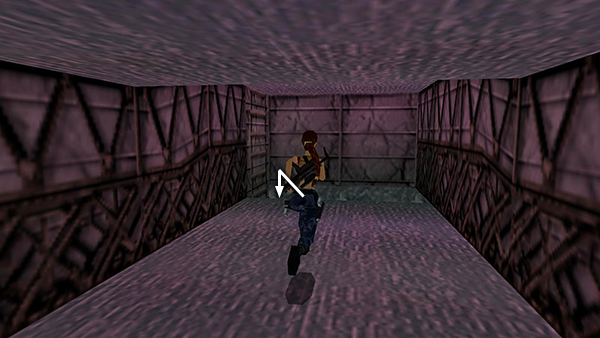
Drop down near the ladder onto the small, square ledge below.
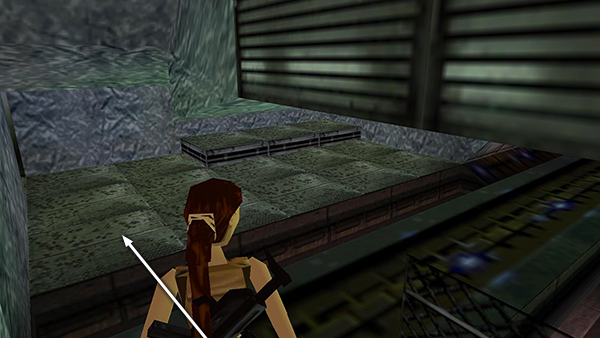
Walk to the edge and take a standing jump across the electrified track to land on the platform on the other side.
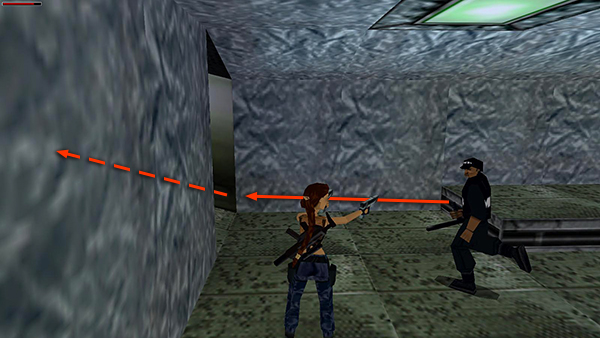
If possible, kill the MP with the baton before he takes off up the ramp.
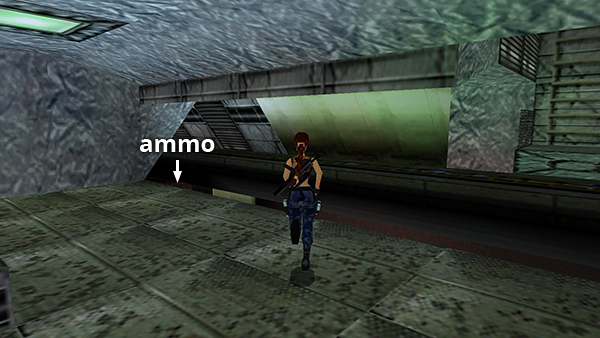
Before heading up the ramp, drop down next to the track and pick up some more shotgun shells on the left.
Copyright © 1998- - Stellalune ( ). All rights reserved. Feel free to copy or print this walkthrough for personal use. By all means, share it with friends, but please include this credit line so people can send me their feedback. No part of this walkthrough may be reproduced on another site without permission. Follow this link for details about this site's advertising and privacy policy.