Area 51 - Outdoor Area and Secret #1
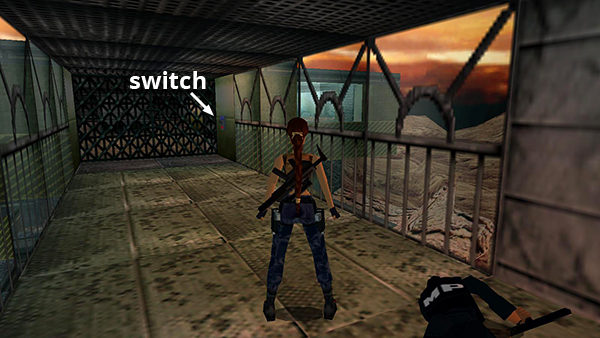
Continue to the end of the windowed hallway. Save the game here if possible since the next sequence is a bit tricky.
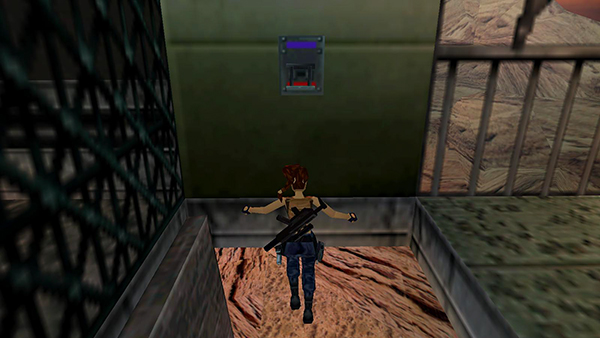
Pull the switch and fall through the trapdoor.
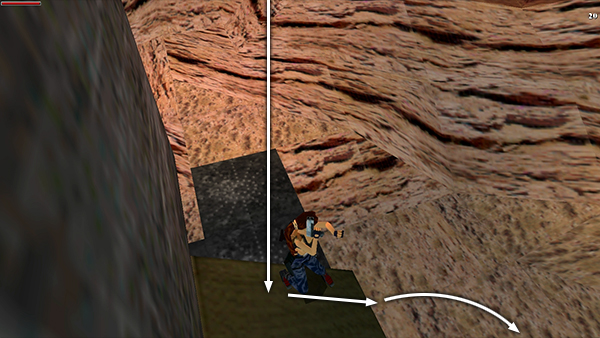
Draw one of your more powerful weapons as you slide to the ground. Then hurry around to the right...
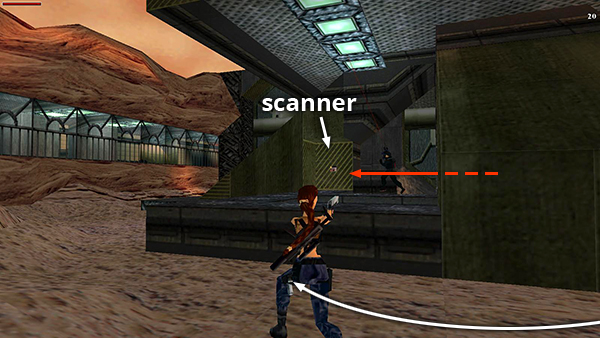
...and kill the guard before he reaches the handprint scanner. If he manages to do this, he'll release a pair of German shepherds and also close a grate that will prevent you from getting the first secret. You'll have to reload and try again if you want it.
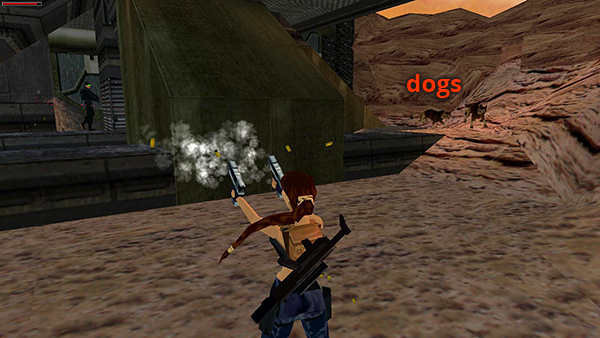
You'll know he's reached the scanner if you see the dogs. If there are no dogs, all is well.
- OR -
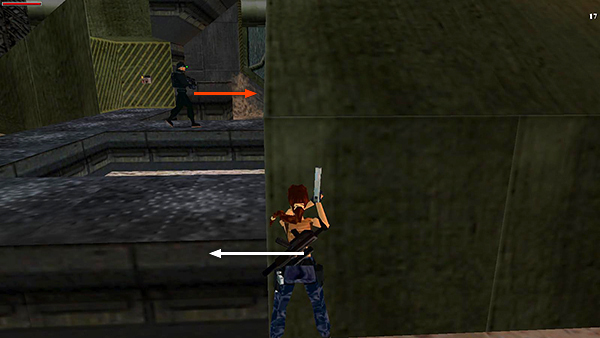
Alternatively, pull the switch to open the trapdoor, slide down to the ground, and circle carefully around to the right, making sure Lara stays hidden behind the wall so the soldier doesn't see her. Use Look to peer around the corner, and when the soldier moves off to the right, sidestep or flip to the left and shoot him before he can go for the scanner.
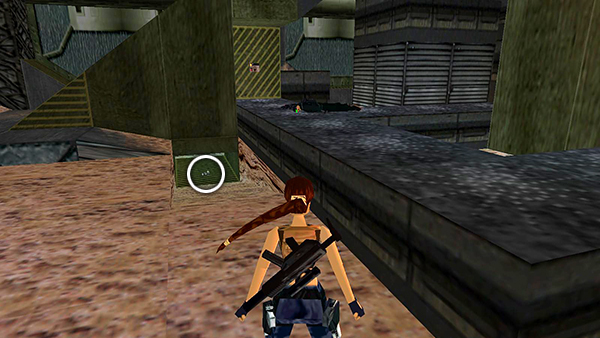
Make a couple of other pickups before going after the secret: Crawl into the tunnel to the left of the scanner panel for some grenades. This will be the GRENADE LAUNCHER if you don't already have it. Continue out the other side of the crawlspace.
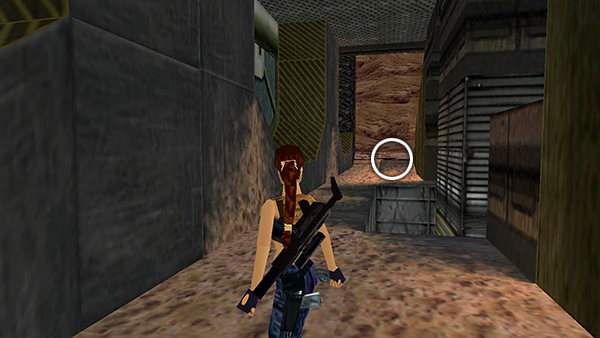
Climb out of the hole and head to the right to find some shotgun shells lying out in the open.
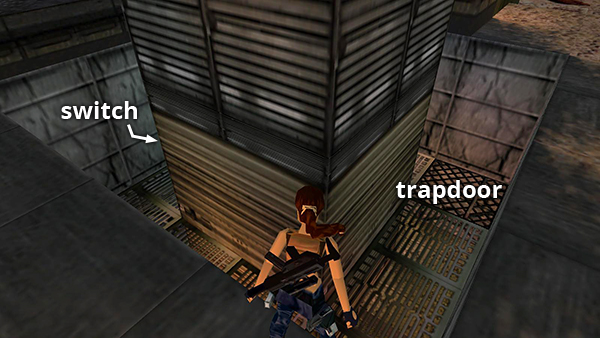
Now hop down into the pit with the grating floor. Avoid the black trapdoor in the right corner for now. Go around to the left...
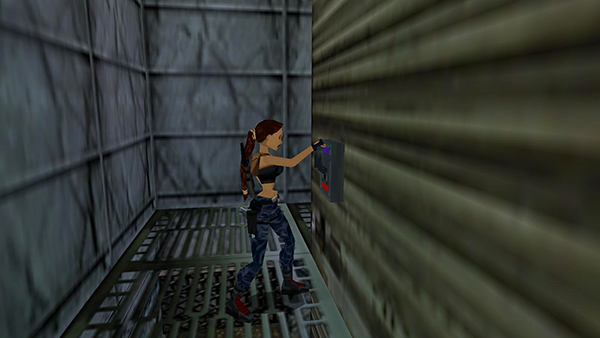
...and pull the switch to raise a small door below on the right. (This is not the door over the secret. That's the one below on the left. It should already be open if you killed the soldier before he could reach the scanner earlier.)
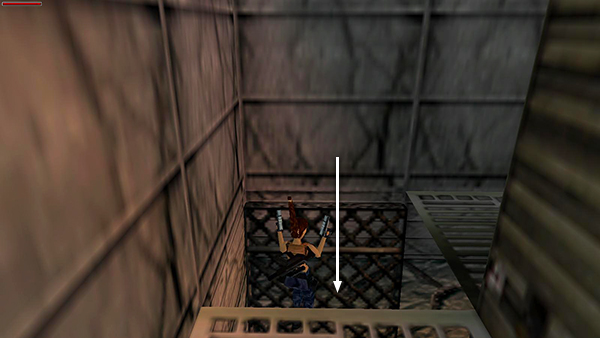
Walk around the grating to the trapdoor and fall through.
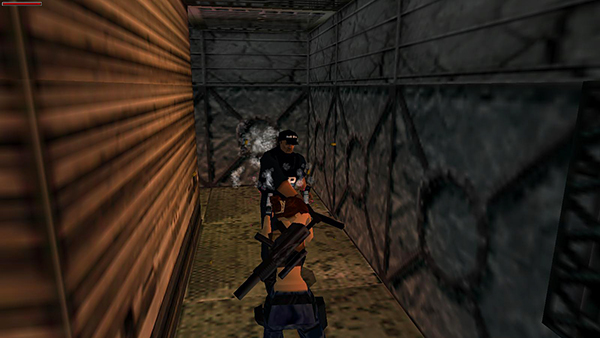
Kill another guard with a baton.
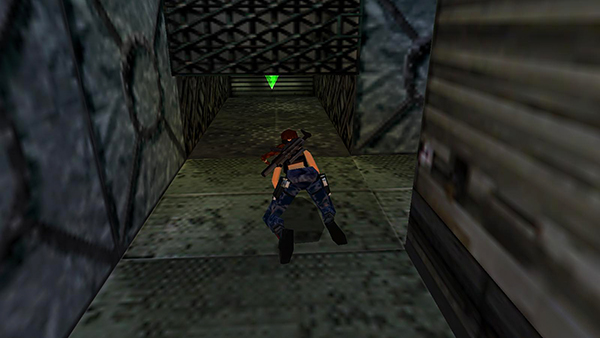
Then crawl into the little alcove with the save/power-up crystal—that's SECRET #1.
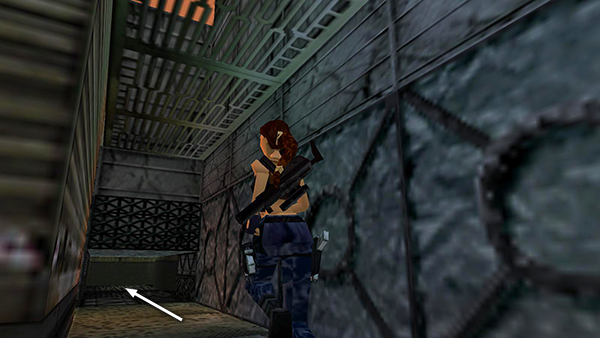
Crawl out and continue forward through the crawlspace directly opposite. This is the one you opened with the switch above.
Copyright © 1998- - Stellalune ( ). All rights reserved. Feel free to copy or print this walkthrough for personal use. By all means, share it with friends, but please include this credit line so people can send me their feedback. No part of this walkthrough may be reproduced on another site without permission. Follow this link for details about this site's advertising and privacy policy.