Area 51 - Missile Silo to Outdoor Area with Guard Tower
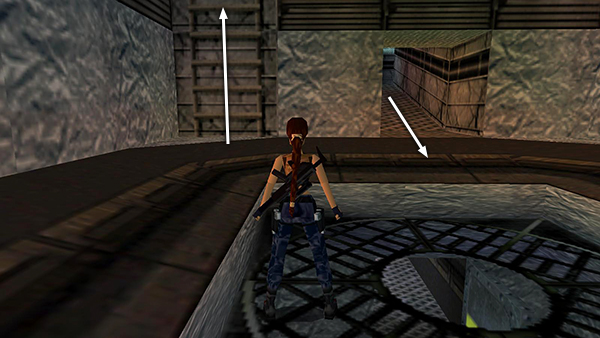
After launching the missile, return to the room where the missile was (as described in the main walkthrough). Inside, make a U-turn to the right and climb the long ladder. (The other ladder doesn't go all the way to the top of the room.)
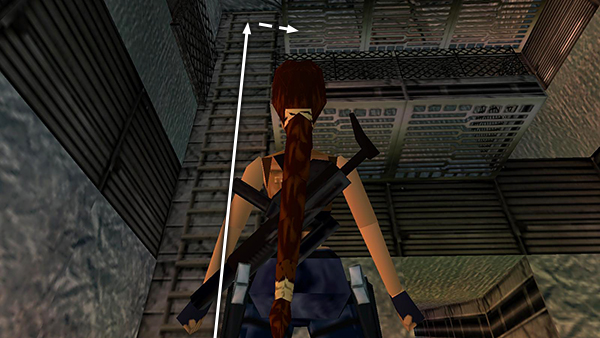
At the top of the ladder, dismount on the right. Note that until you launch the missile, the trapdoor at the top of this ladder is closed, preventing you from climbing all the way up.
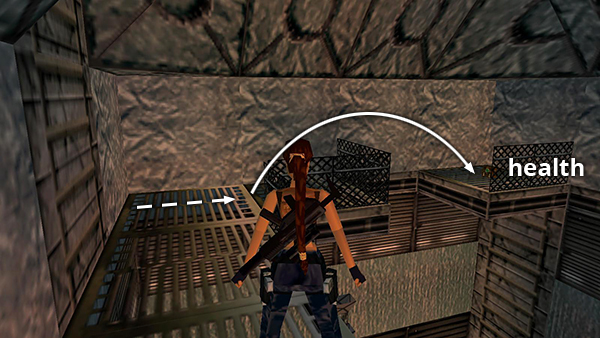
At the top of the ladder, move into the corner and position Lara facing the ledge with the large medi pack and her back against the wall. Take a running jump over the railing and the gap beyond to land on the ledge with the medi pack.
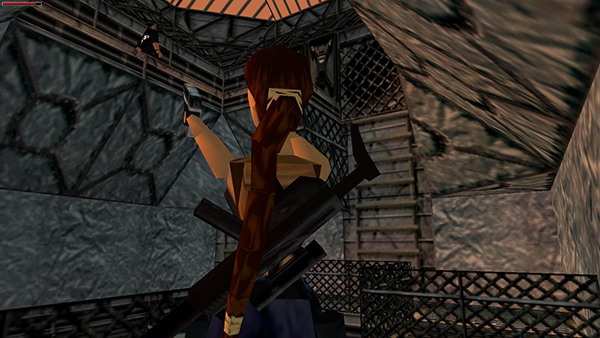
Grab it, turn around, and draw pistols. You can probably take out the baton-wielding MP on the ledge above.
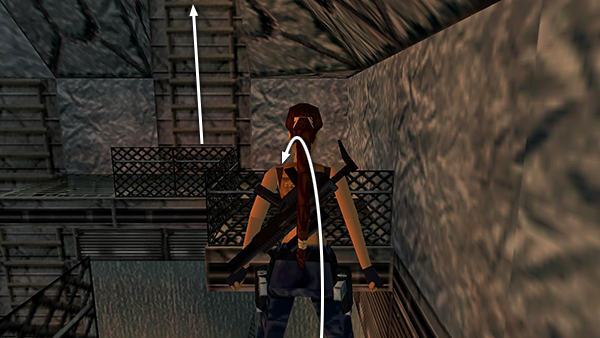
Then walk to the edge and take a standing jump back over the railing to the ledge near the ladders. Climb all the way to the top.
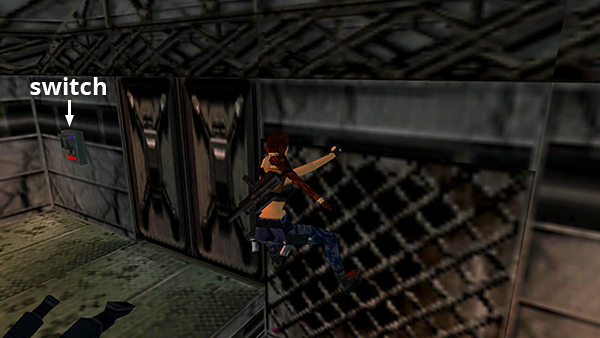
If you shot the MP from below, dismount on the left. Otherwise dismount on the right so you'll have more time to shoot him as he approaches. Use the switch to open the doors.
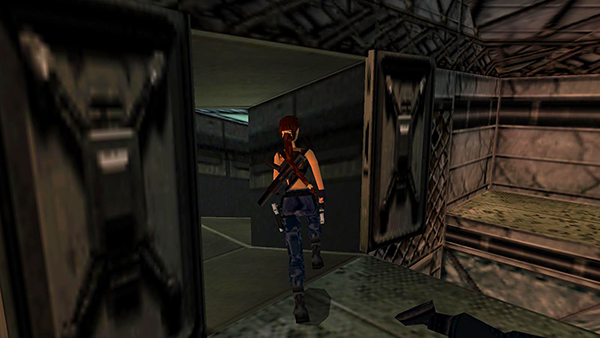
Enter and follow the passageway to a crawlspace.
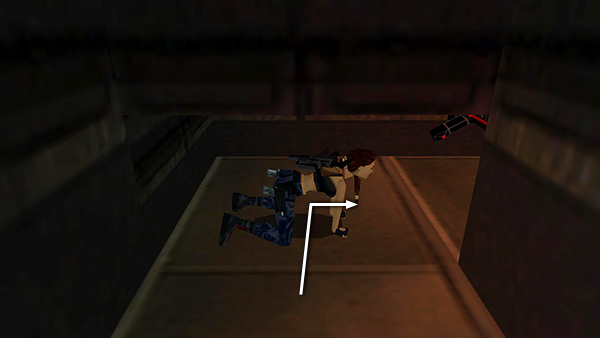
Crawl in and turn right but don't go forward yet. There's a rolling laser trap just ahead.
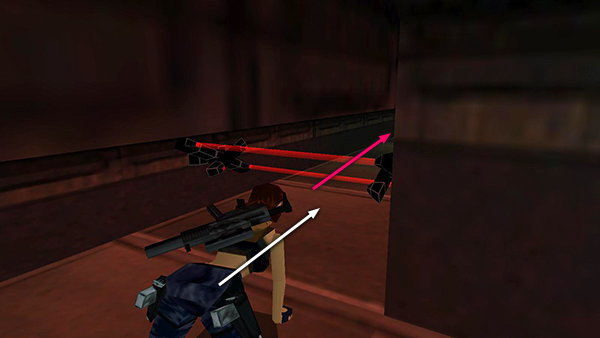
To get past it, crawl after it as it moves away.
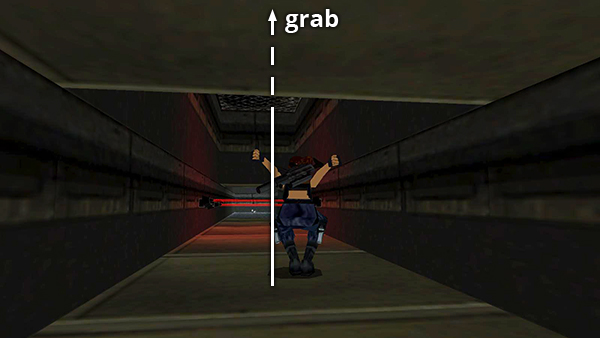
Then as soon as Lara can stand again, jump straight up to grab the grate on the ceiling.
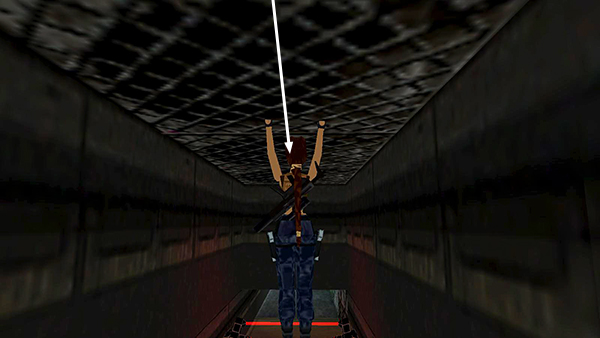
Monkey swing along above the lasers to the farthest grate.
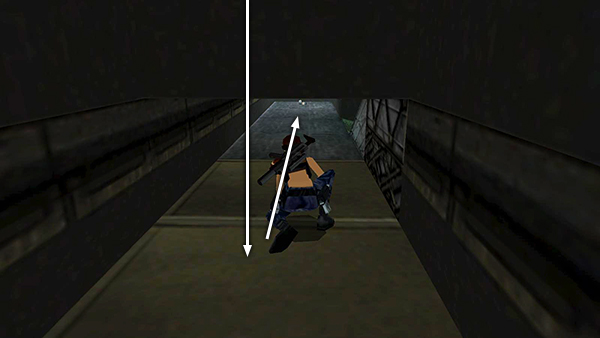
Then when the laser array moves off behind you, drop down and quickly crawl through.
Copyright © 1998- - Stellalune ( ). All rights reserved. Feel free to copy or print this walkthrough for personal use. By all means, share it with friends, but please include this credit line so people can send me their feedback. No part of this walkthrough may be reproduced on another site without permission. Follow this link for details about this site's advertising and privacy policy.