Wreck of the Maria Doria - Underwater Tunnel to Level Exit
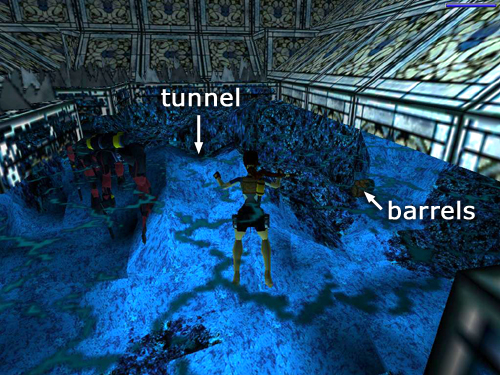
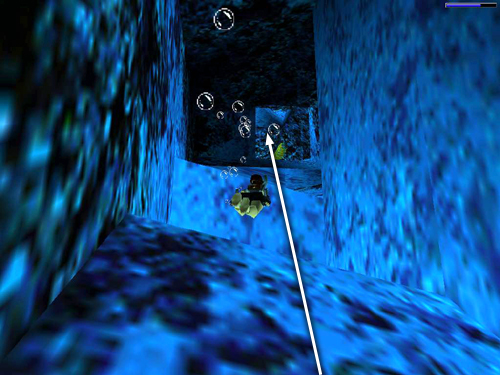
The tunnel leading to the end of the level is hidden behind the rock formation to the left of the barrels on the sea floor. Swim down behind those rocks. . .
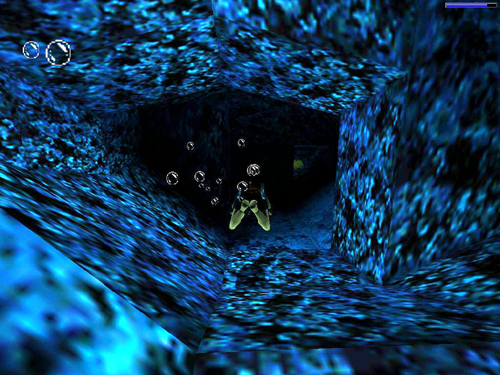
. . . and forward through the dark passage.
The 4 yellow eels that inhabit this tunnel are actually hazards more than enemies since you can't damage them. They try to bite Lara as she passes but don't do too much damage as long as you keep moving.

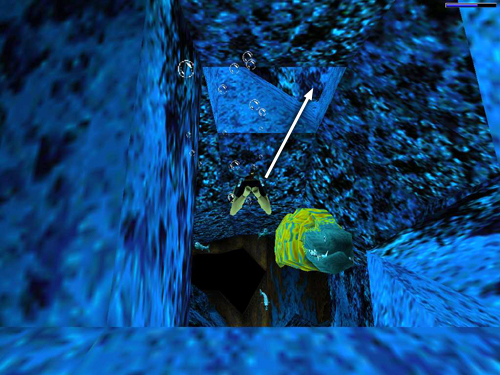
So swim forward as the tunnel narrows.
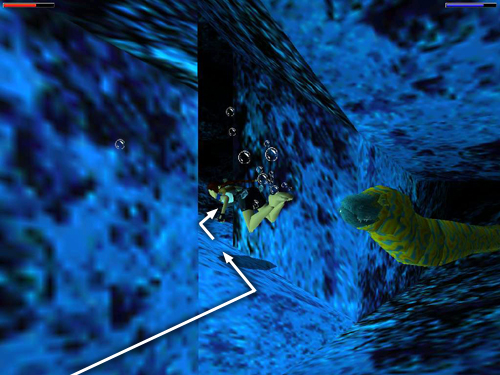
Then immediately turn left into the narrow passage just before the first eel, then turn right just before the second eel.
Continue quickly past the second eel.
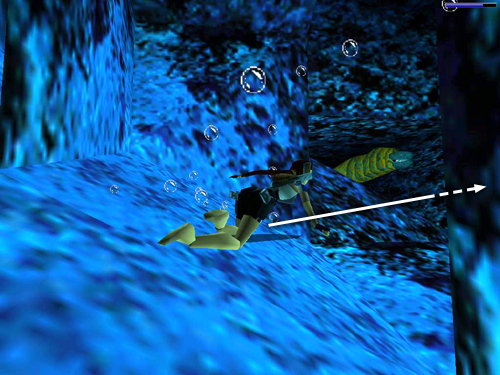
Just beyond the second eel, the rocky passage slopes upward. The third eel is just ahead on the left. Swim straight on through the opening where the fourth eel is floating.
Here, you'll encounter 3 barracudas. There's also a square opening in the ceiling where you can climb up into a little air-filled cave.
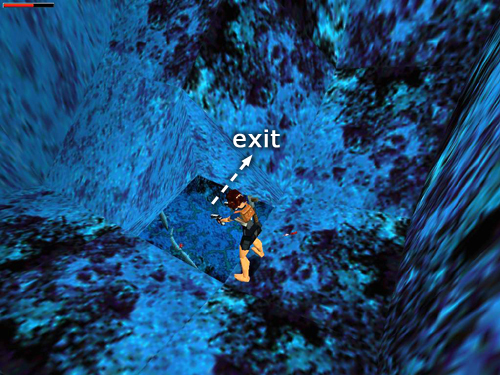
Shoot the barracudas through the opening with pistols if you like. Otherwise, harpoon them or just continue swimming straight ahead past the opening.
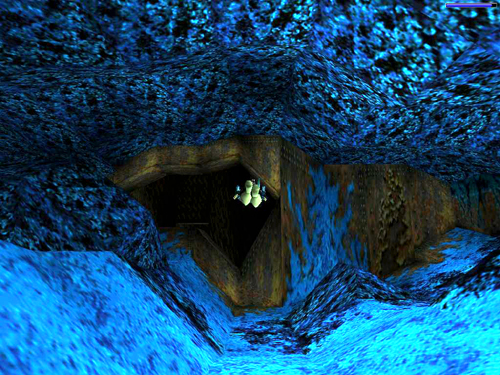
Here the tunnel widens into an underwater cave. A little farther on is a large opening made of rusted metal. Swim into it to end the level.
Copyright © 1998- - Stellalune (). Feel free to copy or print this walkthrough for personal use. By all means, share it with friends, but please include this credit line so people can send me their feedback. No part of this walkthrough may be reproduced on another site without permission. Follow this link for details about this site's advertising and privacy policy.
Stella's Tomb Raider Site: tombraiders.net.