Wreck of the Maria Doria - Second Circuit Breaker
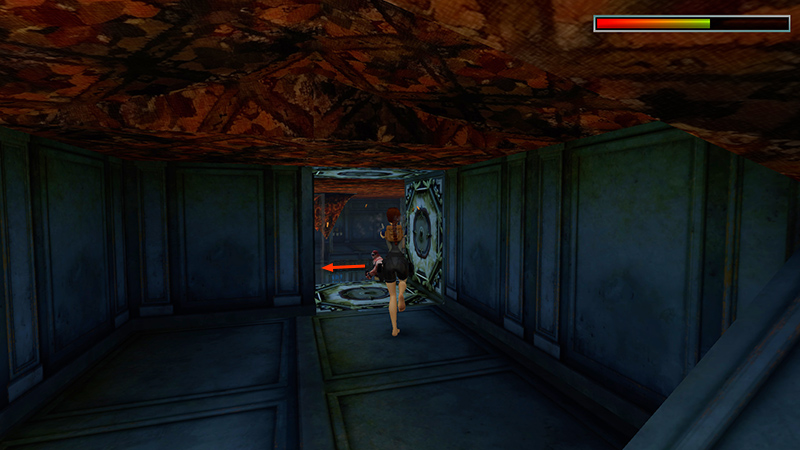
In the last section, we made our way through the area behind the BALLROOM to this doorway overlooking a large, square room with balconies on all four walls. Three thugs with guns (13-15) await. One is patrolling the upper level just inside. You can probably shoot him from the doorway.
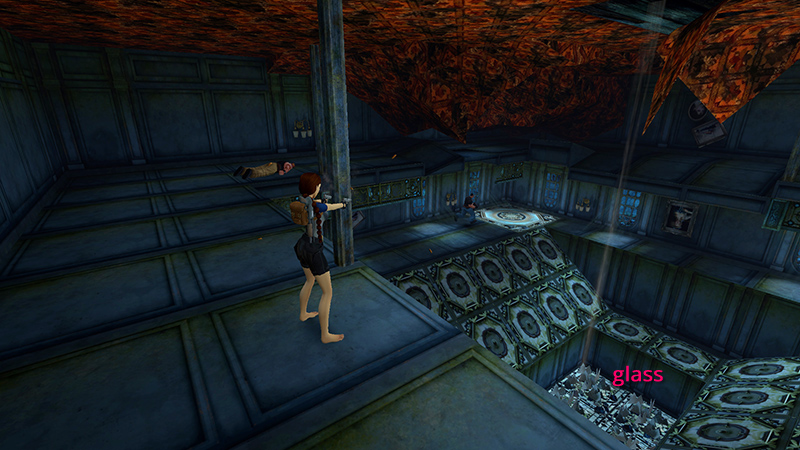
The other two are on the level below.
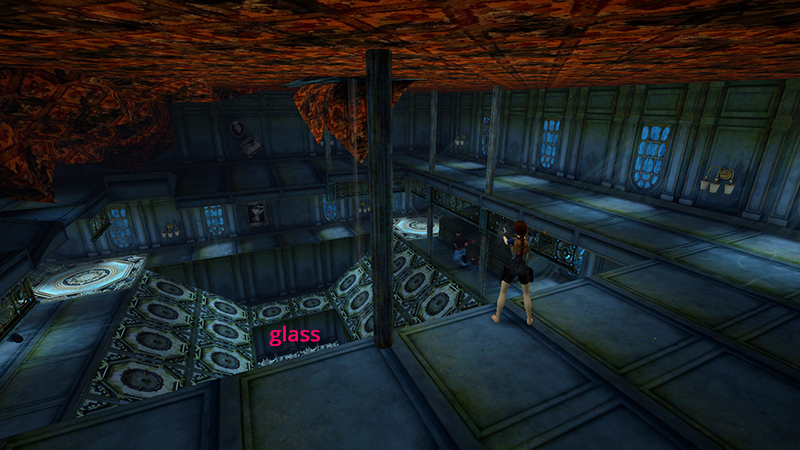
You may need to move around the upper level to get a clear shot at each of them. Take care not to fall. Below, what was once an elegant, domed ceiling is now a pit lined with broken glass above shark-infested waters.
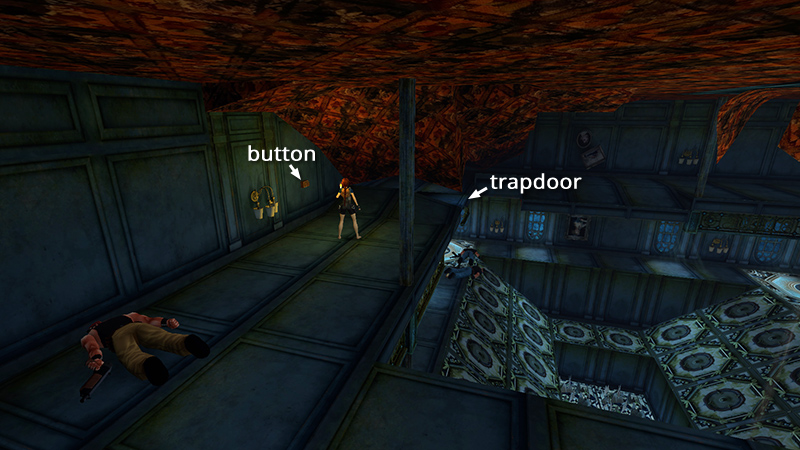
When you've taken care of the bad guys, go around to the left side of the upper level (i.e., left when Lara's back is to the entrance) to the button on the wall. This button opens a timed trapdoor to the right. You can run all the way around the perimeter and take a running jump through the trapdoor before it closes (shown below). But first try this shortcut: Save the game.
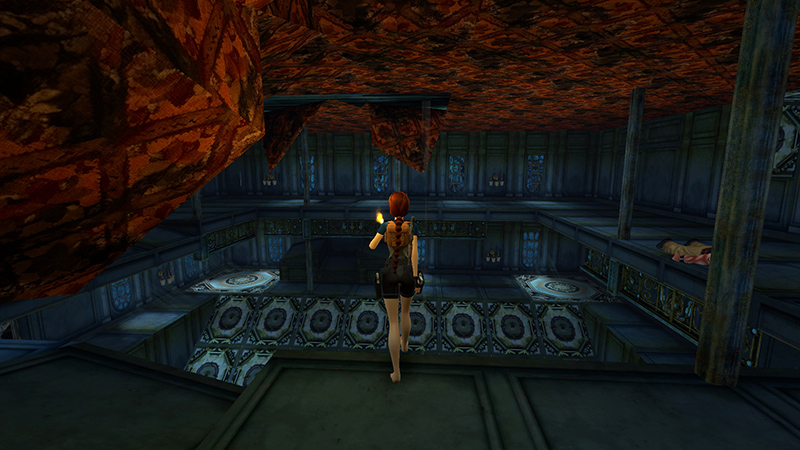
Then walk to the edge...
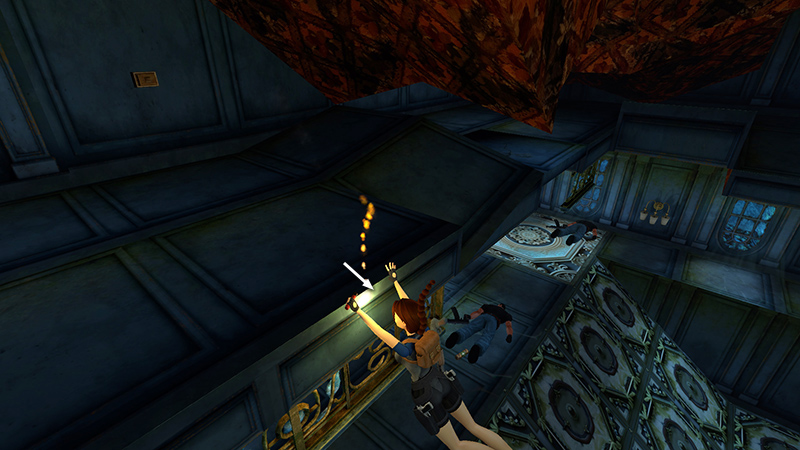
Turn around to face the button. Then press Action + Back/Down, as though you were going to drop and grab the edge. But before Lara can grab, release the controls...
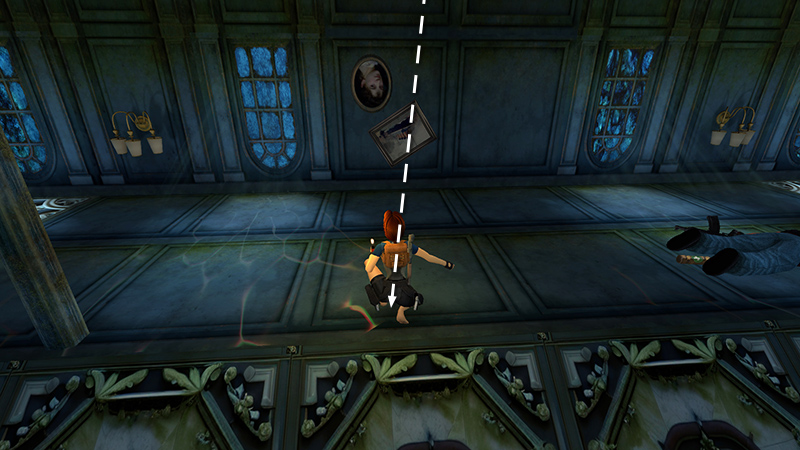
...and she'll fall slightly forward, landing safely on the ledge below.
NOTE: Details and a video tutorial for this safety-drop maneuver or "fake grab" can be found in my Useful Bugs section.
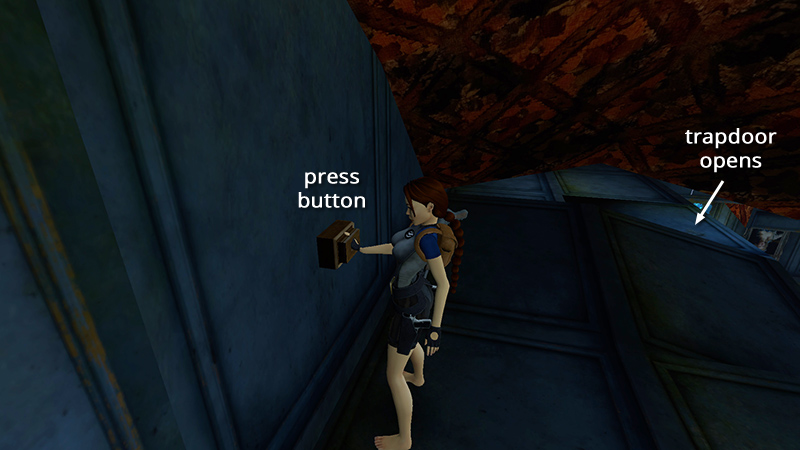
If you aren't able to finesse this glitch, reload and try the timed run as the designers intended: Press the button to open the trapdoor.
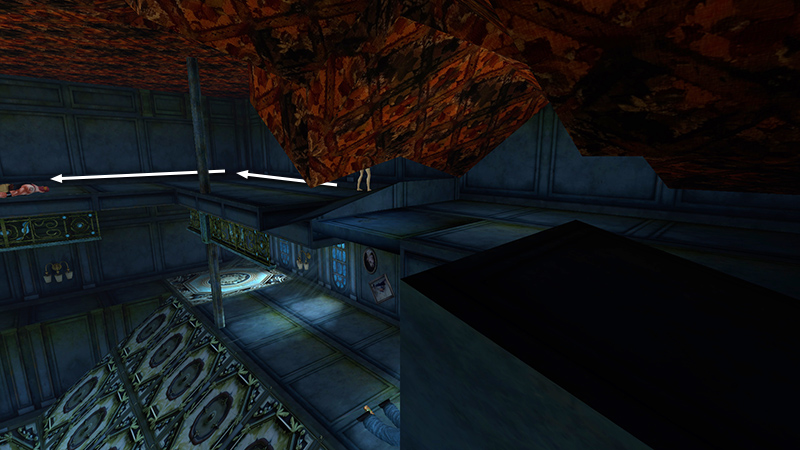
Then run all the way around the perimeter of the room...
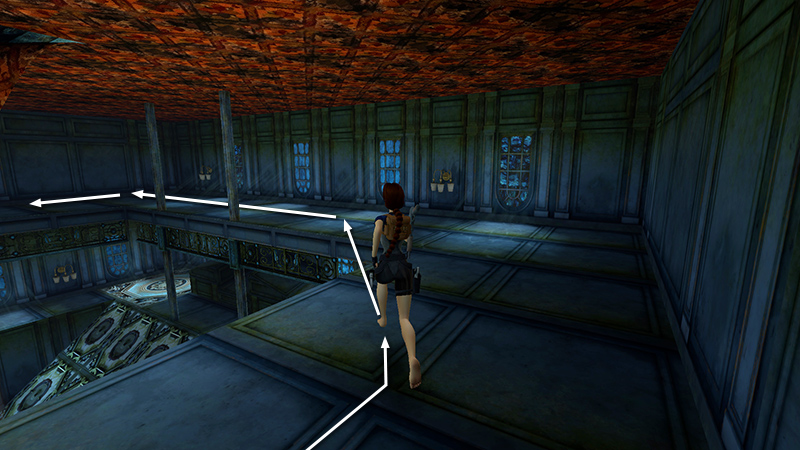
...taking running jumps whenever possible to cover more ground faster.
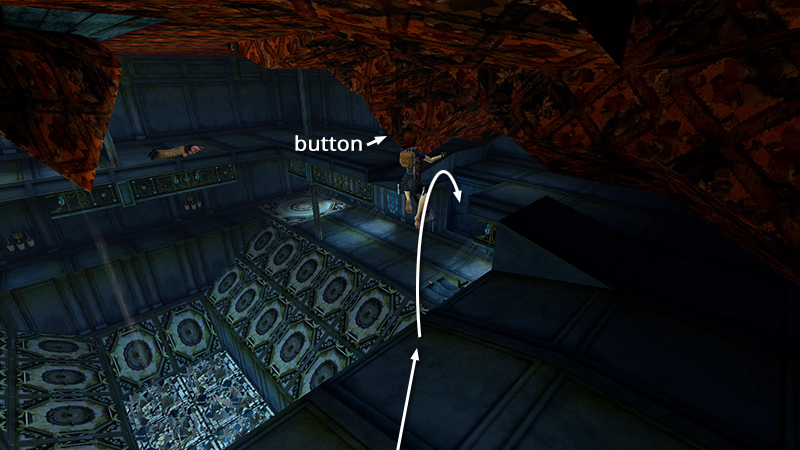
On the other side, take a running leap to sail through the open trapdoor...
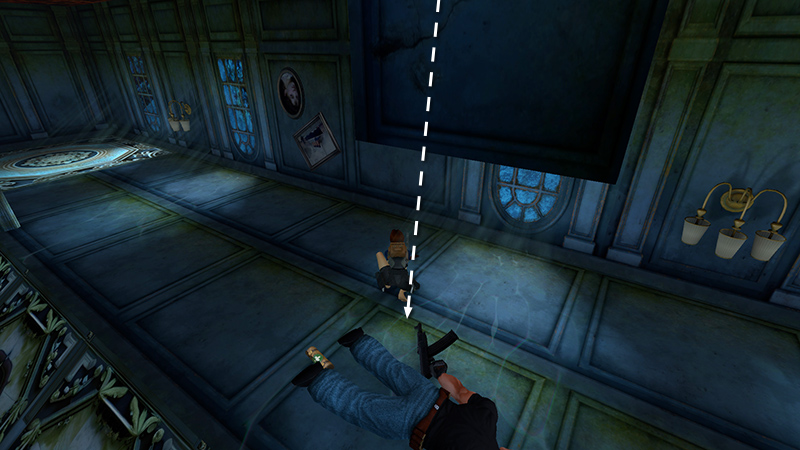
...and land on the level below.
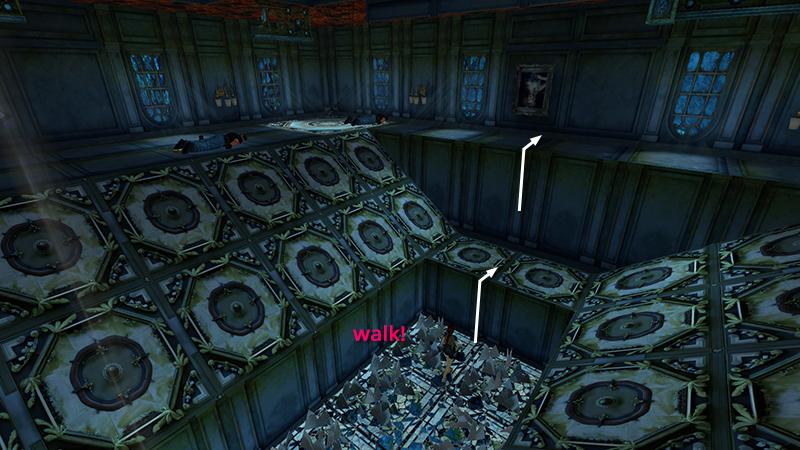
Obviously, you should try not to fall into the glass-lined pit, but if you do and Lara survives, walk through the shards to the flat ledge at one end, where you can climb out. Then continue with the pickups on the lower level.
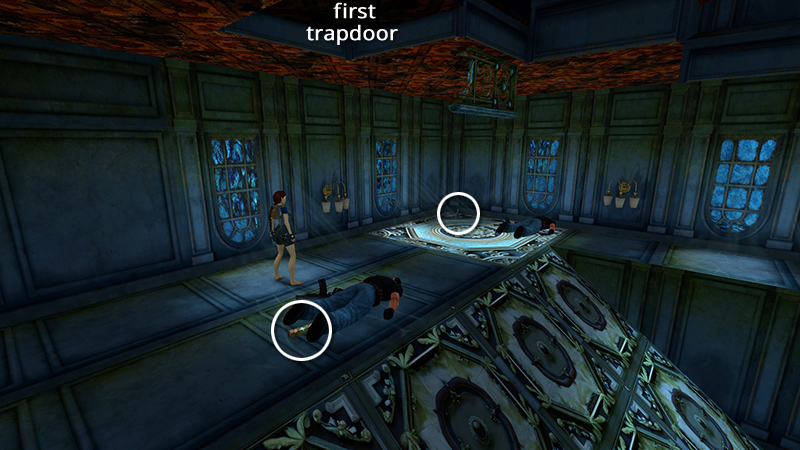
Collect a small medi pack (15) from one of the bodies and the SECOND CIRCUIT BREAKER (16) lying on the floor in one corner. When you step on the corner tile where it sits...
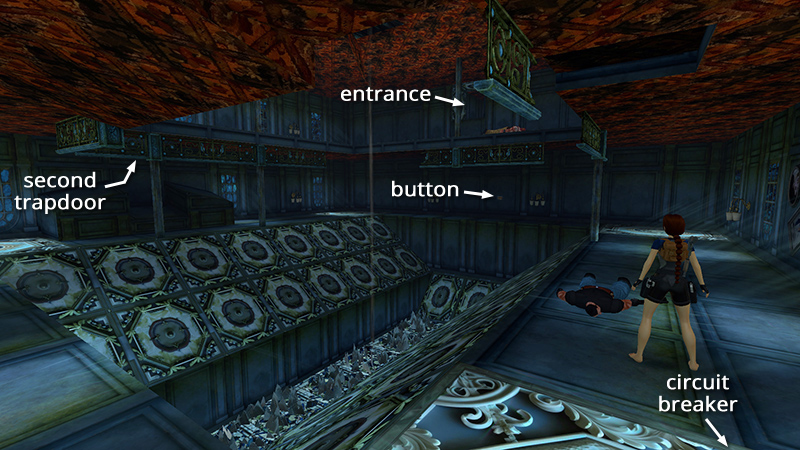
...a second trapdoor opens on the other side of the room. But don't go there yet. First, press the button on the wall below the entrance...
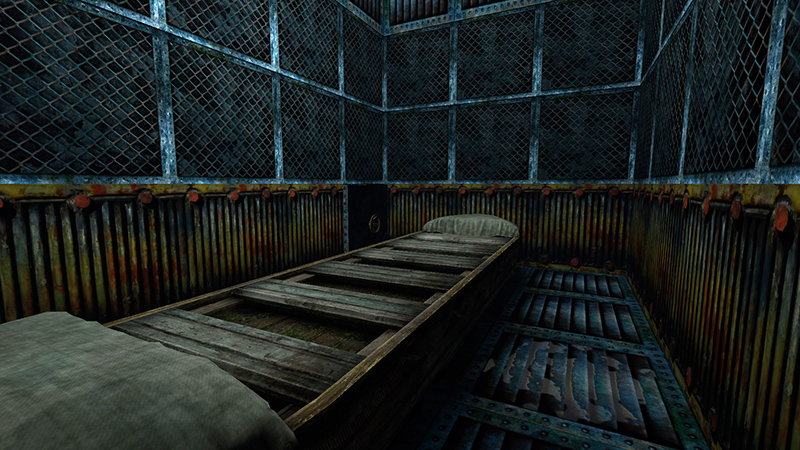
...to drain the water from the FLOODED ROOM WITH THE FLOATING LIFEBOAT.
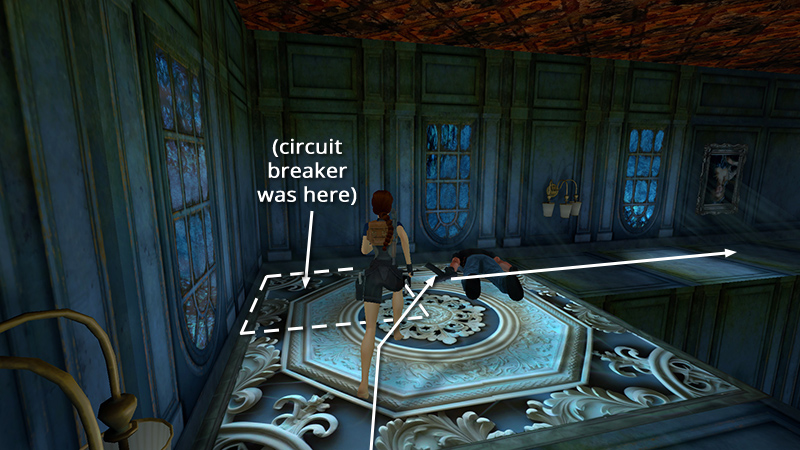
Then return to the corner tile where you picked up the CIRCUIT BREAKER. Run across it...
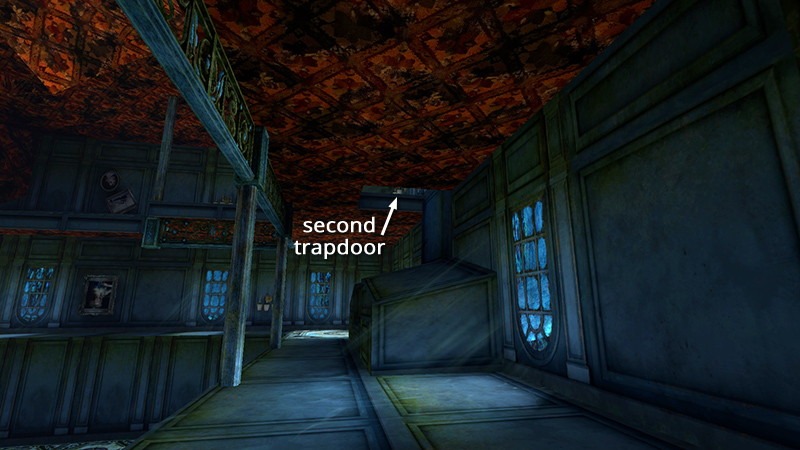
...to open the trapdoor, which stays open for about 20 seconds.
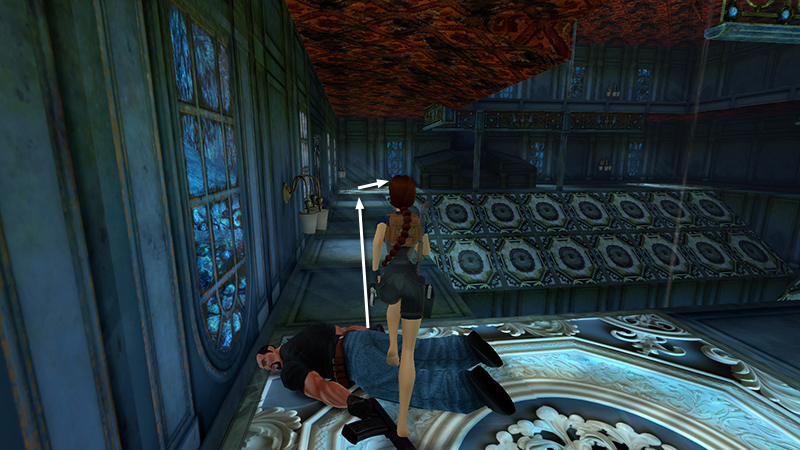
Run around...
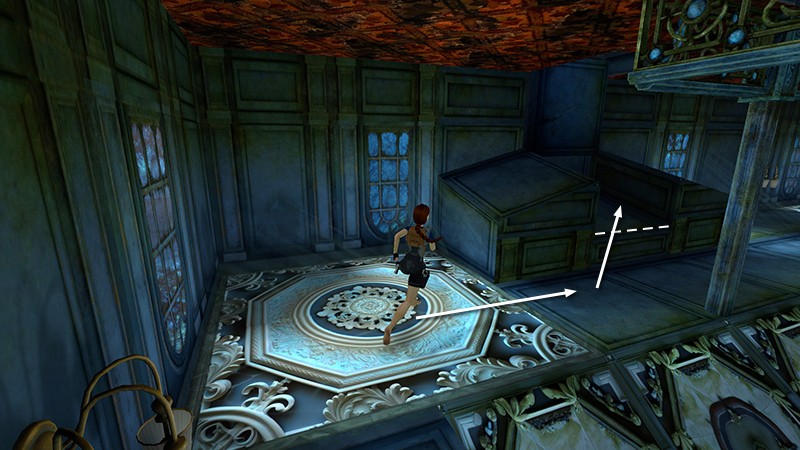
...to the low ledge beneath it...
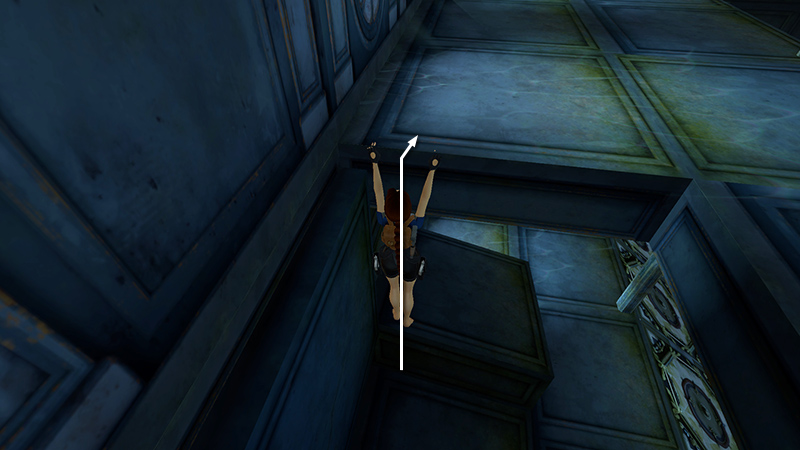
...and pull up onto the upper level.
DARK MODE: I plan to add optional dark mode for these pages, but my current priority is updating the walkthroughs. Meanwhile, may I suggest a reputable dark mode browser extension, such as Dark Reader? (Download only from trusted sites, like darkreader.org or your browser's official add-on/extension site.)
Walkthrough text and diagrams copyright © Stellalune (email ). Feel free to copy or print this walkthrough for personal use. By all means, share it with friends, but please include this credit line so people can send me their feedback. No part of this walkthrough may be reproduced on another site without permission.