The Ice Palace - Alcove Above Yeti Cage and Secret #1 Gold Dragon
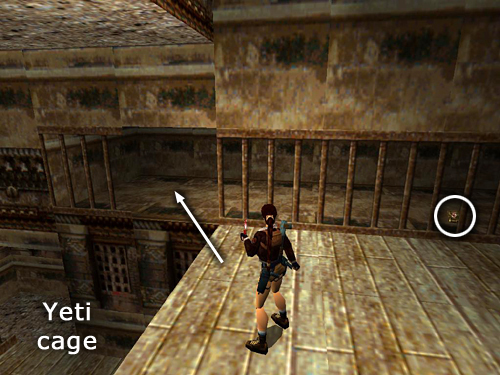
Along the right side of the room, just above the Yeti cage, is a barred alcove. Jump into this alcove and pick up another large medi pack.
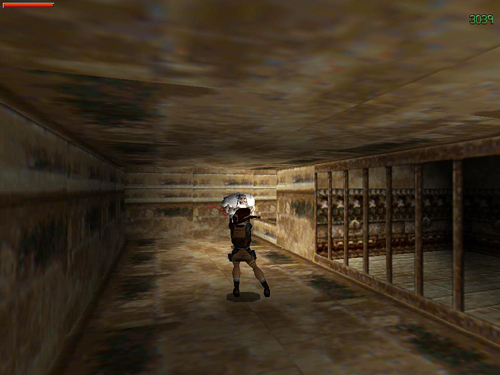
Continue toward the back of the alcove with guns drawn. Another Yeti charges down the stairs as you approach. Kill it.
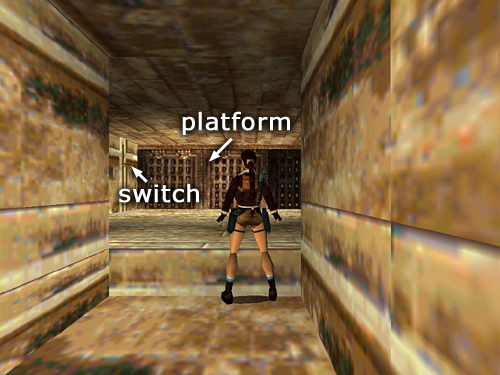
Continue up the stairs and pull the switch there to raise a metal platform in the next room.
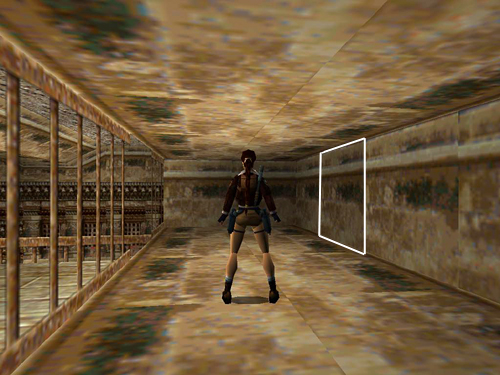
Return downstairs to the barred alcove above the Yeti cage, where you just found the medi pack. Locate the movable block set into the wall just across from the gap in the bars. (It's outlined in the screenshot above.)
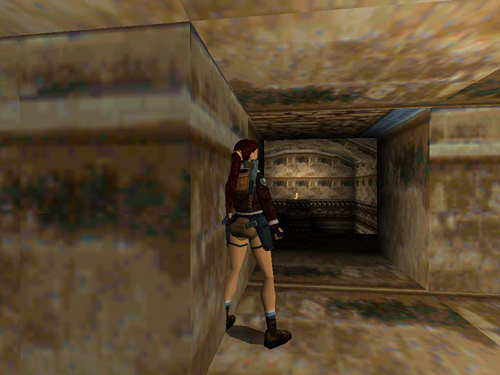
Pull out the block and push it aside to gain access to a large room. SECRET #1, the Gold Dragon, sits on a high platform at the other end of the room.
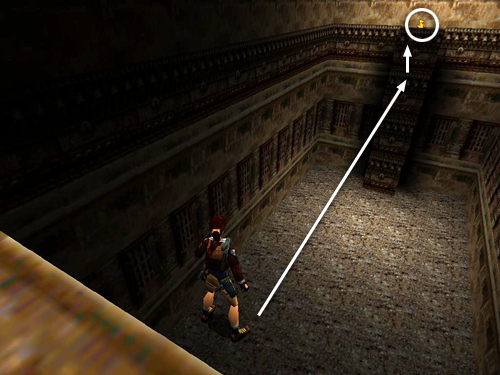
To get across requires a "leap of faith" à la Indiana Jones. Position Lara squarely facing the platform with the dragon statue and step off the edge to land on an invisible bridge, which will take you across to the dragon and back. The bridge is just one block wide, so be careful to move straight across or hold the Walk button so Lara doesn't accidentally step off the edge.
Copyright © 1998- - Stellalune (). Feel free to copy or print this walkthrough for personal use. By all means, share it with friends, but please include this credit line so people can send me their feedback. No part of this walkthrough may be reproduced on another site without permission. Follow this link for details about this site's advertising and privacy policy.
Stella's Tomb Raider Site: tombraiders.net.