Ice Palace - Secret #2 (Silver Dragon) and Tibetan Mask
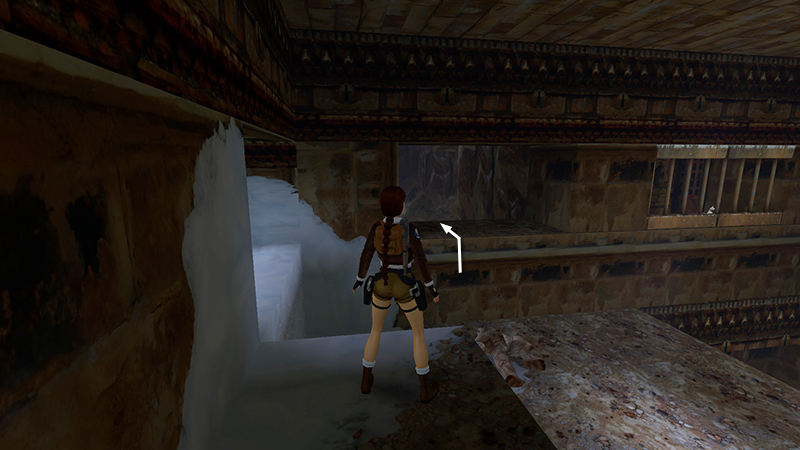
After ringing various bells and bouncing on various springboards, as shown in the last section, you end up in this room above the starting area. Notice the dragon statuette behind the barred window. To get it, climb into the opening where the Yeti came in.
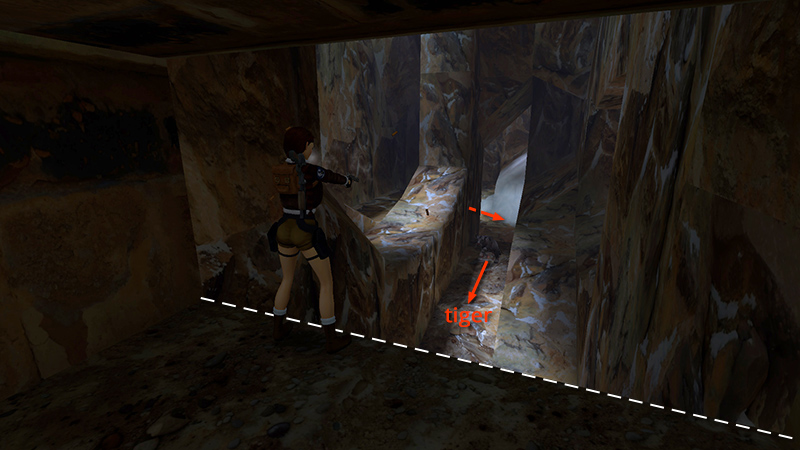
Step to the far edge and wait for a white tiger (6) to charge toward you along the passageway. Kill it from above.
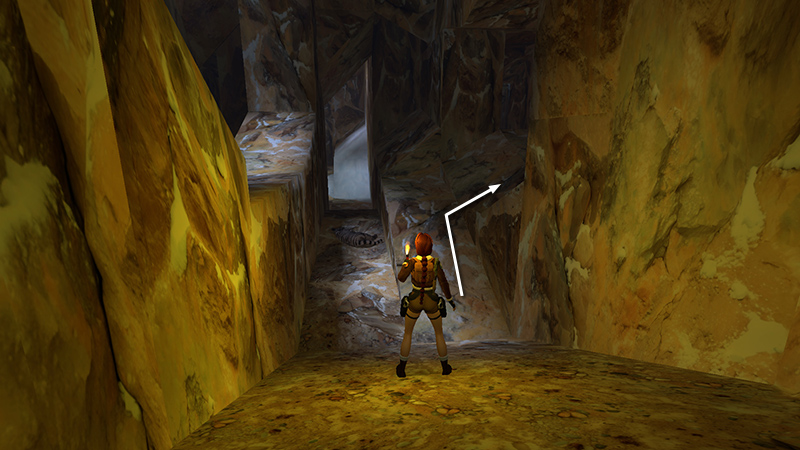
Then hop down onto the path and climb onto the ledge on the right.
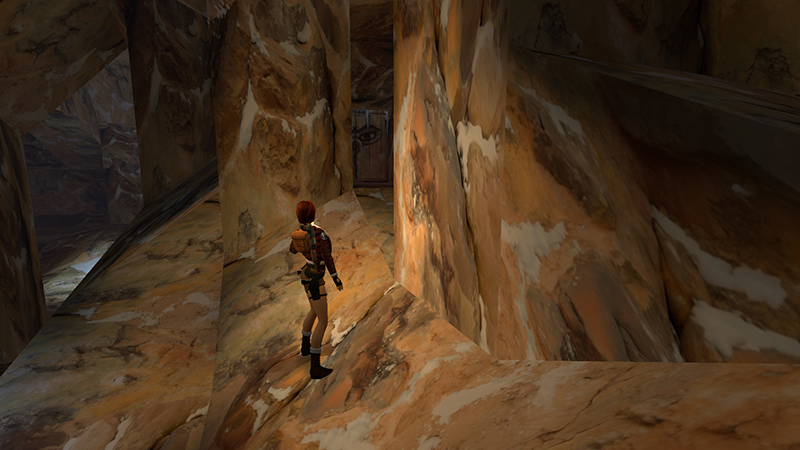
Note the painted wooden door on the left. We'll open it shortly.
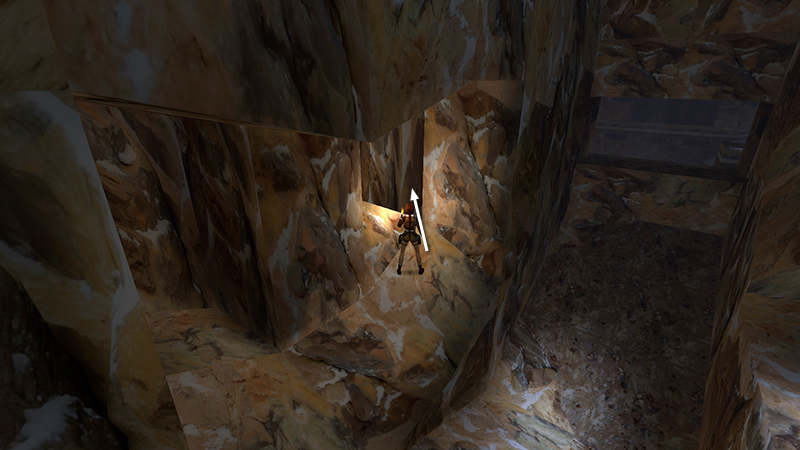
Jump into the angled opening on the right...
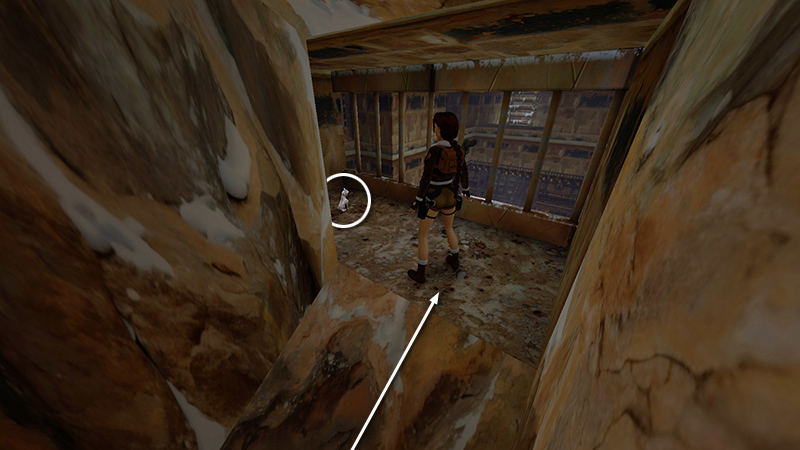
...and follow the short tunnel to the to the barred window with the Silver Dragon (7). This is SECRET #2.
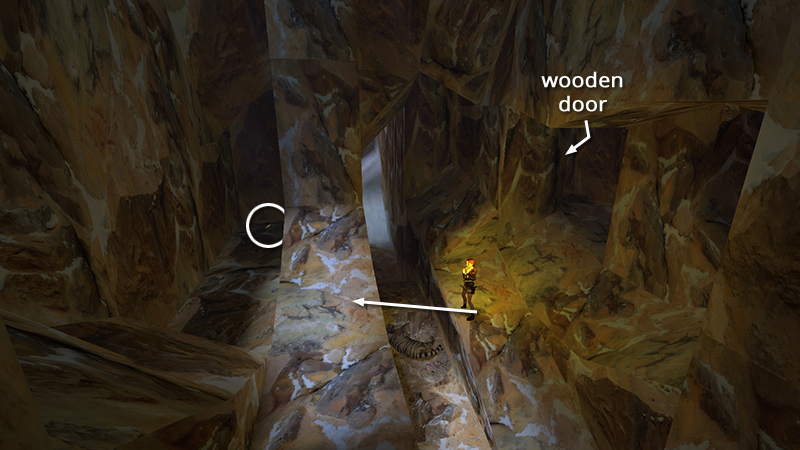
Return to the main tunnel and jump/climb onto the opposite ledge. Go to the right end to find a small medi pack (8).
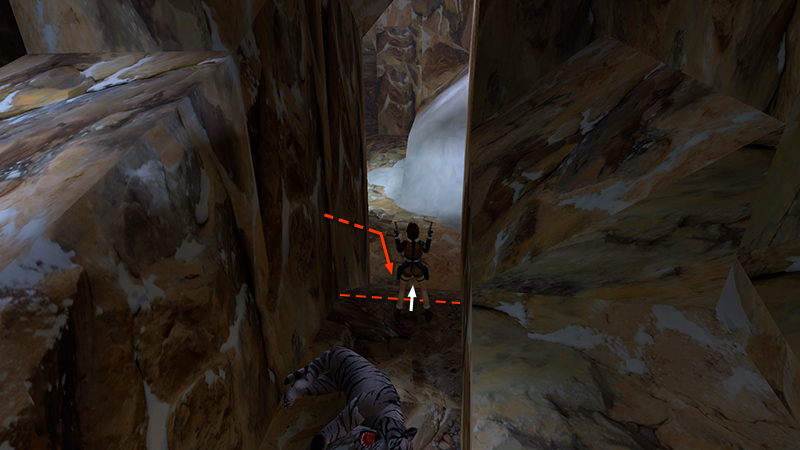
Then return to the path, draw weapons, and continue toward the end of the passageway. Just ahead is a room with 3 more tigers (7-9). One charges when you reach the end of the path. Kill it quickly with a few shotgun blasts, or...
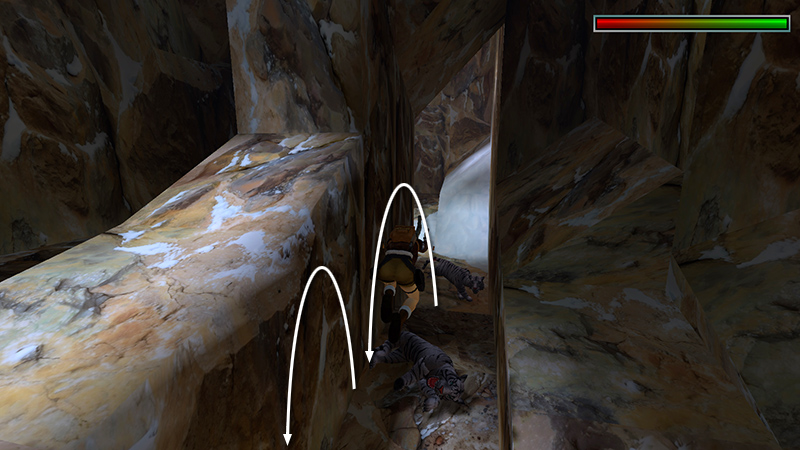
...or backflip along the path while firing pistols.
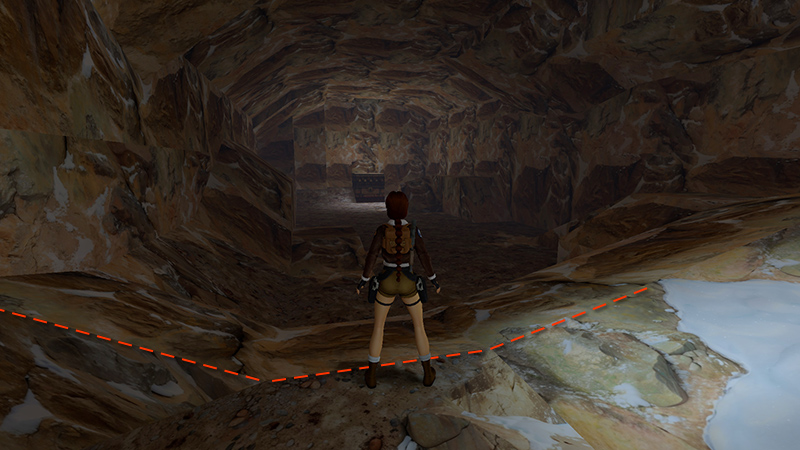
The other two emerge as you move farther into the room. If you like, you can advance just far enough to spawn them...
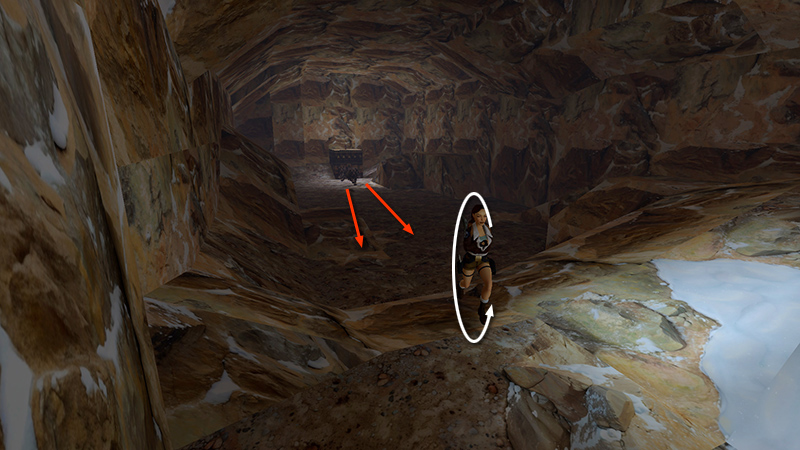
...roll...
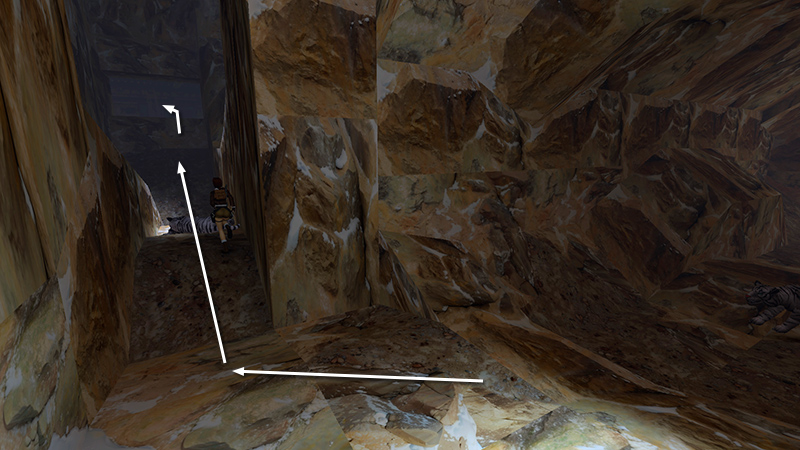
...then race back to the ledge at the entrance...
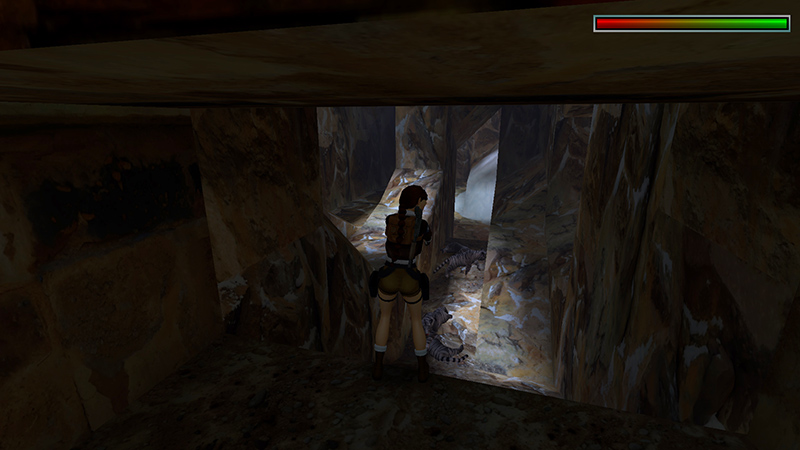
...and shoot them from above. (You may have to hop down once or twice to get their attention.)
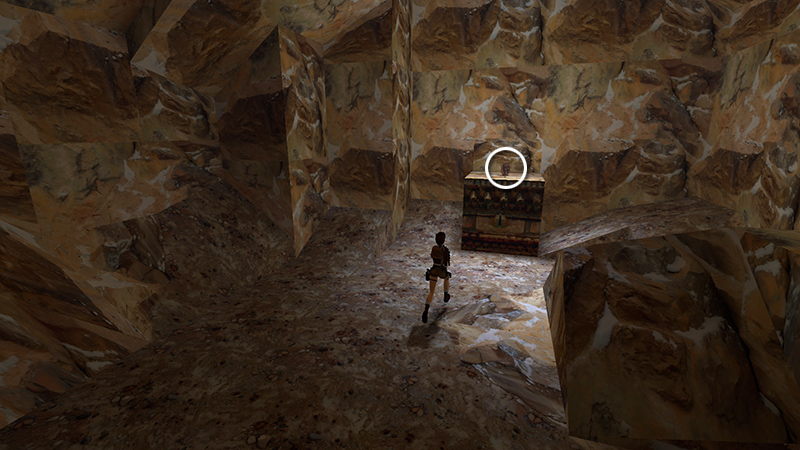
Afterward, retrieve the TIBETAN MASK (9) from the pedestal in the room where the tigers originated. Doing so also opens the painted wooden door.
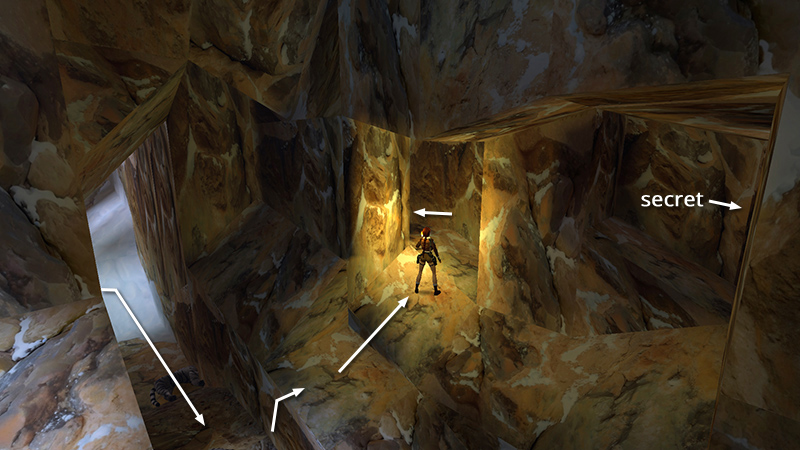
Return to the rocky passageway where you killed the first tiger. Climb onto the ledge on the left...
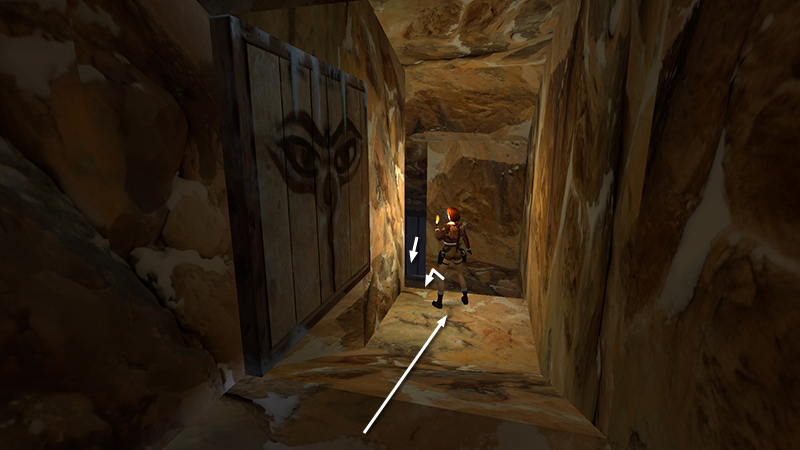
...and go through the painted wooden door that opened when you took the Mask. Follow the short tunnel...
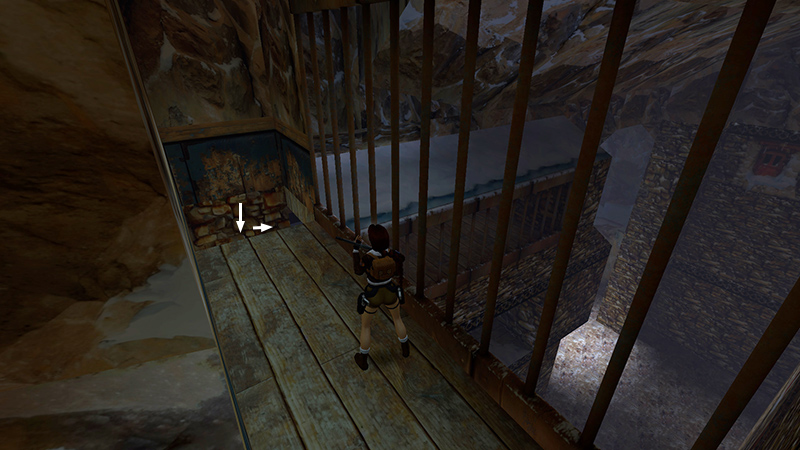
...down to a barred window overlooking the buildings in the previous level. Ready weapons before dropping into the next room.
DARK MODE: I plan to add optional dark mode for these pages, but my current priority is updating the walkthroughs. Meanwhile, may I suggest a reputable dark mode browser extension, such as Dark Reader? (Download only from trusted sites, like darkreader.org or your browser's official add-on/extension site.)
Walkthrough text and diagrams copyright © Stellalune (email ). Feel free to copy or print this walkthrough for personal use. By all means, share it with friends, but please include this credit line so people can send me their feedback. No part of this walkthrough may be reproduced on another site without permission.