Ice Palace - Boss Fight - The Guardian of the Talion
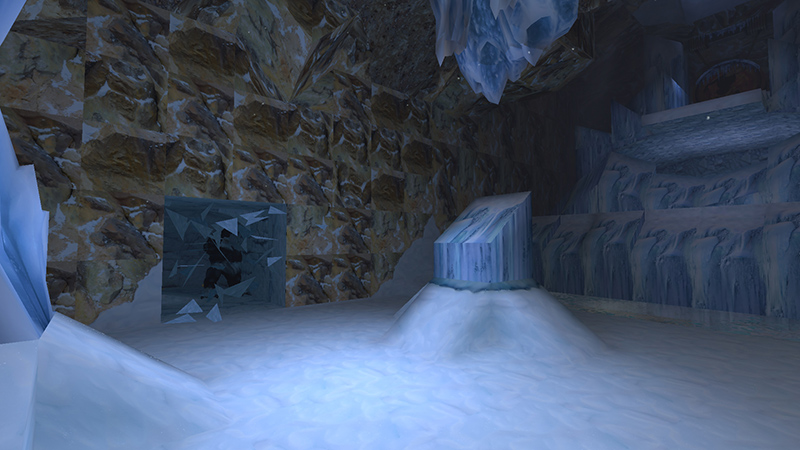
When you took the TALION artifact, as shown in the last section, the TALION GUARDIAN (22), a huge, wingless bird monster, awakened and smashed through the ice concealing his alcove. He won't actually emerge until Lara descends to the floor. If you want all pickups, skip down to the next section.
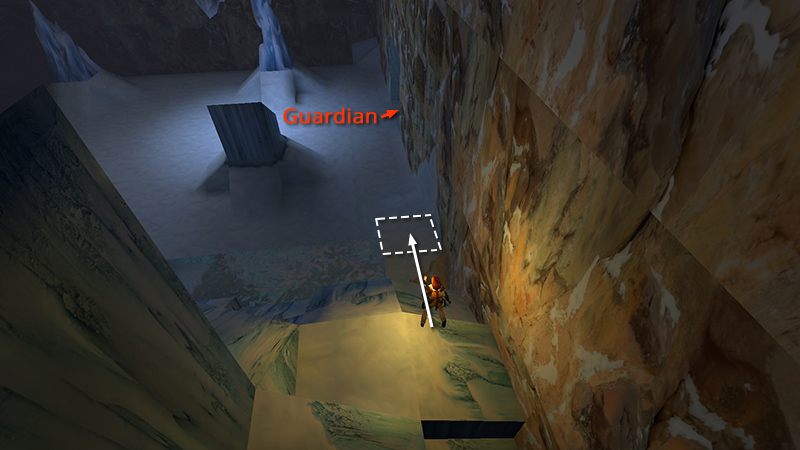
If you don't care about the last two pickups, position Lara a bit more than one tile back from the front edge of the icy ledge, with the cavern wall on her right, as shown above. (I lit a flare so you can see better. You probably won't need one.) Take a standing jump down to the snowy block.
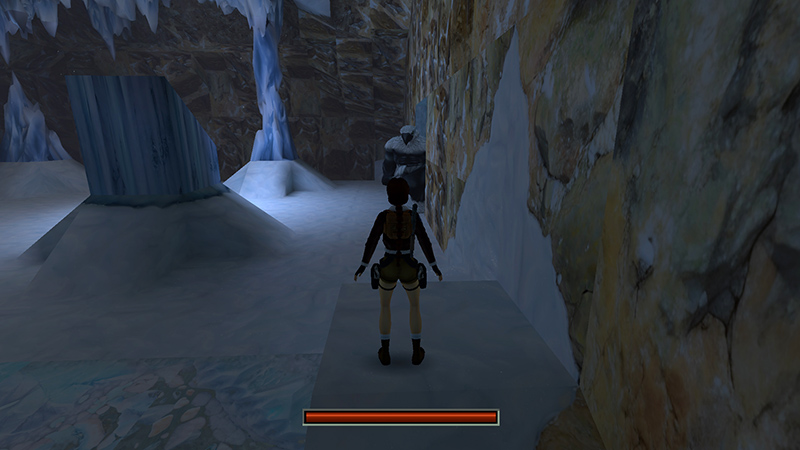
Wait a moment for the Guardian to emerge...
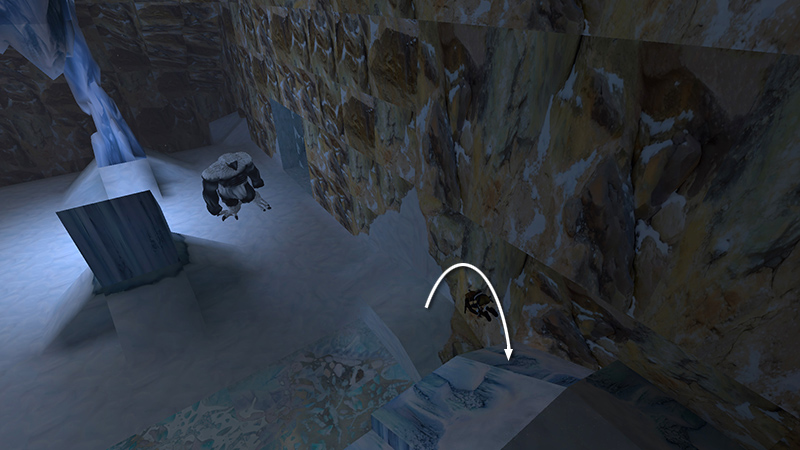
...then backflip onto the ledge again.
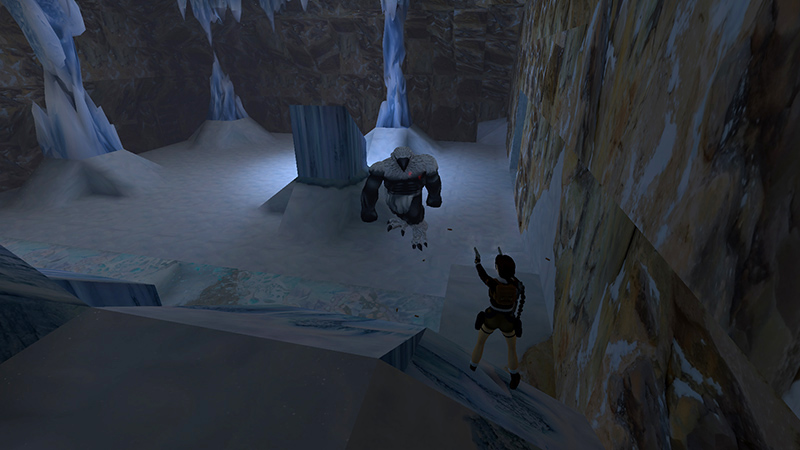
The Guardian can't reach Lara here. So you can shoot him with pistols at your leisure. If he gets close, hop back from the edge. If he wanders away for more than a little while, just jump back down to the snowy block to get his attention. Then backflip onto the safe ledge again.
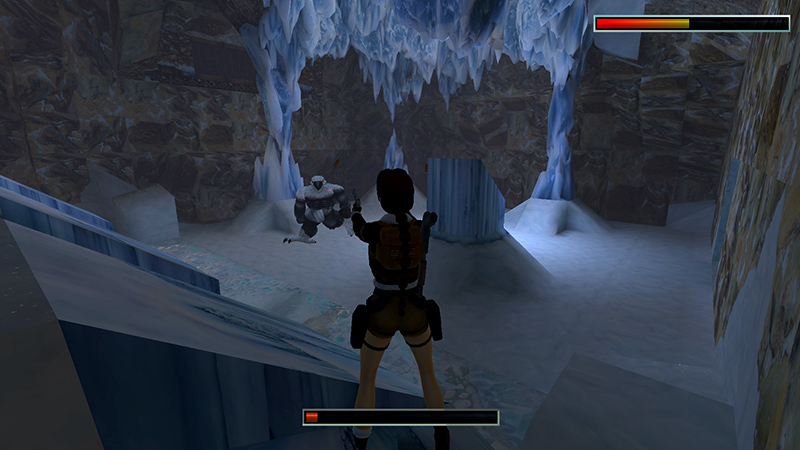
This takes a few minutes, but uses no ammo or health. When he falls, the level ends.
- OR -
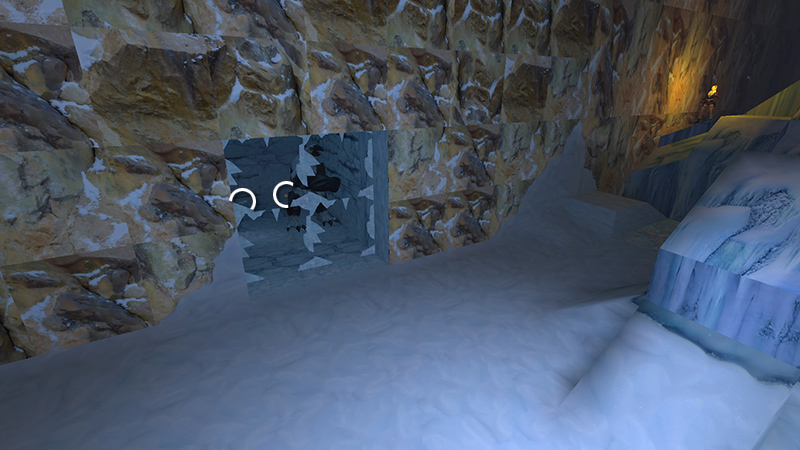
If you do want all pickups, you'll need to do some running. Inside the monster's alcove are 2 sets of Uzi clips and a large medi pack (31-33) in two piles.
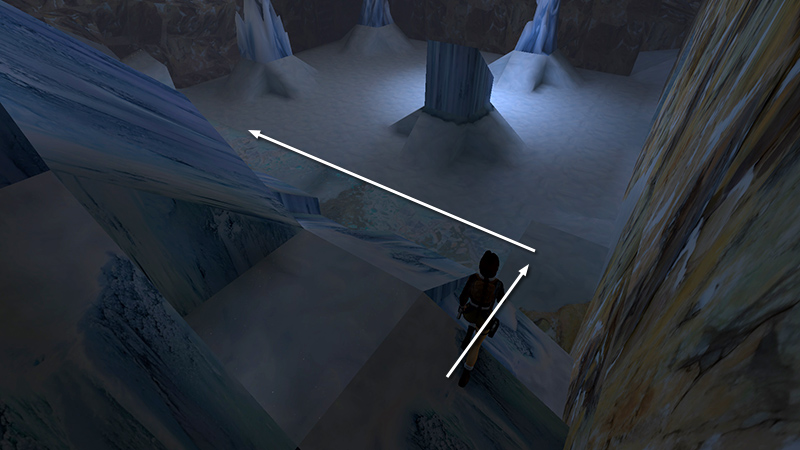
To get them, hop down to the ground and run to the left, taking running jumps when you can to cover more ground.
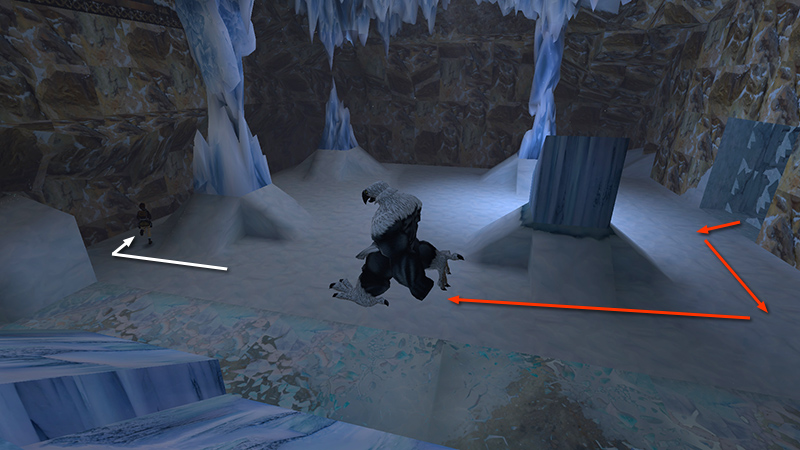
The Guardian should emerge from his alcove and follow Lara. Continue clockwise around the edge of the open area...
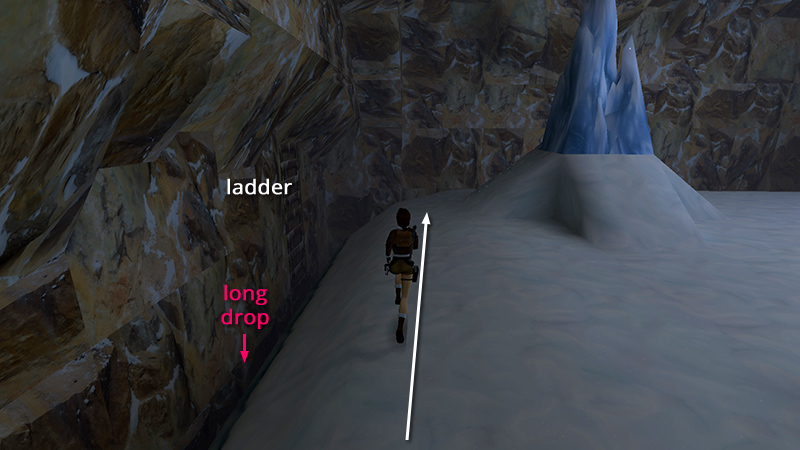
...behind the two huge columns...
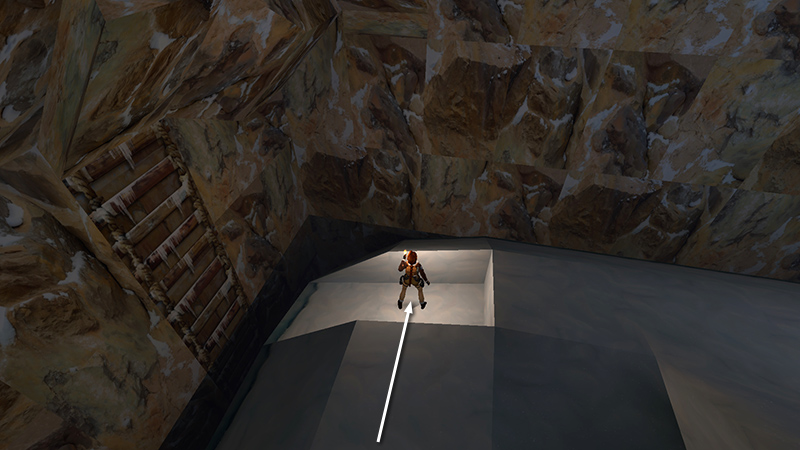
...to the depression near the ladder in the far left corner. The Guardian can't reach Lara here.
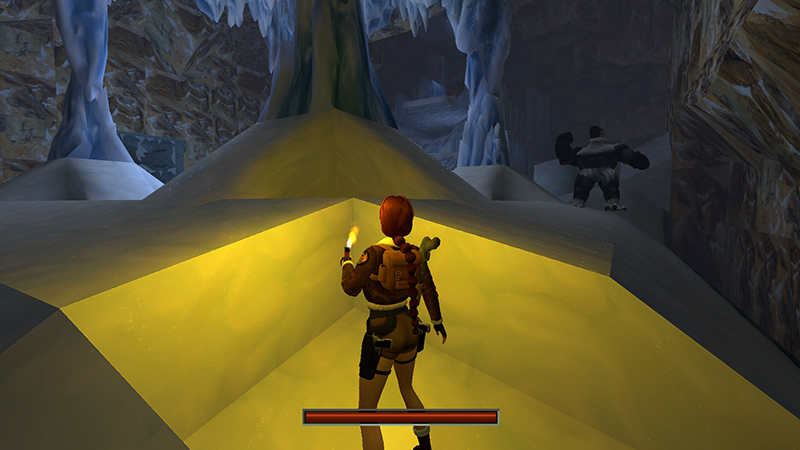
If the Guardian gets stuck and won't approach, face away from the ladder...
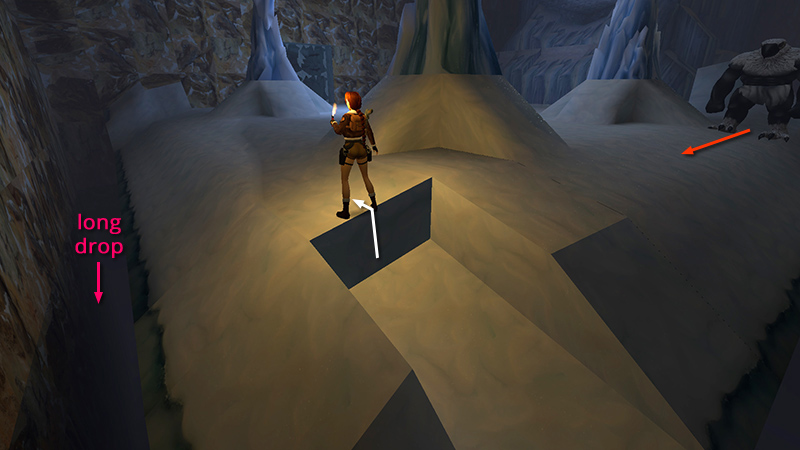
...vault up out of the depression, and wait a second or two for the Guardian to notice Lara.
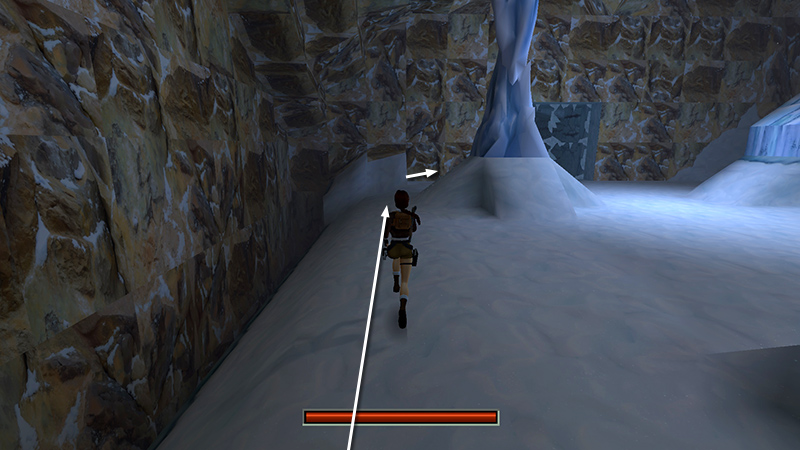
Then continue running/jumping toward the far wall and around the next column.
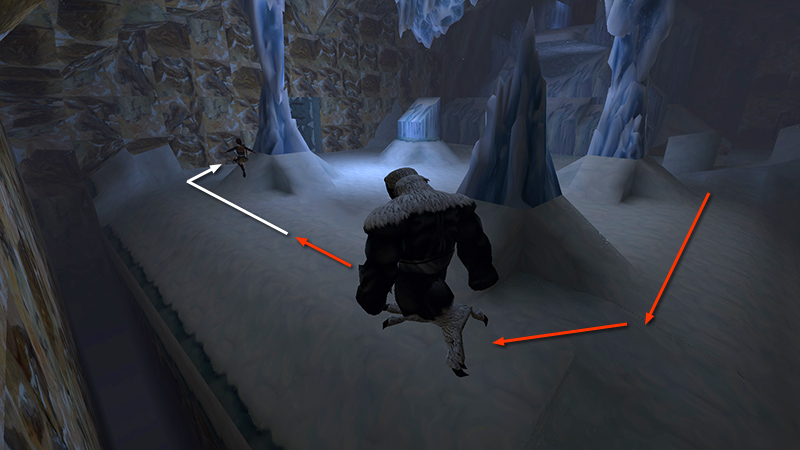
The monster should chase Lara the long way around the columns, giving you a few moments to go for the goodies.
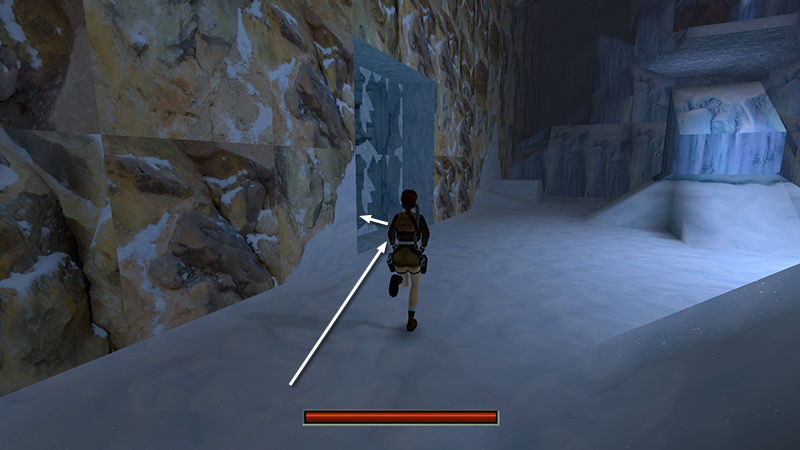
Run/jump into the Guardian's alcove.
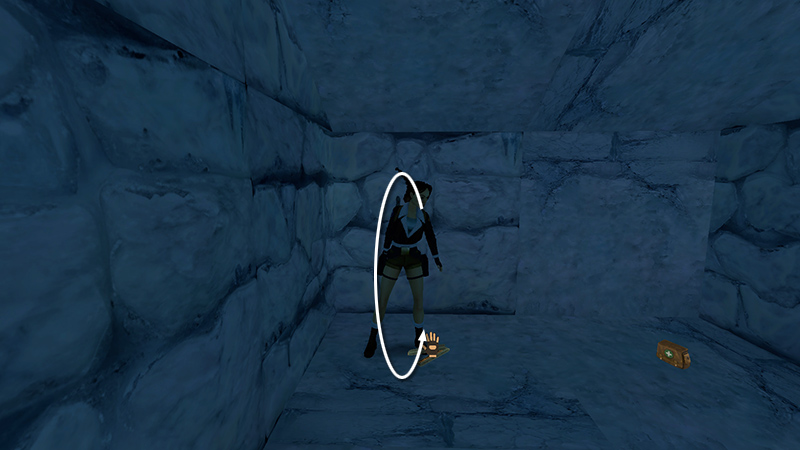
You probably won't have time to make both pickups before Big Bird arrives, but grab what you can. (To save a little time, stop just short of the item, roll, then press Action to make the pickup.) If you do manage to get both, skip down to the finale.
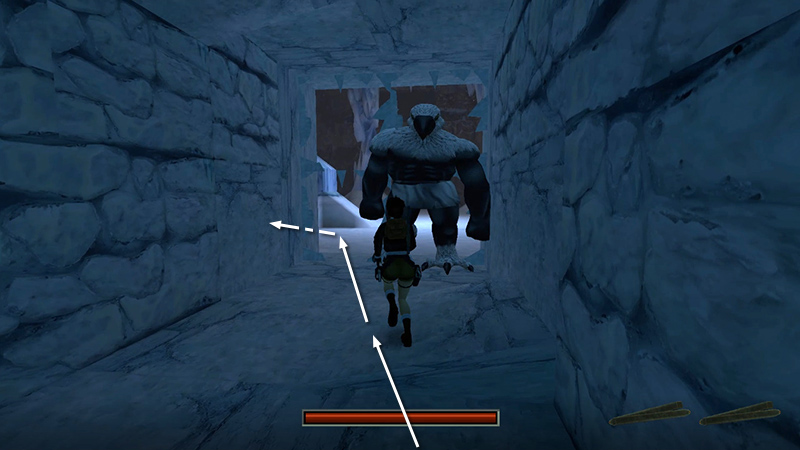
Otherwise, run/jump past the Guardian, out of the alcove, then to the left.
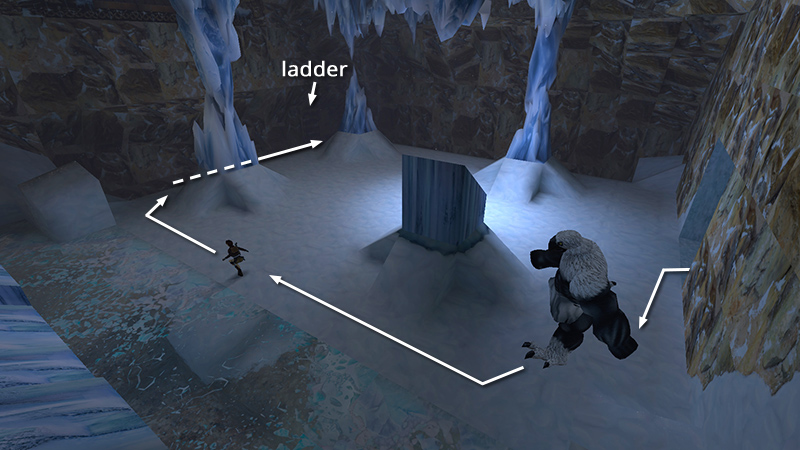
Heal if necessary as you make another circuit around the columns to the safe spot near the ladder.
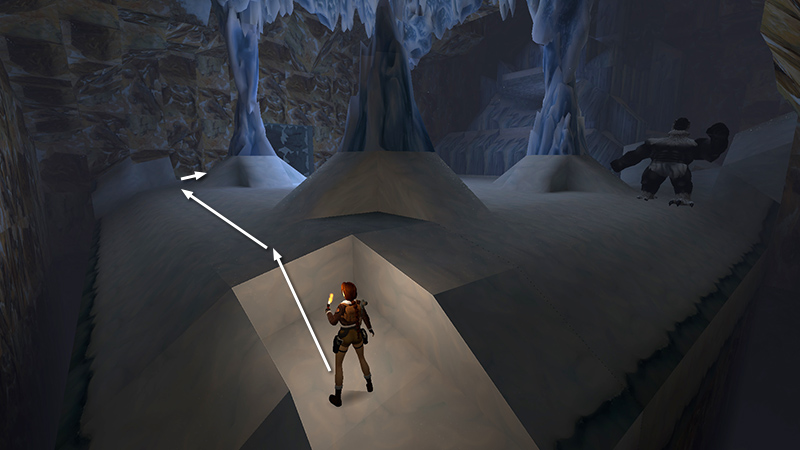
If all has gone well, you can save again there. (You can also pause and take a few potshots at the Guardian. Just be sure not to kill him, and finish the level prematurely.) Then repeat the process for the second item. Run/jump to the alcove...
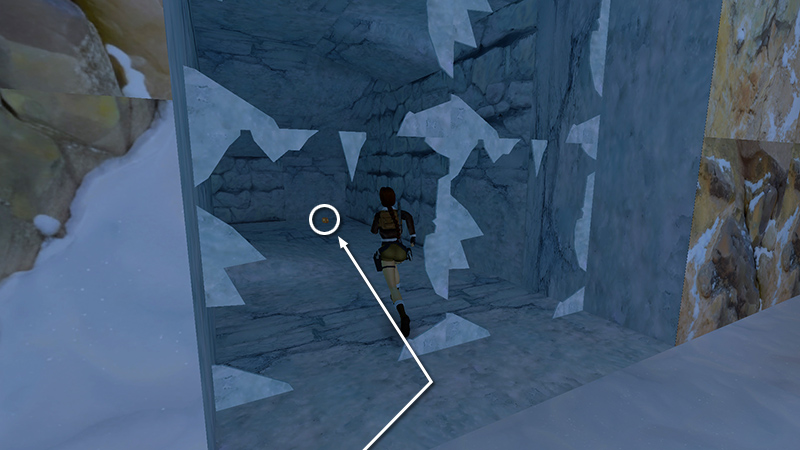
...run inside, stop just before the pickup...
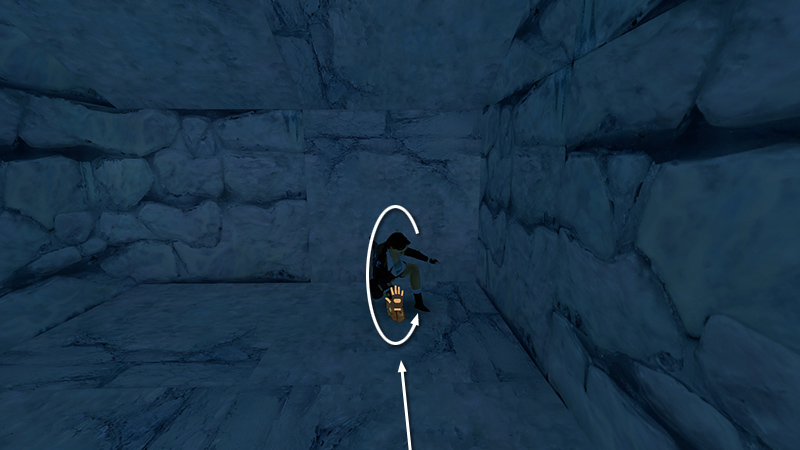
...roll and press Action to grab the item(s).
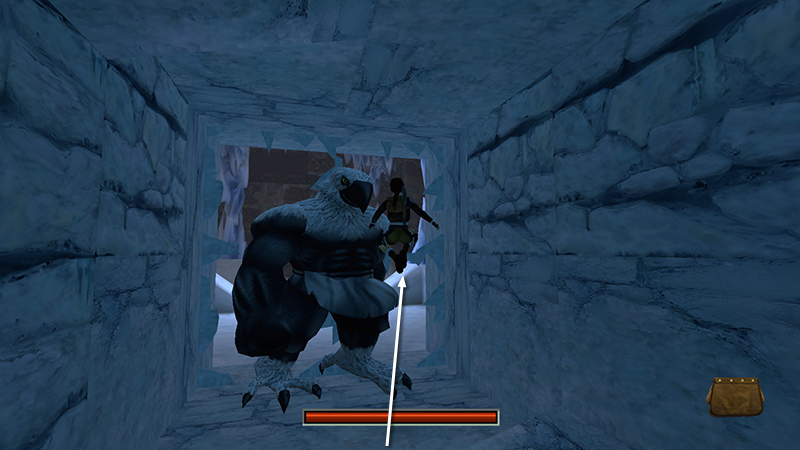
Then run/jump out past the Guardian once more.
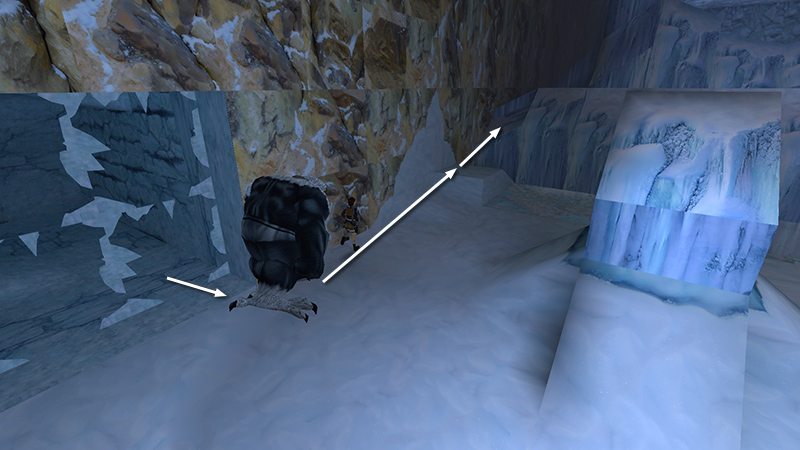
Once you have everything, you can kill the Guardian. Outside the alcove, turn left and run forward, staying close to the cavern wall so Lara runs straight up onto the snowy block. Jump at the far edge and she'll and on the safe ledge.
Now, draw pistols and blast away until the Guardian falls and the level ends.
NOTE: You can, of course, run out into the open and take on the Guardian while running and dodging. Just watch out for the deep crevasses around the edges of the platform. And keep moving so he doesn't catch Lara or pin her against one of the columns. His pounding fists do a ton of damage very quickly. It takes about 7 grenades, 200 Uzi Rounds, 70 M16 rounds, etc., to kill him. Or, run back to the depression in the corner near the ladder, or the doorway to the room where you found the Jade Dragon secret. Both of these spots are safe, but it's a bit more difficult to target the Guardian from there. You'll need to hop up/down to the floor to get its attention, then retreat and shoot.
DARK MODE: I plan to add optional dark mode for these pages, but my current priority is updating the walkthroughs. Meanwhile, may I suggest a reputable dark mode browser extension, such as Dark Reader? (Download only from trusted sites, like darkreader.org or your browser's official add-on/extension site.)
Walkthrough text and diagrams copyright © Stellalune (email ). Feel free to copy or print this walkthrough for personal use. By all means, share it with friends, but please include this credit line so people can send me their feedback. No part of this walkthrough may be reproduced on another site without permission.