Floating Islands - First Mystic Plaque
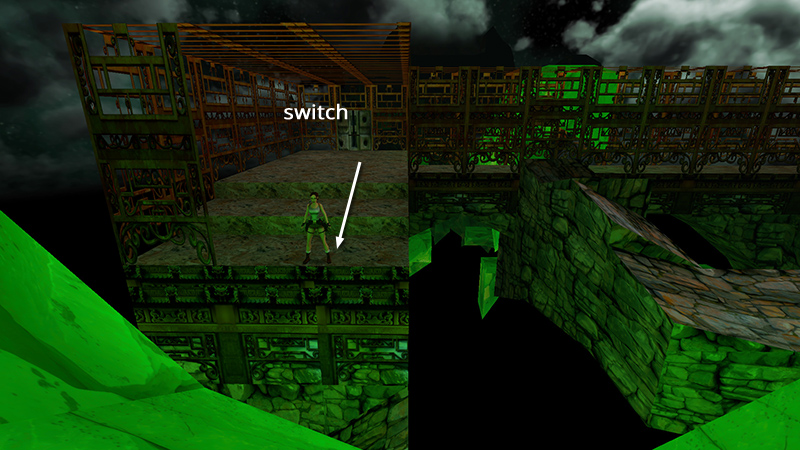
In the last section, you made your way over to the GOLD LATTICE BUILDING and used the switch there to open a trapdoor elsewhere. Return to the edge of the floor overlooking the green islands and ledges.
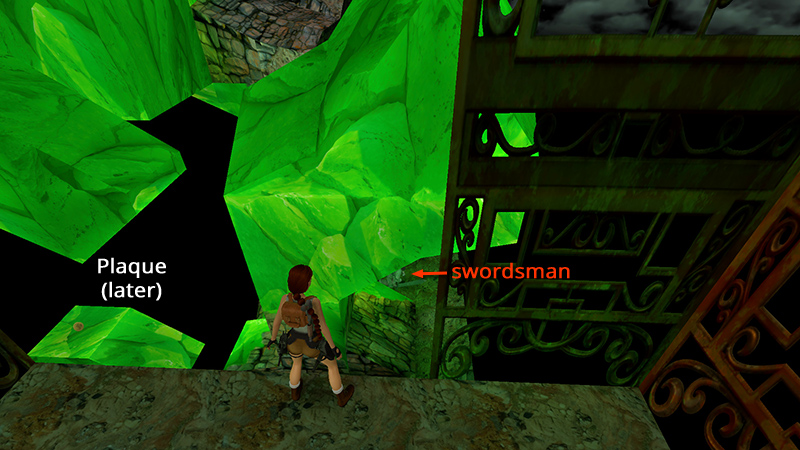
From here, you can see the FIRST MYSTIC PLAQUE below on the left. Below on the right is another petrified swordsman (2) (2/8 for "On Equal Terms"). He's similar to the one you encountered earlier, except he has not yet come to life.
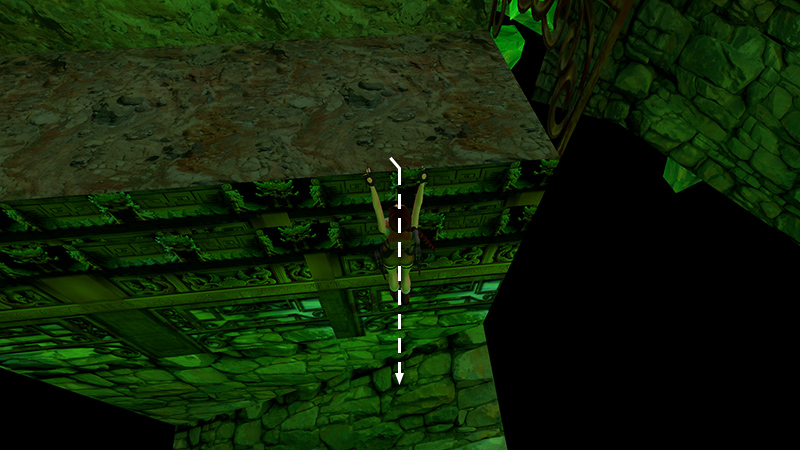
Safety drop off the edge onto the slope below.
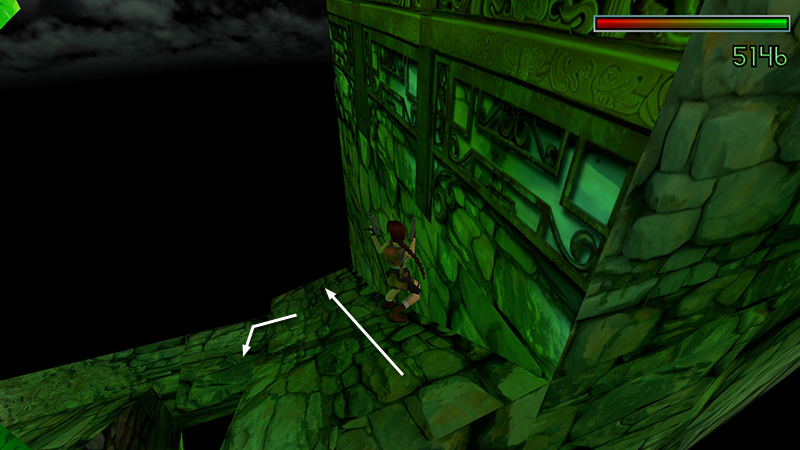
Draw weapons as you slide to the bottom of the slope. Turn right...
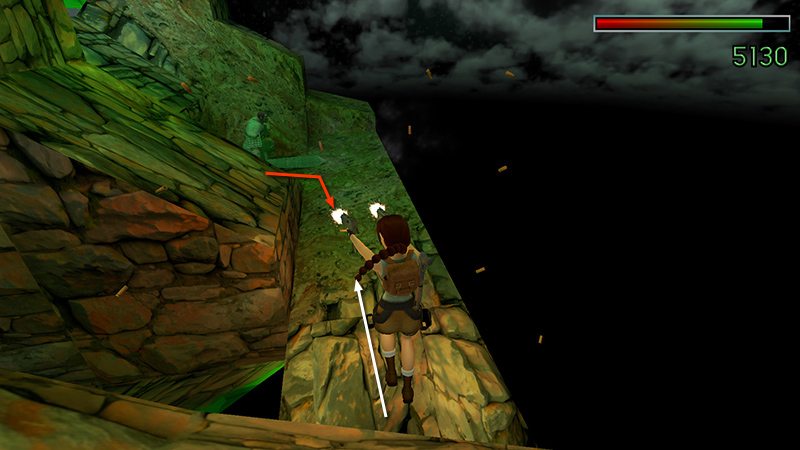
...lock onto the swordsman as he animates, and step down onto the ledge. (This will prevent the swordsman from taking off into the air.) Fire continuously as you run forward a few steps...
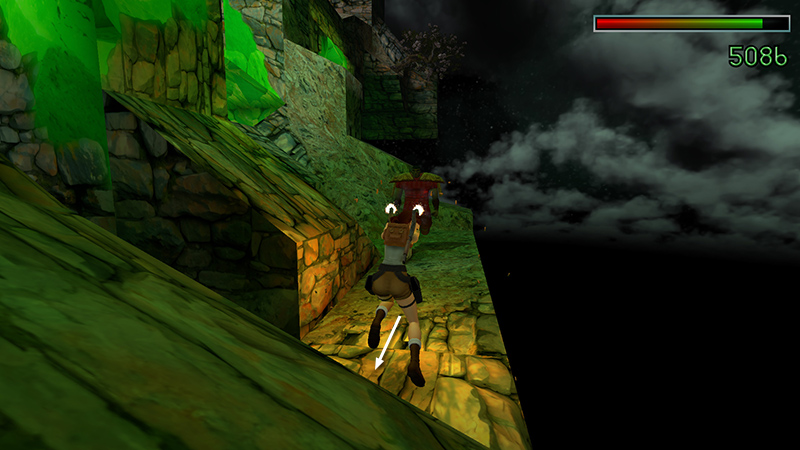
...then back away.
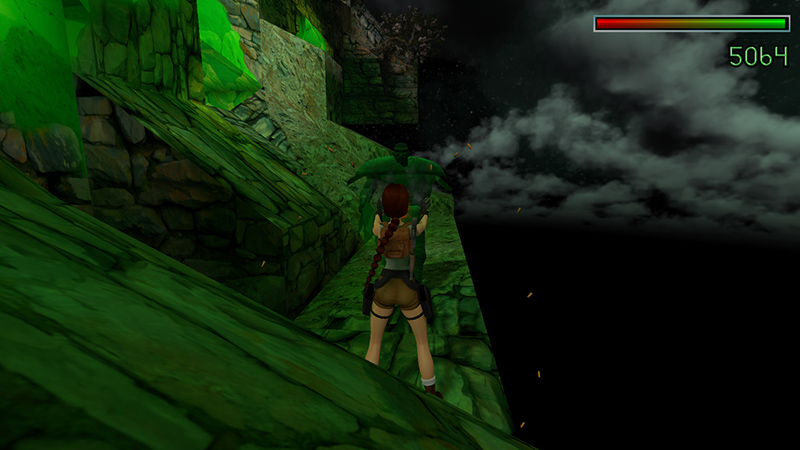
After about 80 Uzi rounds, he'll turn back to stone...
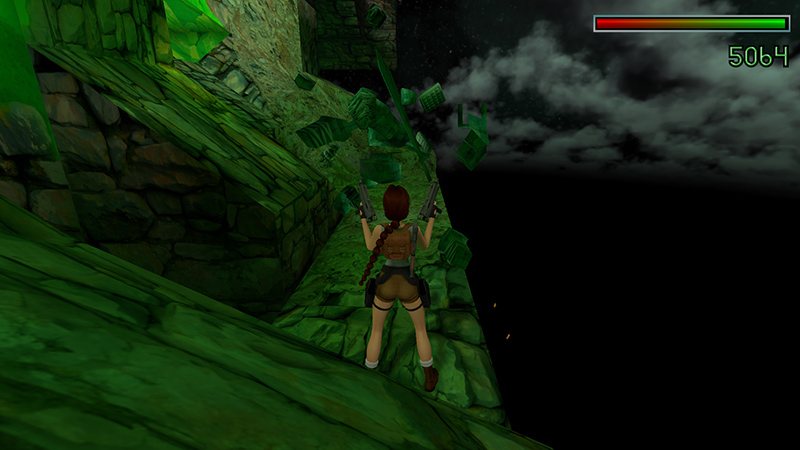
...and explode.
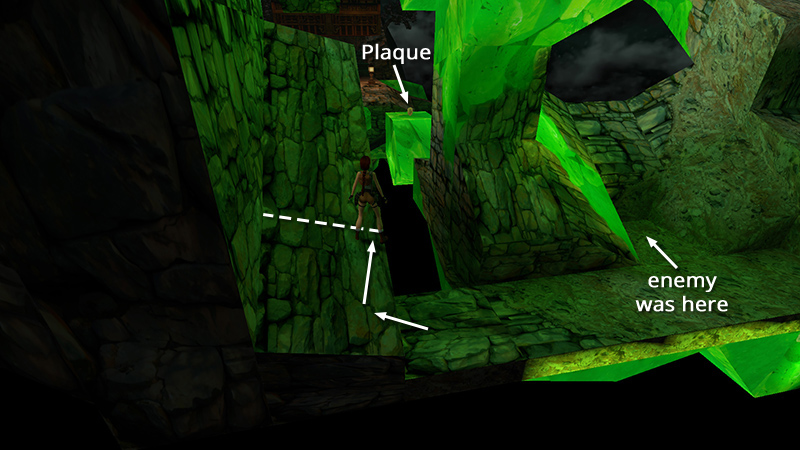
Return to the bottom of the slope you just slid down. Face up the slope and turn slightly to the right. Ahead, between the slope and the green rock formation on the right, you can glimpse the MYSTIC PLAQUE on its little green island.
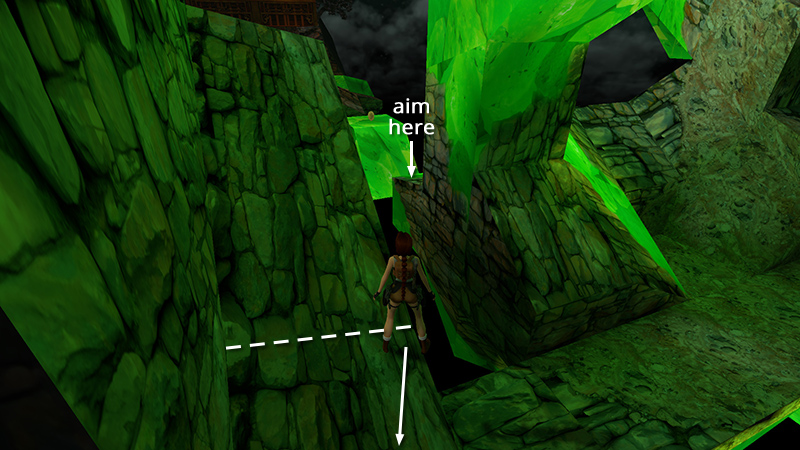
Position Lara at the top right edge of the slope, facing the stone ledge ahead, on the other side of the gap. Hop back.
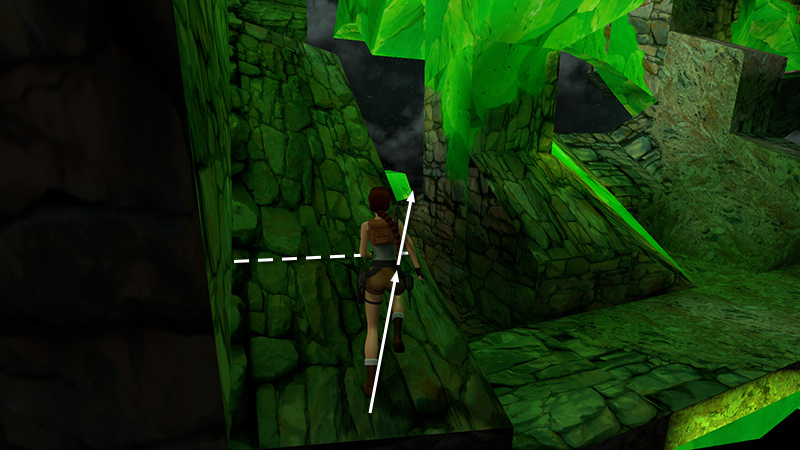
Then take a running jump...
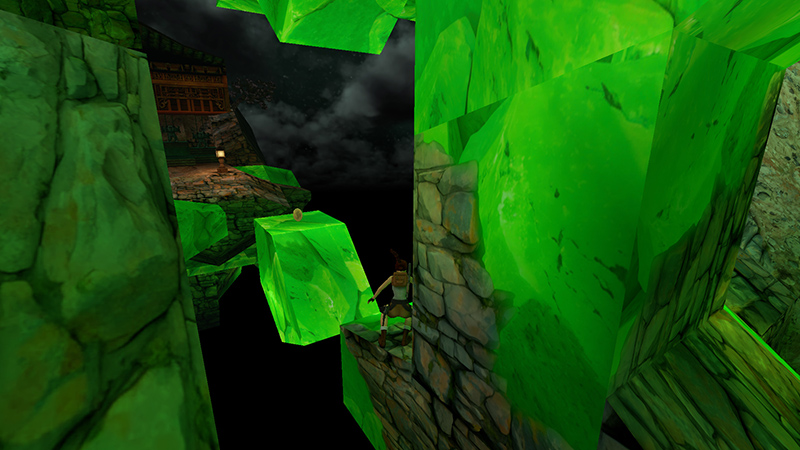
...to land on that ledge.
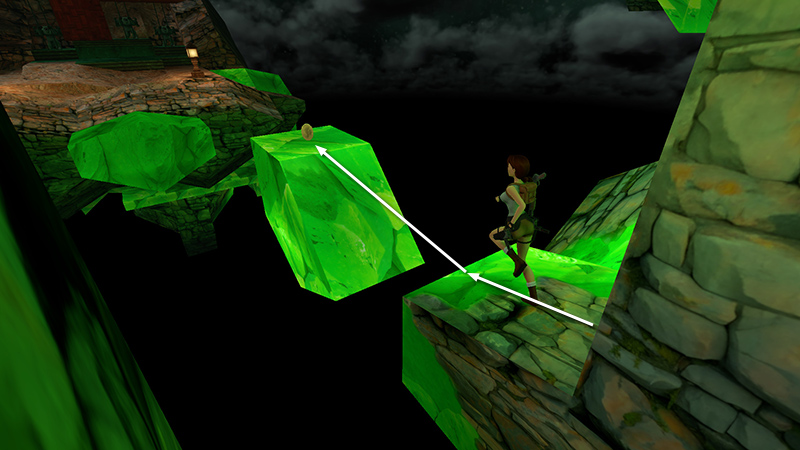
From there, take another running jump onto the island with the FIRST MYSTIC PLAQUE (2).
- OR -
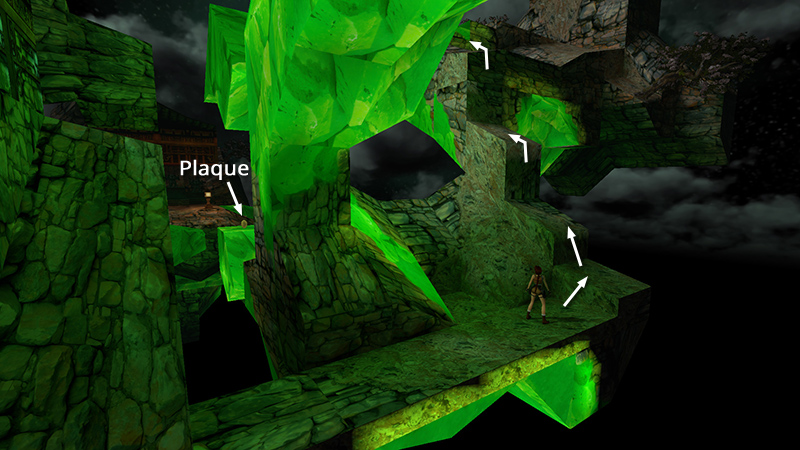
If you can't manage the tricky jump to the stone ledge near the plaque, instead climb the rocks to the right of the swordsman's alcove to get back to the start of the level.
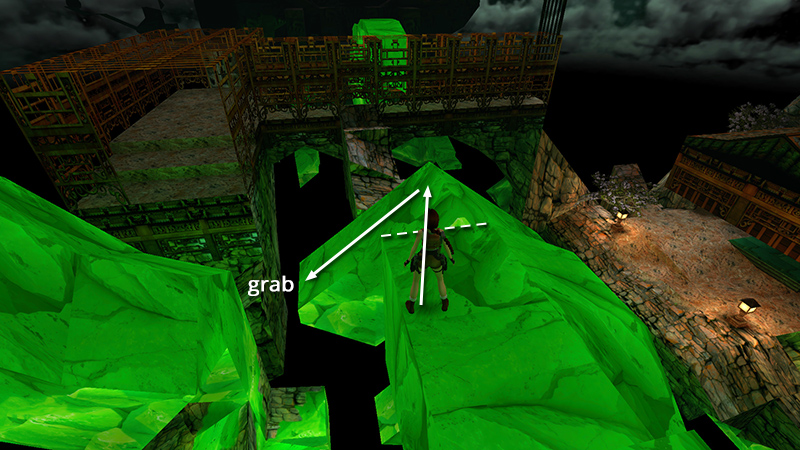
Move to the end of the green walkway and face the inverted-V shaped green block. Take a few steps back from the edge and jump onto the left slope facing uphill. Slide back and grab the edge.
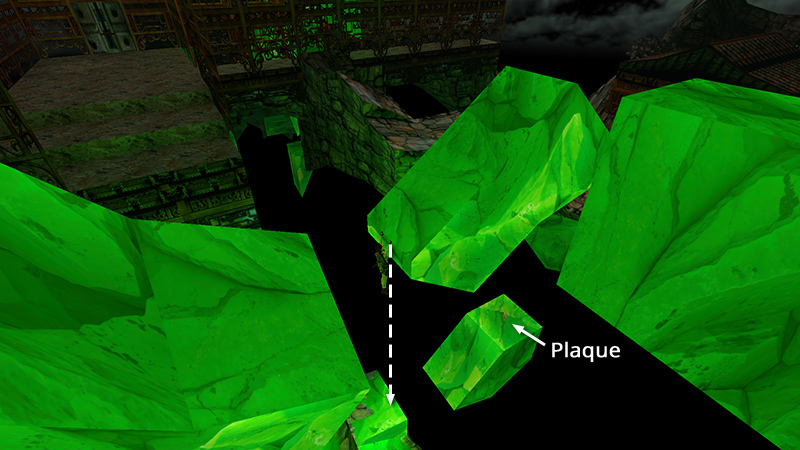
Drop onto the ledge below.
Then take a running jump onto the island with the PLAQUE.
DARK MODE: I plan to add optional dark mode for these pages, but my current priority is updating the walkthroughs. Meanwhile, may I suggest a reputable dark mode browser extension, such as Dark Reader? (Download only from trusted sites, like darkreader.org or your browser's official add-on/extension site.)
Walkthrough text and diagrams copyright © Stellalune (email ). Feel free to copy or print this walkthrough for personal use. By all means, share it with friends, but please include this credit line so people can send me their feedback. No part of this walkthrough may be reproduced on another site without permission.