Bartoli's Hideout - Item pickups in the Pool
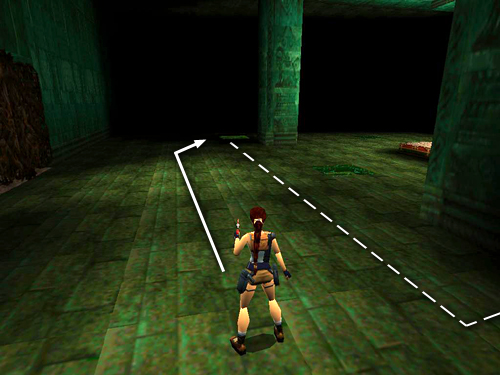
Here's how to obtain most of the items in the pool without triggering Bartoli's transformation. In these screenshots, the broken lines outline the trigger zone which extends for one square around all sides of the central area with the four columns, both above and below the water's surface. As long as you avoid this area, you'll be safe.
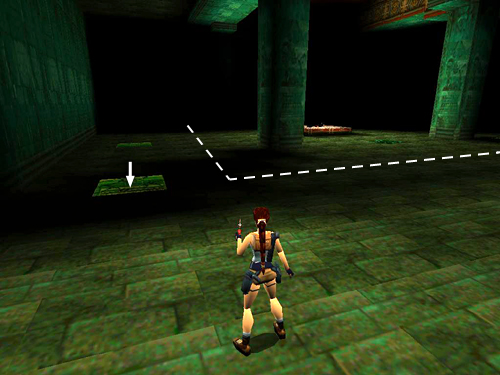
Head for the nearest hole on the left side of the room. Drop in.
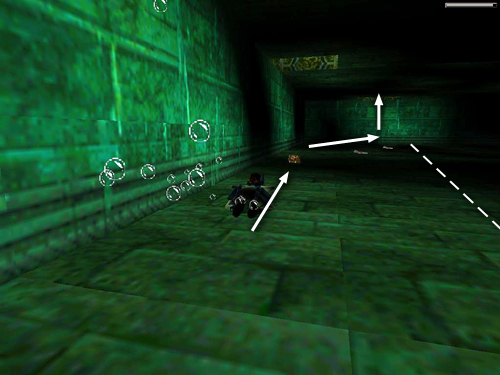
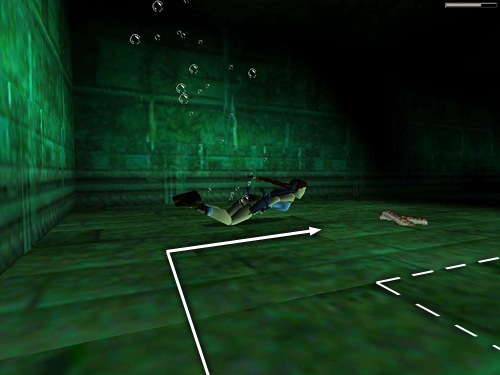
Swim down and forward, keeping the wall on Lara's left. Take the medi pack. Then continue forward along the left wall. You can grab the 2 ammo pickups just ahead, but be careful not to go any farther to the right.
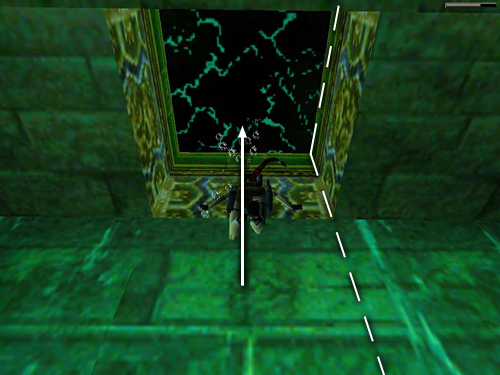
Surface in the third hole and climb out of the pool. Just be careful not to climb out on the right side of the hole, since this is inside the trigger zone.
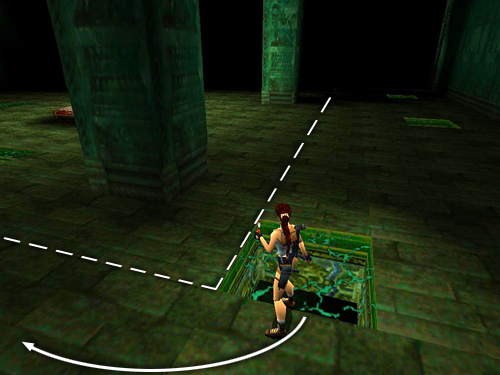
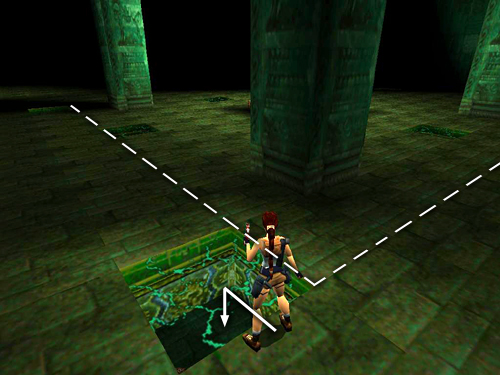
Turn right. . .
. . . and follow the back wall of the room to the next square opening, again taking care not to get close to the pillars.
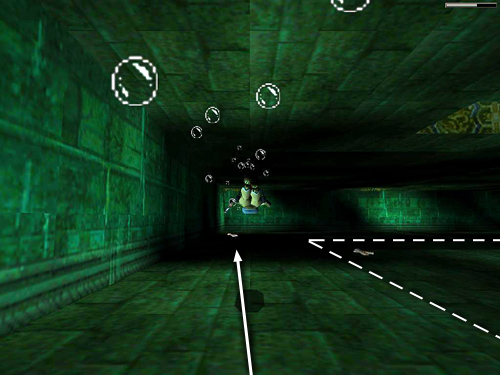
Drop into the pool.
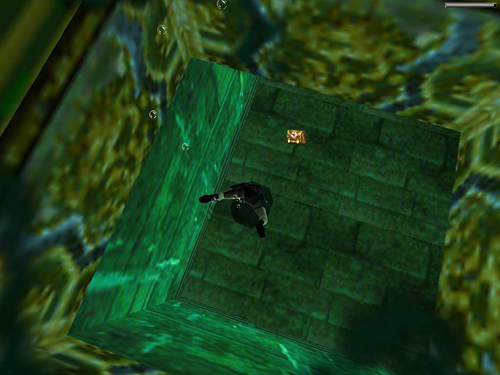
Pick up the other medi pack.
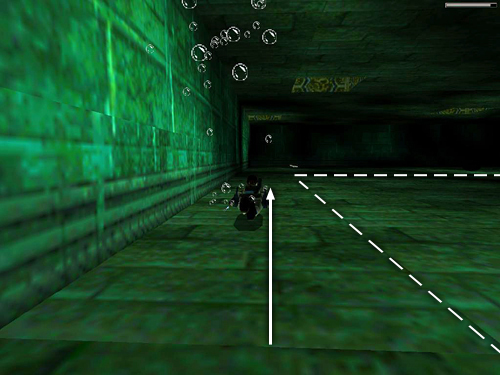
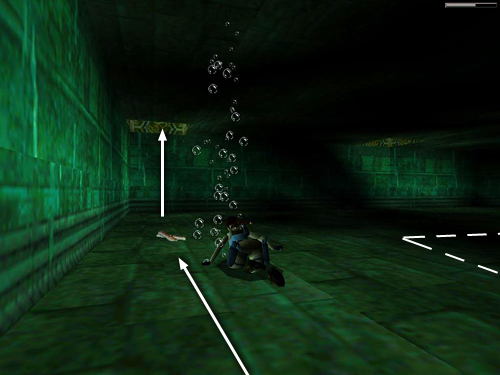
Then swim forward, again staying close to the left wall.
At the next corner, turn right and pick up the clips.
Then continue back toward the hole where you dropped in, still keeping the outer wall on Lara's left. Ignore the ammo pickup just ahead on the right, since it's inside the trigger zone.
Pick up the clips directly ahead and then surface in the hole and climb out. You should now have all but 2 of the available pickups.
Copyright © 1998- - Stellalune (). Feel free to copy or print this walkthrough for personal use. By all means, share it with friends, but please include this credit line so people can send me their feedback. No part of this walkthrough may be reproduced on another site without permission. Follow this link for details about this site's advertising and privacy policy.
Stella's Tomb Raider Site: tombraiders.net.