Barkhang Monastery - On Top of the Statue & Secret #3 Gold Dragon
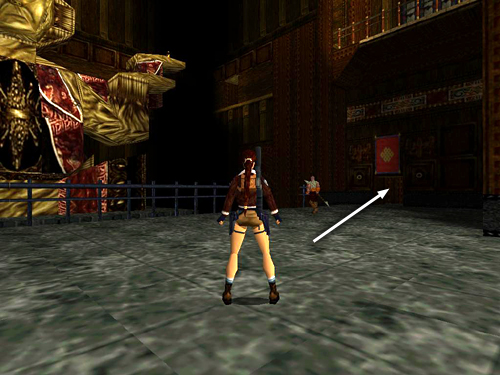
Cross the MAIN HALL and enter the second door on the right side when facing the statue.

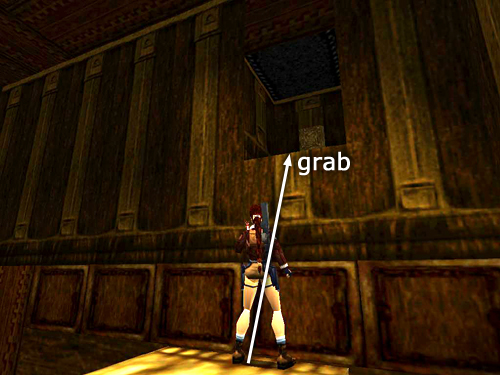
Climb the ladder and follow the hallway to an opening overlooking the giant statue.

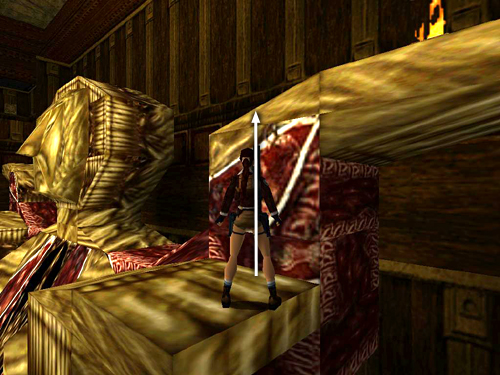
If Lara is holding a flare, drop it now. Then take a running jump to grab the lower of the statue's two extended hands; pull up.
NOTE: Normally holding a flare while jumping and grabbing is not a problem; however, when jumping from the high alcove to grab the statue's hand, Lara may not grab correctly if she's holding a flare. If this happens, reload, drop the flare and try again.
Climb onto the upper hand.
From there, take a running jump to grab the head. Pull up and cross over the top of the head.
Jump onto the other raised hand.
Walk to the edge, take a standing jump to grab the alcove above and pull up. (Holding a flare here should not cause a problem.)
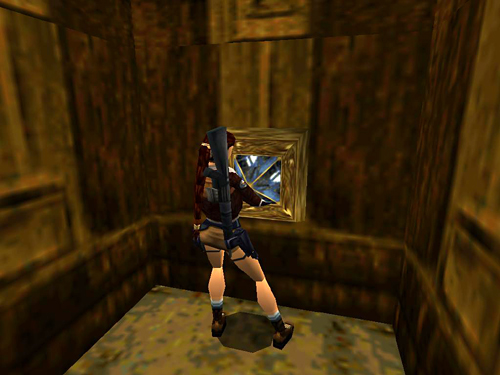
Place the second GEMSTONE in the niche to open a trapdoor in the room underneath the statue.
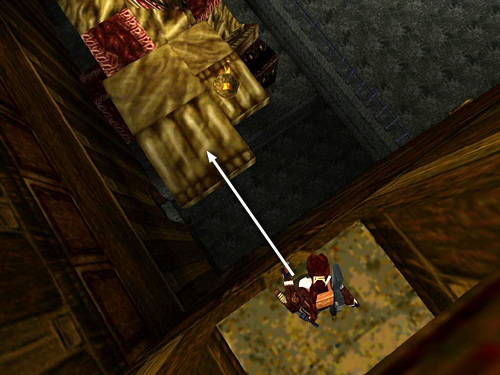
Step to the edge of the alcove and jump back down to the hand.
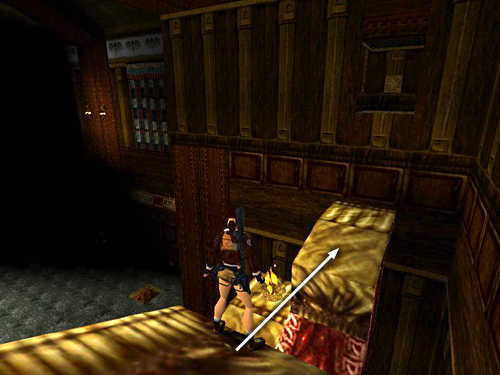
Climb down onto the shoulder, turn to face the wall behind the statue, and then hop back to slide down the chest. . .
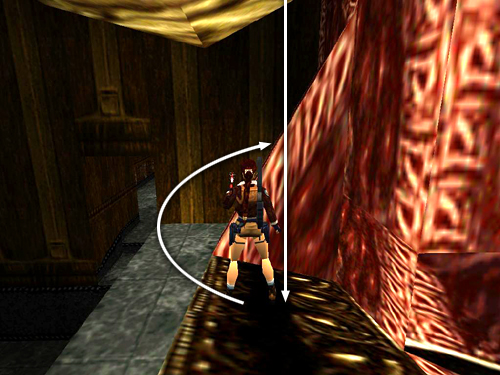
. . . and land on the statue's lap. Next, go around to the back of the statue.
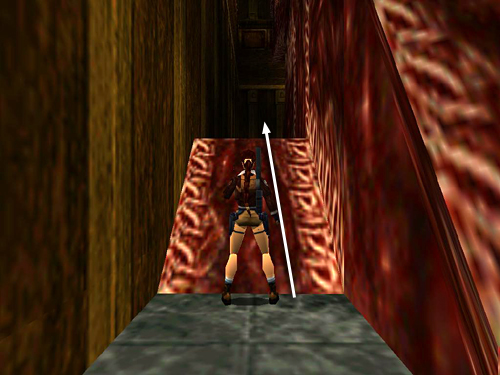
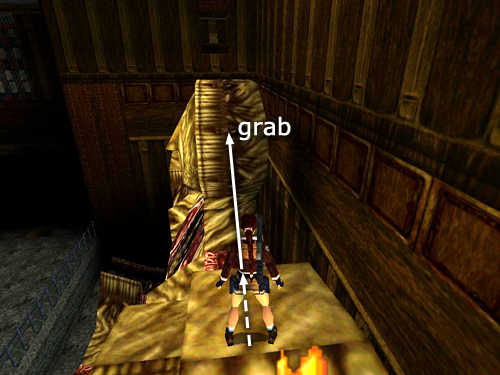
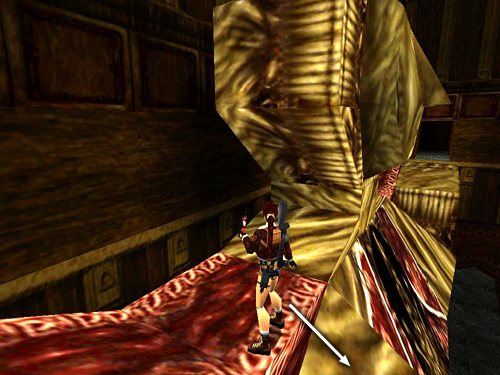
Jump up the slope onto a flat spot.
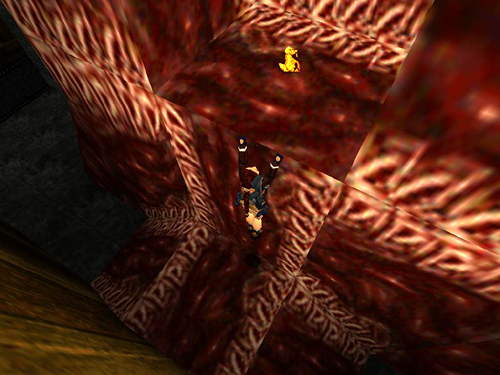
Here you'll find a small alcove containing SECRET #3, the Gold Dragon. You'll also receive 4 sets of M16 clips if you've found all three secrets.
Copyright © 1998- - Stellalune (). Feel free to copy or print this walkthrough for personal use. By all means, share it with friends, but please include this credit line so people can send me their feedback. No part of this walkthrough may be reproduced on another site without permission. Follow this link for details about this site's advertising and privacy policy.
Stella's Tomb Raider Site: tombraiders.net.