Tomb of Tihocan - Room with Floating Block
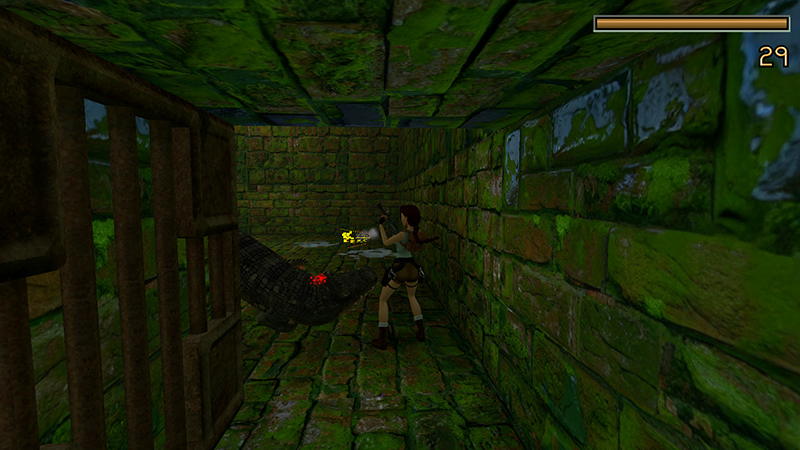
After using the lever and switch in the flooded passageway, as shown in the previous section, draw weapons and proceed along the hallway and kill the crocodile (1) in the next room.
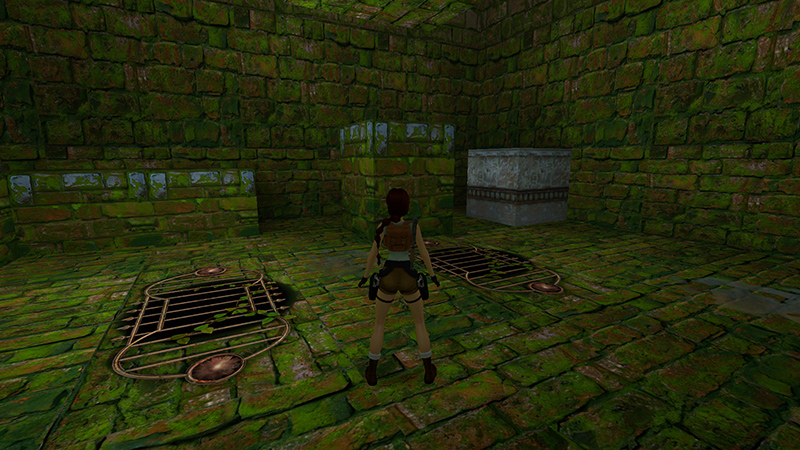
Notice the gray block that looks like it should move but doesn't? It actually moves up.
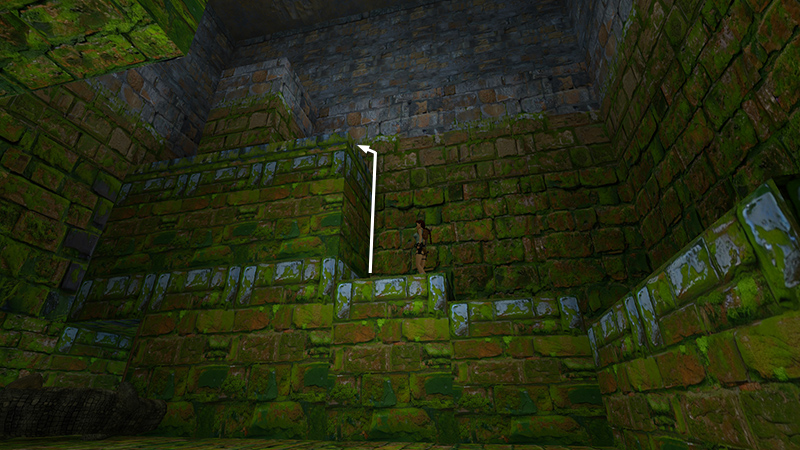
Climb the stairs and pull up onto the second highest block.
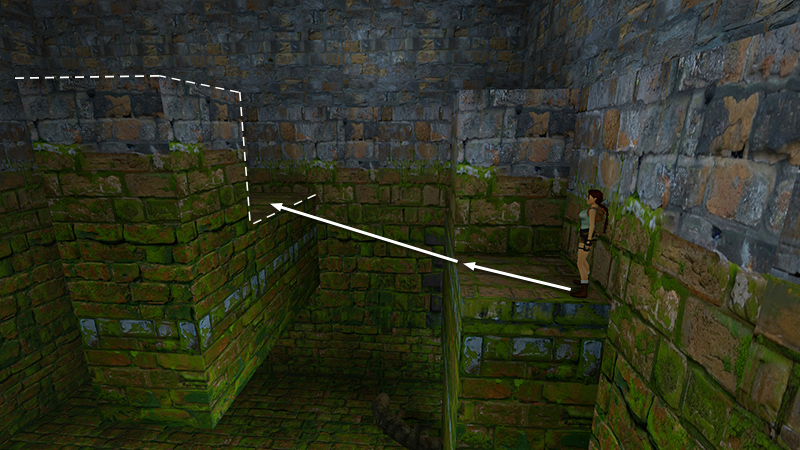
Turn left and take a running jump onto the greenish ledge supporting the square block in the middle of the room.
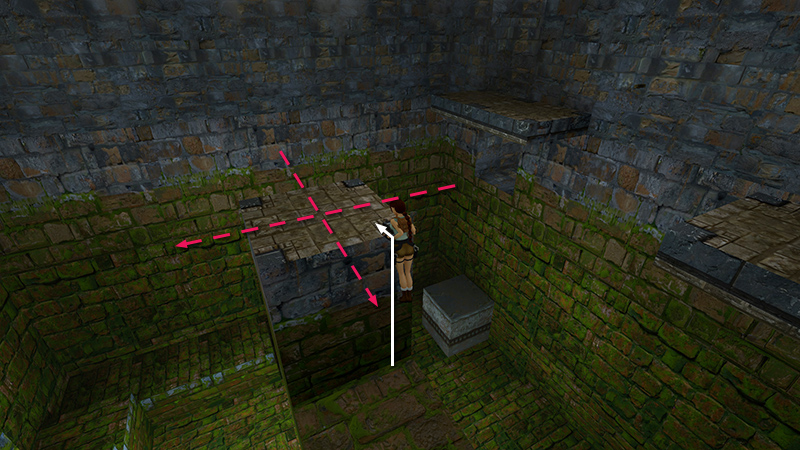
Pull up onto the center block at the right corner. Darts begin to shoot out from the walls and across this block. As long as you stay near the corner, Lara will be safe.
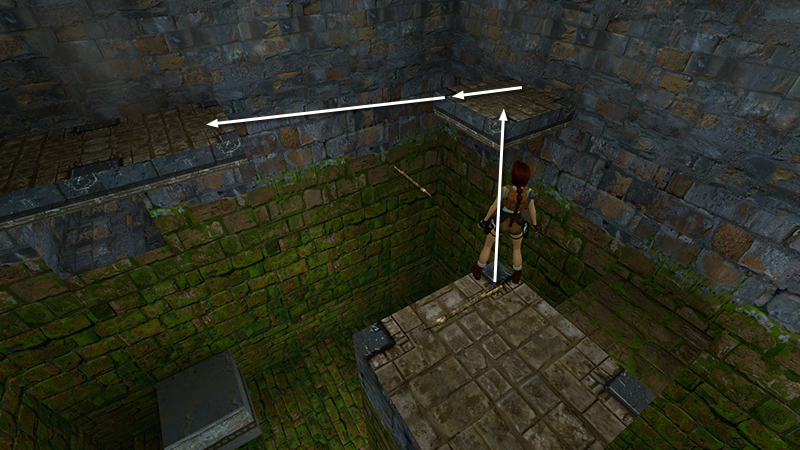
Turn right and take a standing jump from the corner of the block to the small, square ledge ahead. From there, take a running jump to the ledge with the square openings above and below.
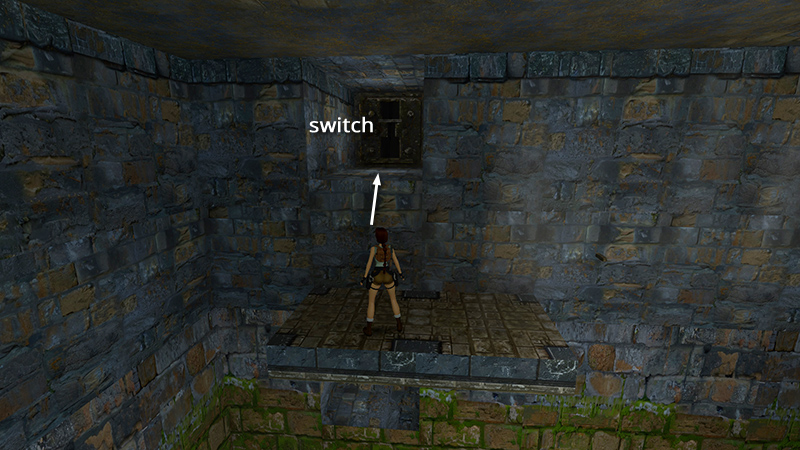
Climb into the alcove and use the switch to raise the water level again.
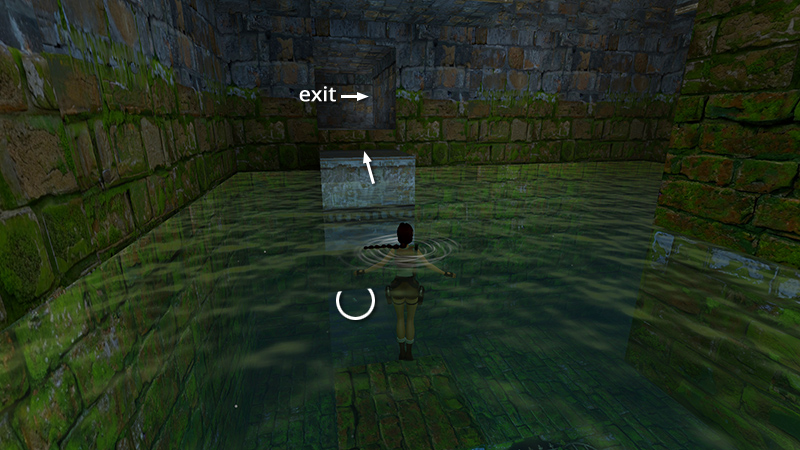
The previously immovable block floats up to the opening above. Swim down to where the block was and retrieve a small medi pack (1), then climb onto the block and enter the passageway beyond.
DARK MODE: I plan to add optional dark mode for these pages, but my current priority is updating the walkthroughs. Meanwhile, may I suggest a reputable dark mode browser extension, such as Dark Reader? (Download only from trusted sites, like darkreader.org or your browser's web store.)
Walkthrough text and diagrams copyright © Stellalune (email ). Feel free to copy or print this walkthrough for personal use. By all means, share it with friends, but please include this credit line so people can send me their feedback. No part of this walkthrough may be reproduced on another site without permission.