Palace Midas - Room with 5 Switches (Again) and Level Exit
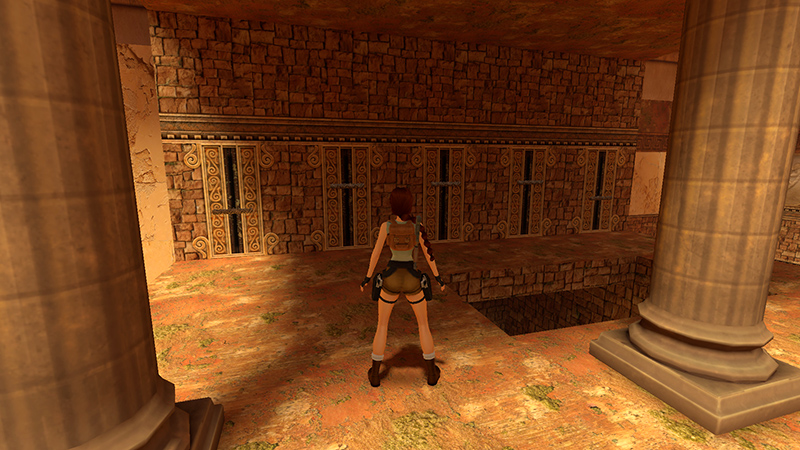
After transmuting the 3 LEAD BARS into 3 GOLD BARS, as described in the main walkthrough, return to the ROOM WITH 5 SWITCHES. Reset the switches to match the inscription over the last door: from left to right, Down, Up, Up, Up, Down (Υ Ω Ω Ω Υ).
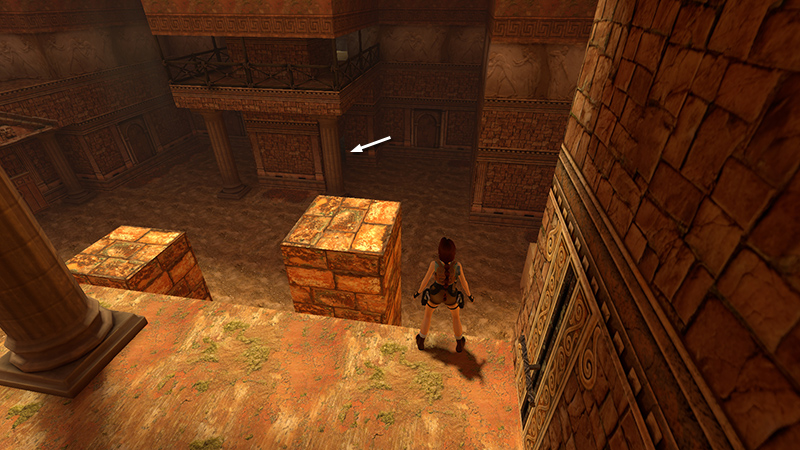
Drop down and go through that door, which is below the right side of the balcony on the north side of the switch room.
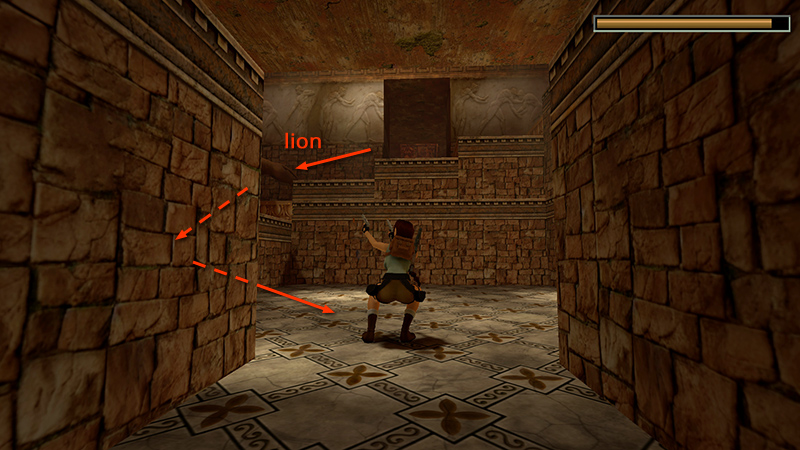
Enter with weapons drawn and kill the charging lion (43). If Lara takes a little damage here, don't bother using a medi pack. She'll be fully healed when you start the next level.
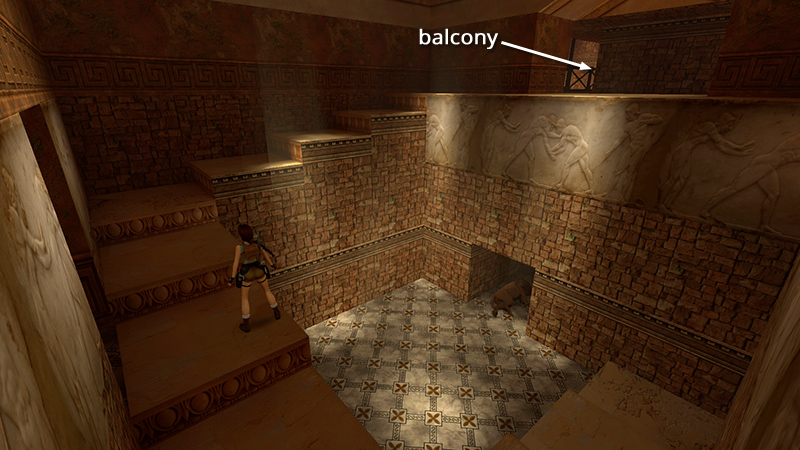
Climb to the top of the stairs and go out onto the balcony.
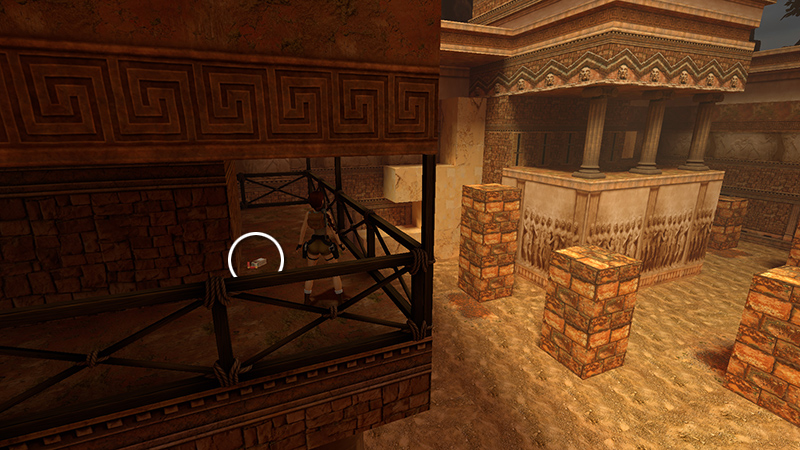
Here you'll find some shotgun shells (23) (and a save crystal in NG+).
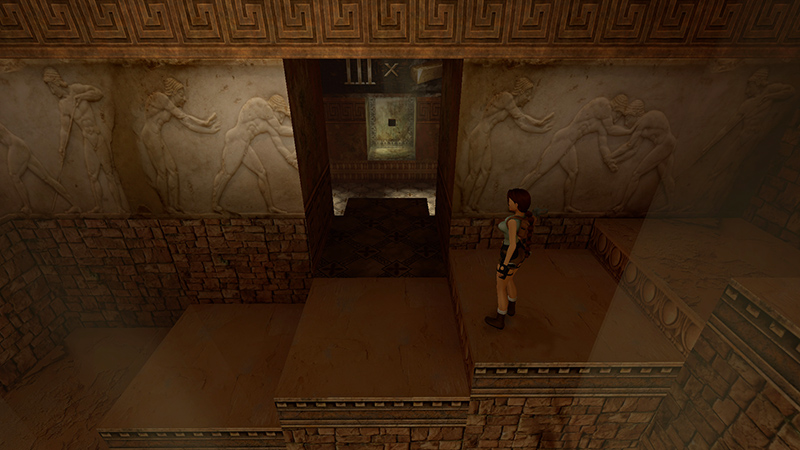
Then come halfway back down the stairs, enter the small side chamber...
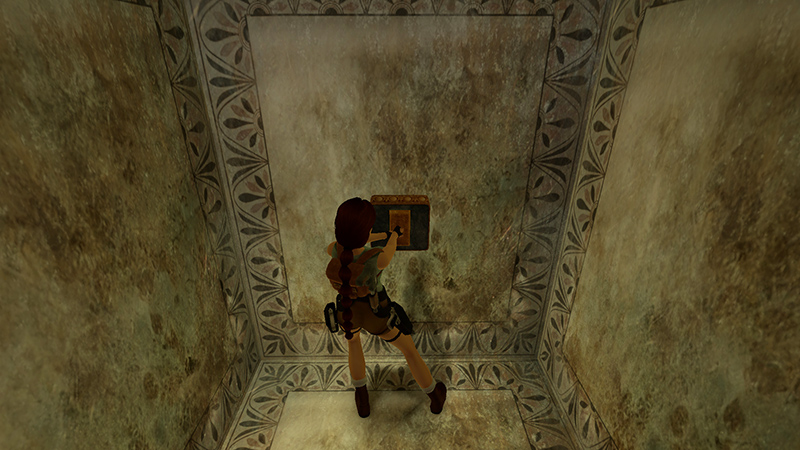
...and place the 3 GOLD BARS in the niches in the 3 alcoves. (This works exactly like using a key.)
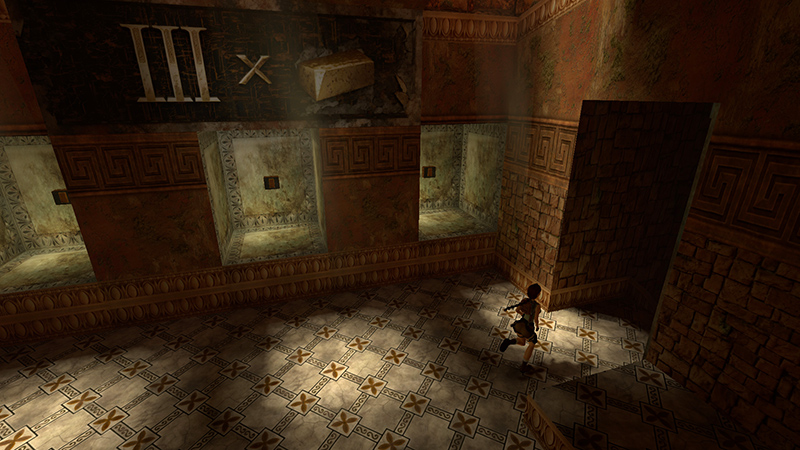
Doing so opens the exit, just to the right. Slide down into the next level.
DARK MODE: I plan to add optional dark mode for these pages, but my current priority is updating the walkthroughs. Meanwhile, may I suggest a reputable dark mode browser extension, such as Dark Reader? (Download only from trusted sites, like darkreader.org or your browser's web store.)
Walkthrough text and diagrams copyright © Stellalune (email ). Feel free to copy or print this walkthrough for personal use. By all means, share it with friends, but please include this credit line so people can send me their feedback. No part of this walkthrough may be reproduced on another site without permission.