City of Khamoon - Pool and Tall Room with Many Ledges (part 2)
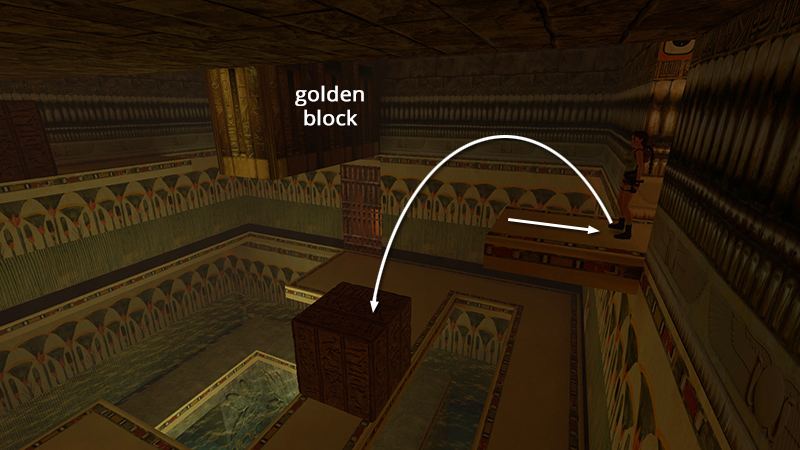
After climbing to the top of the room and using the switch to extend the golden block, as shown in the previous section, return to the TALL ROOM WITH MANY LEDGES. Step out to the edge of the ledge overlooking the first carved block. Hop back once, then take a standing jump down onto the block.
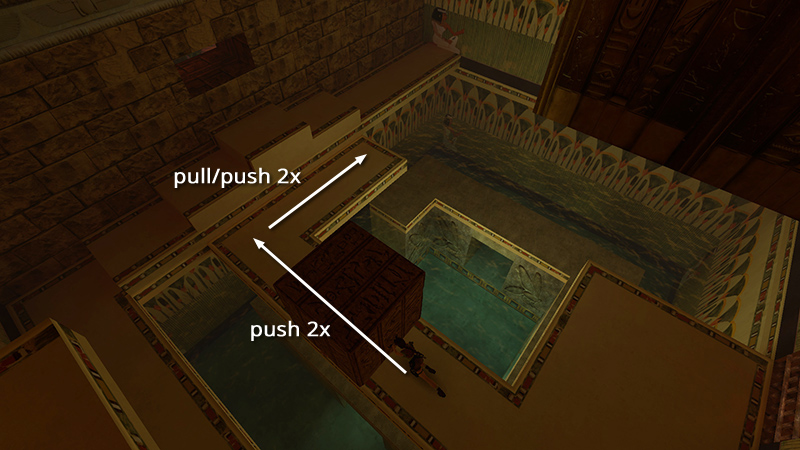
Hop down on the right side of the block and push it twice more toward the steps. Go around to the right side and pull it once. Then climb over it and push it once more to the end of the walkway.
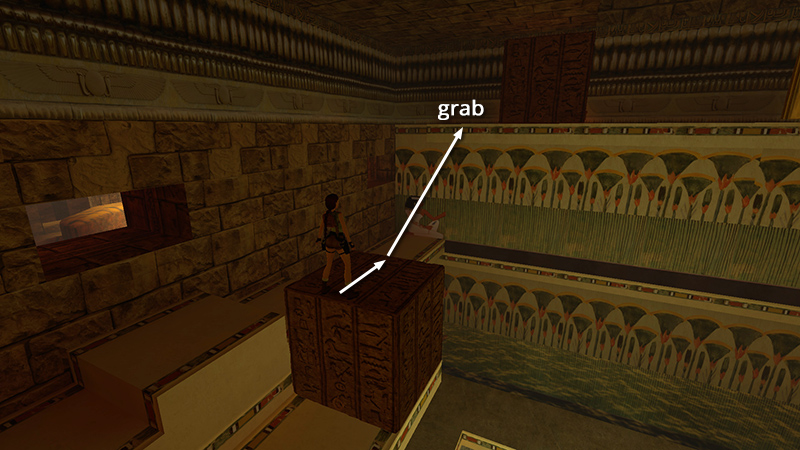
Take a running jump from the top of the block to grab the ledge next to the second movable block. Pull up.
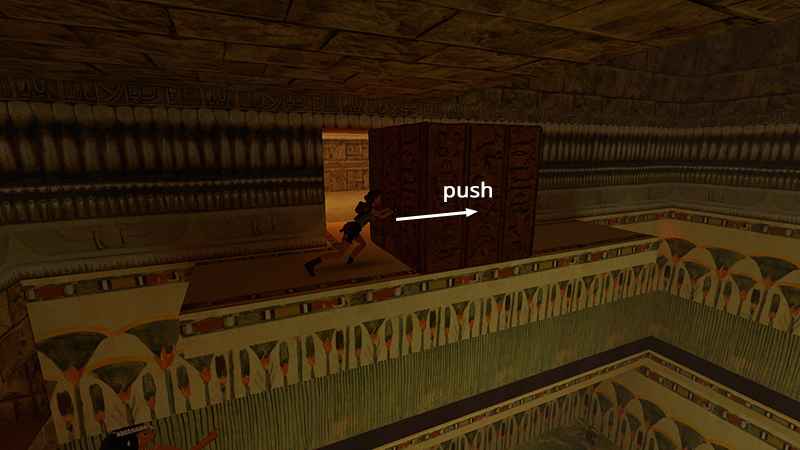
Push this block once to reveal an opening. There's a mummy (7) waiting inside.
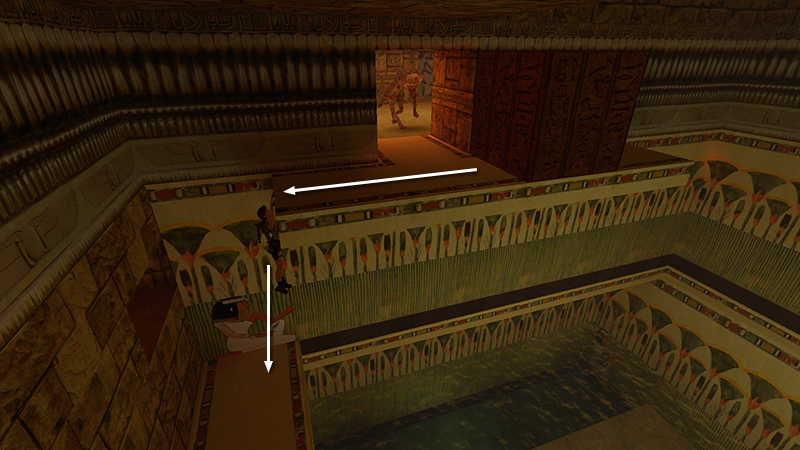
To prevent it from shoving Lara off the ledge, immediately hop back several times, grab the end of the ledge, and drop to the ledge below.
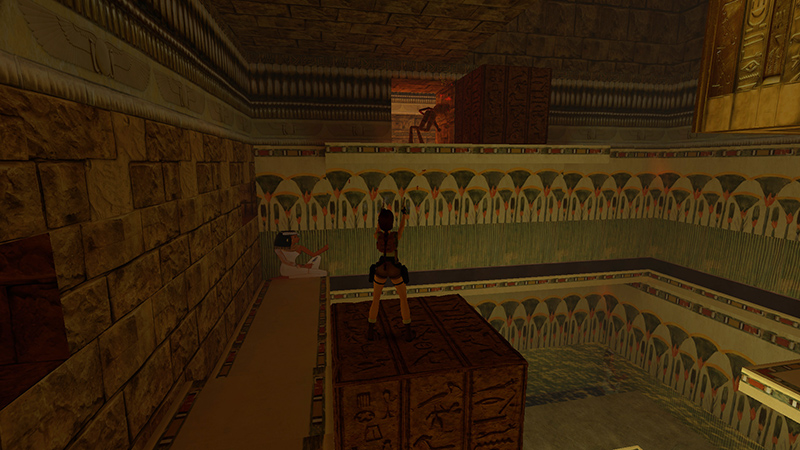
Climb onto the first movable block to shoot the mummy from safety. Then take a running jump to grab the ledge near the doorway, pull up, and go inside.
- OR -
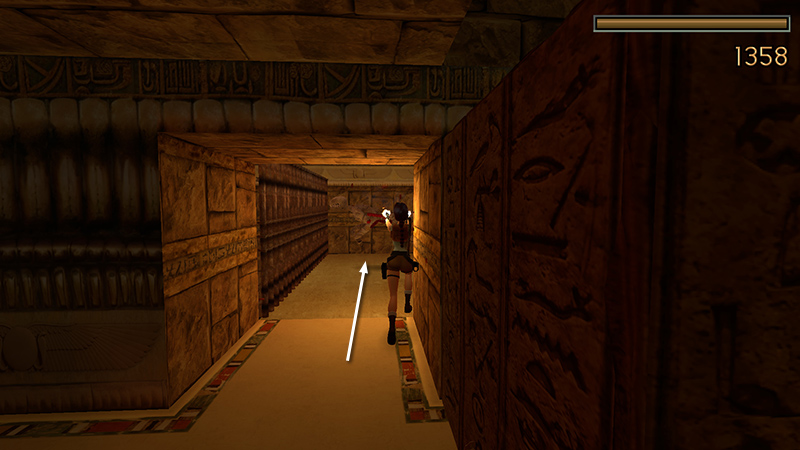
If you feel compelled to prove your womanhood, after pushing the block out of the doorway, draw weapons and run/jump past the mummy into the room, firing as soon as Lara gets a lock on it.
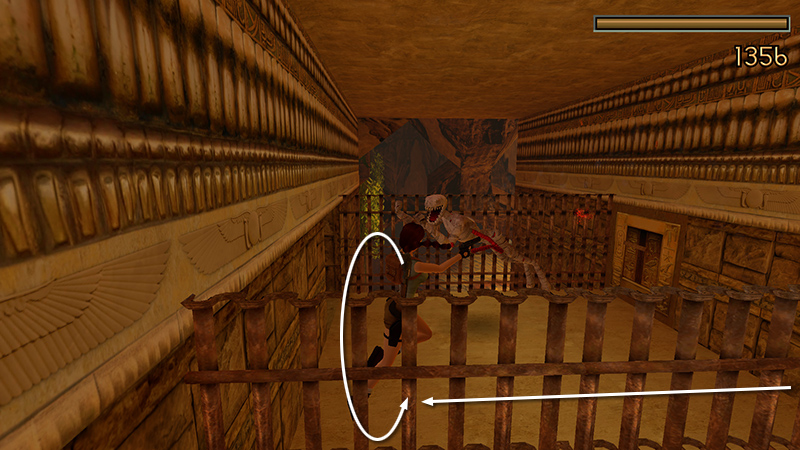
Roll and shoot, jumping/flipping out of the way if necessary, so it doesn't pin Lara against the wall.
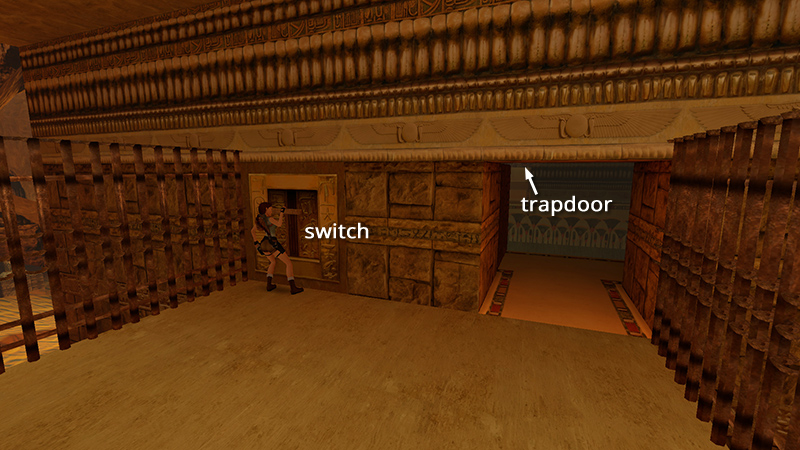
Throw the switch to open the trapdoor above the golden block. (You can also get a glimpse into the next room through the window opposite the switch. There's another SAPPHIRE KEY on the pedestal below.)
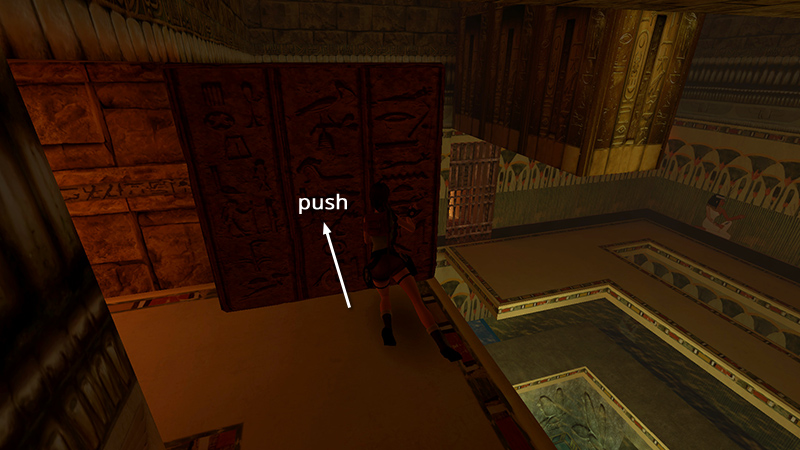
Return to the walkway above the pool, push the second movable block once more, and climb onto it.
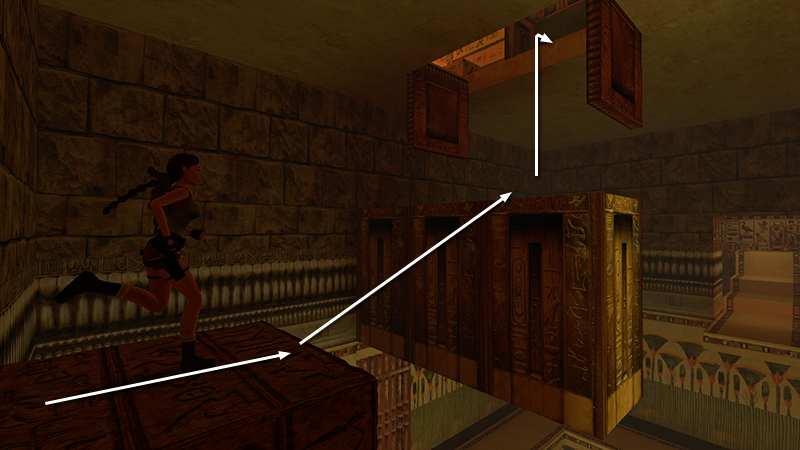
Take a running jump onto the golden block, then pull up into the room above.
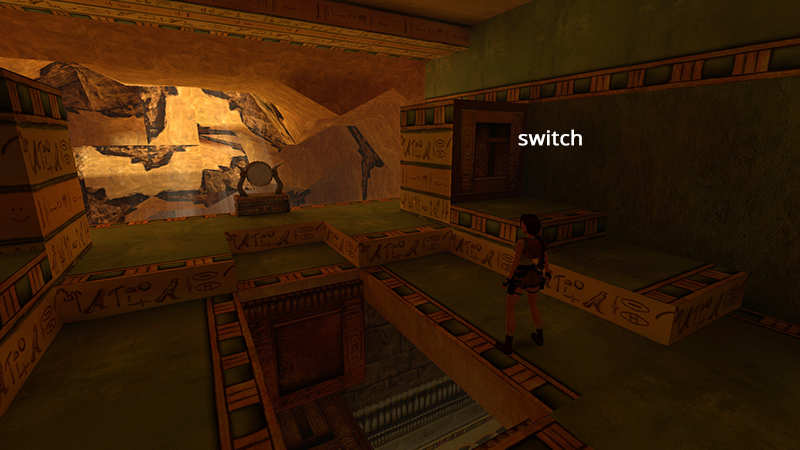
Use the switch at the top of the low steps...
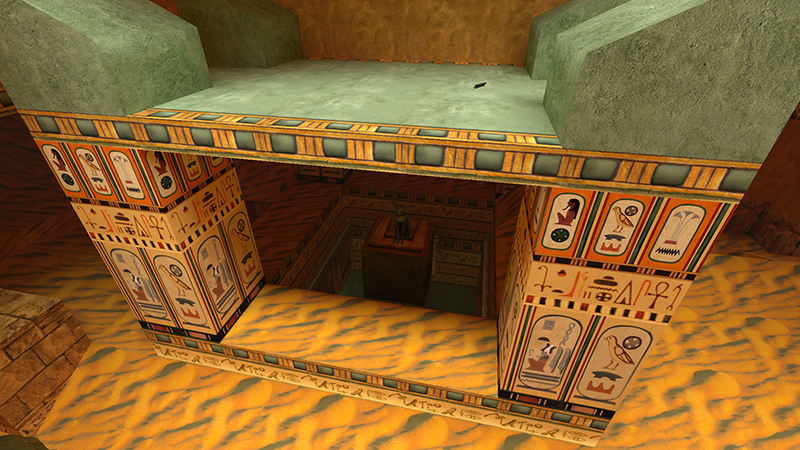
...to open the trapdoor entrance to the CAT TEMPLE, below.
DARK MODE: I plan to add optional dark mode for these pages, but my current priority is updating the walkthroughs. Meanwhile, may I suggest a reputable dark mode browser extension, such as Dark Reader? (Download only from trusted sites, like darkreader.org or your browser's web store.)
Walkthrough text and diagrams copyright © Stellalune (email ). Feel free to copy or print this walkthrough for personal use. By all means, share it with friends, but please include this credit line so people can send me their feedback. No part of this walkthrough may be reproduced on another site without permission.