Cistern - Switch Room (First Visit) - Secret #1
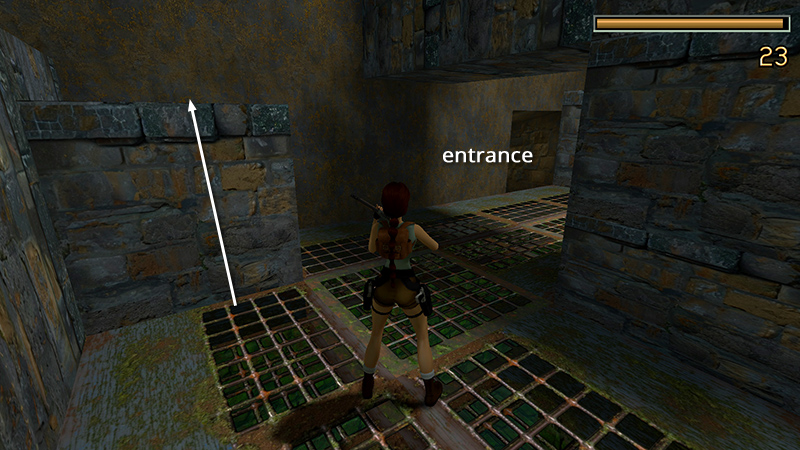
After climbing up to the ROOM WITH METAL GRATING AND CISTERN SWITCH and chasing Pierre away, as shown in the previous section, climb onto the block in the southwest corner (to the left of the entrance when facing it).
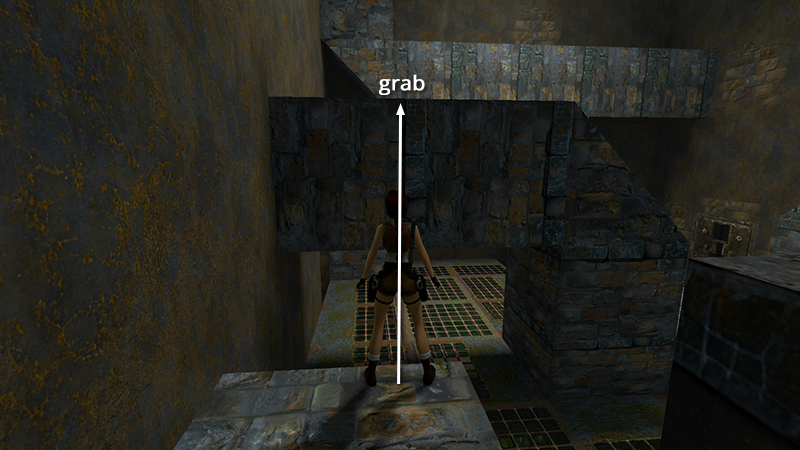
Walk to the edge nearest the entrance and take a standing jump to grab the raised arch in the middle of the room. Pull up.
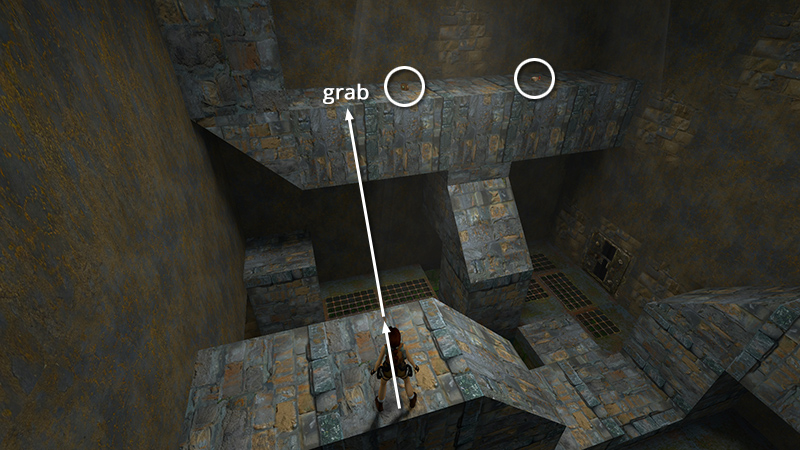
From there, take a running jump to grab the high ledge ahead. Pull up and collect a large medi pack (3) and some shotgun shells (4).
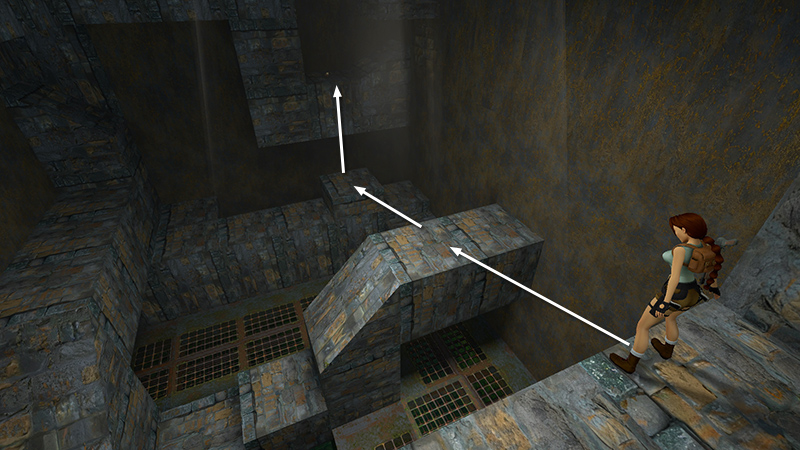
Return to the end of the ledge nearer the entrance. Take a standing jump (not a running jump) from the edge back down to the stone arch. Jump over to the next ledge and then climb into the inverted arch above.
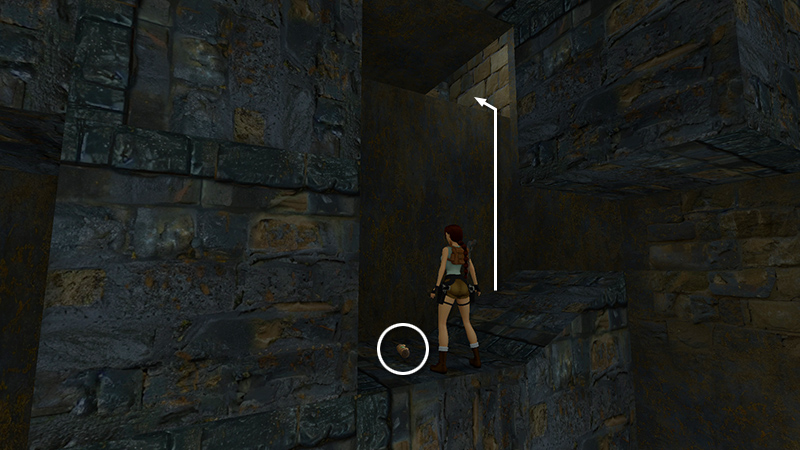
Pick up the small medi pack (5). Then climb into the barely visible opening above on the right.
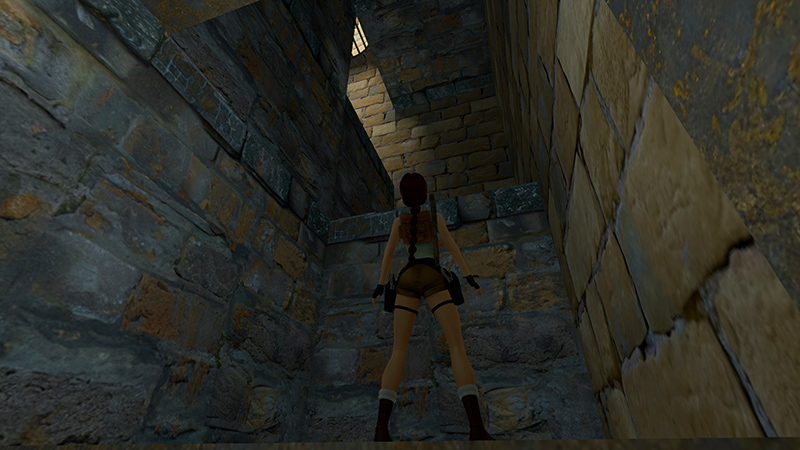
This is SECRET #1. Climb up three times...
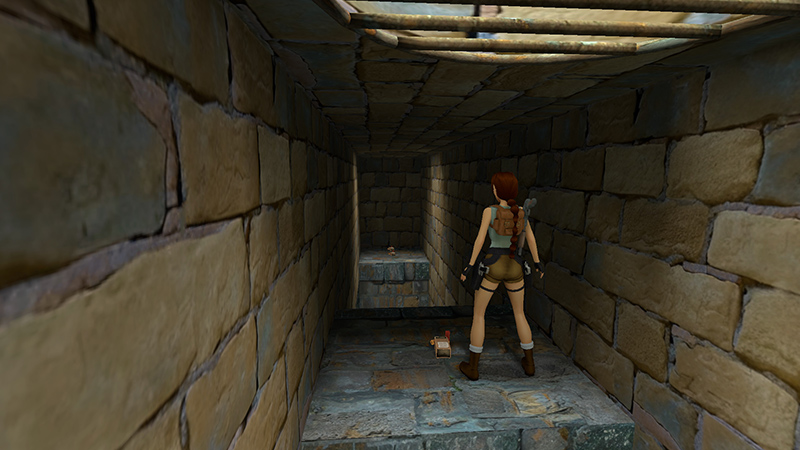
...to find more shotgun shells (6).
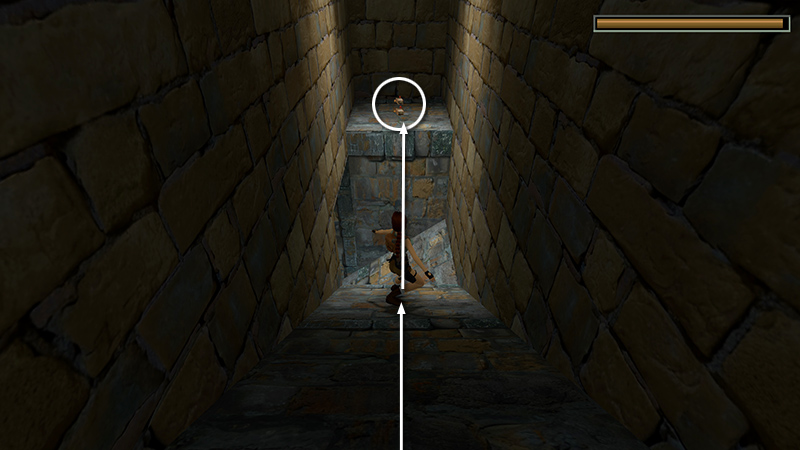
Step off the edge onto the slope below. Slide forward and, just before the end of the slope, jump to grab (or land on) the ledge ahead. Pick up 2 more boxes of shotgun ammo (7-8). Safety drop off the ledge and slide down to the floor, losing a little health in the process.
- OR -
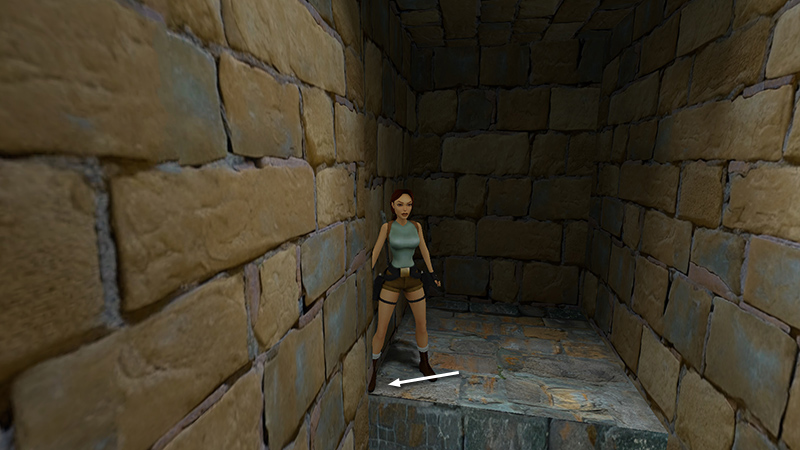
To get down without injury, turn around, walk to the edge of the ledge, and sidestep to the left side of the ledge (the right side from Lara's perspective).
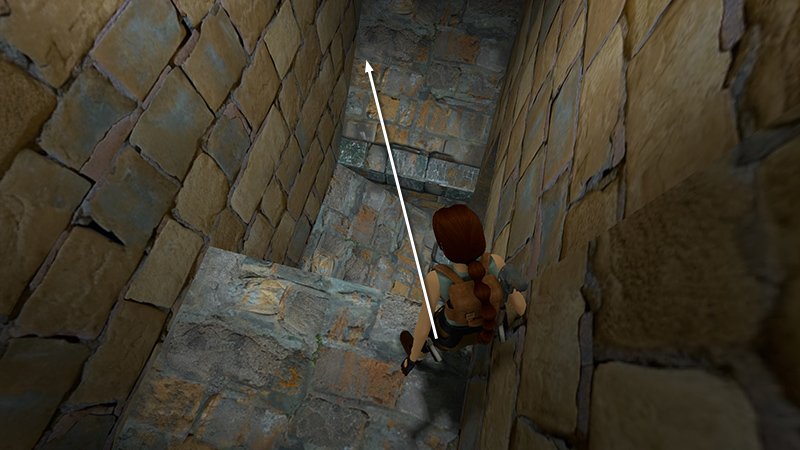
Angle her toward the left side of the first slope. Take a standing jump to land there.
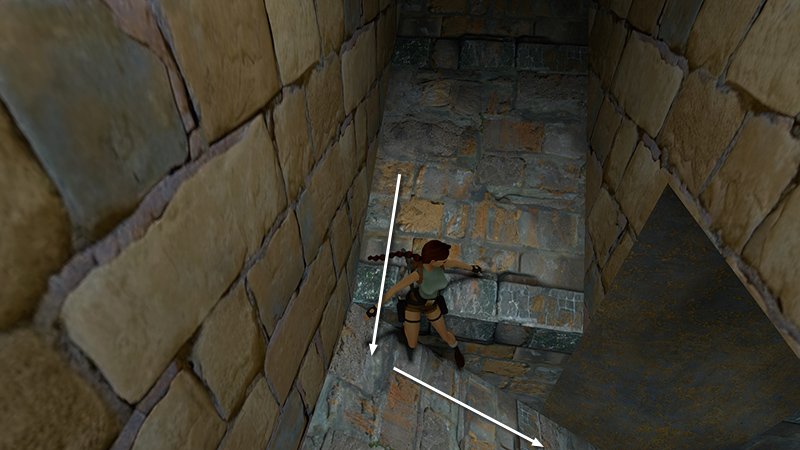
Lara should then slide down the first slope and land on the second, perpendicular slope facing downhill.
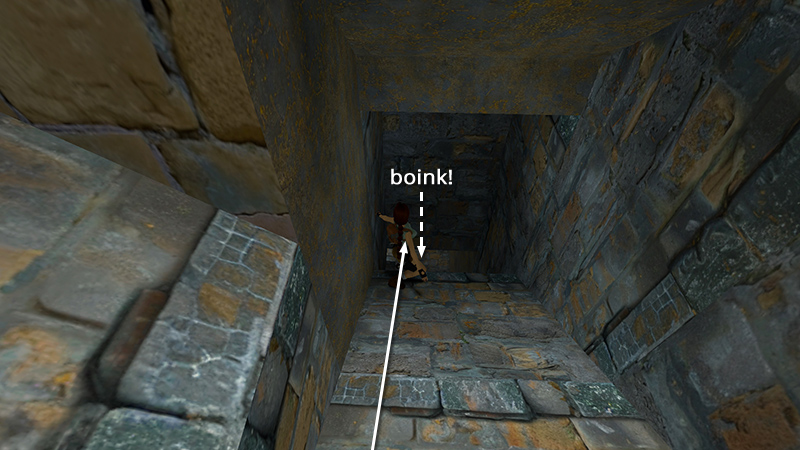
Continue sliding without pressing any buttons. Lara will bump her head on the wall ahead before dropping down onto a third slope. After she bumps her head but before she lands, hold Action...
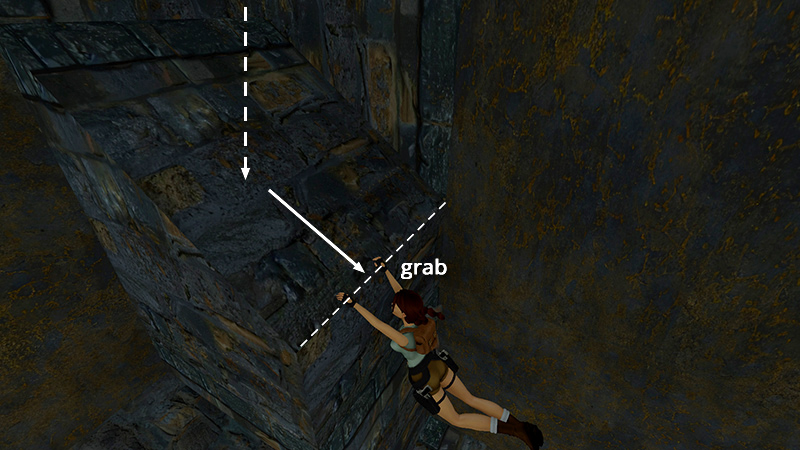
...to grab the end of the third slope.
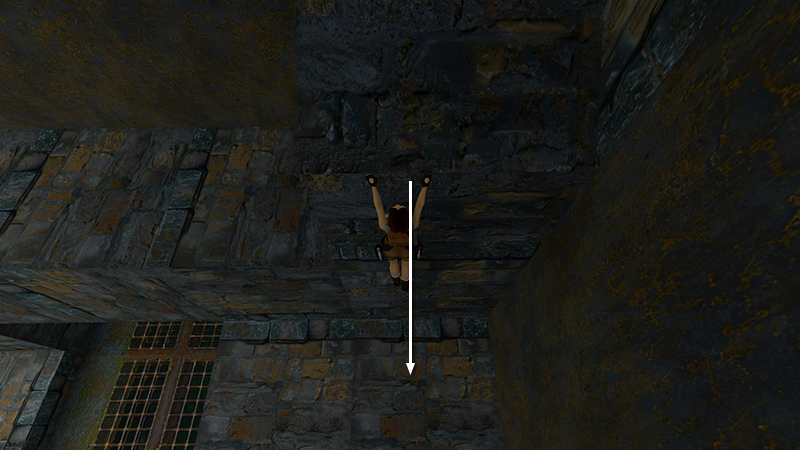
Let go to drop down without injury.
DARK MODE: I plan to add optional dark mode for these pages, but my current priority is updating the walkthroughs. Meanwhile, may I suggest a reputable dark mode browser extension, such as Dark Reader? (Download only from trusted sites, like darkreader.org or your browser's web store.)
Walkthrough text and diagrams copyright © Stellalune (email ). Feel free to copy or print this walkthrough for personal use. By all means, share it with friends, but please include this credit line so people can send me their feedback. No part of this walkthrough may be reproduced on another site without permission.