Atlantis - Room with Incubators and Trench Full of Spikes
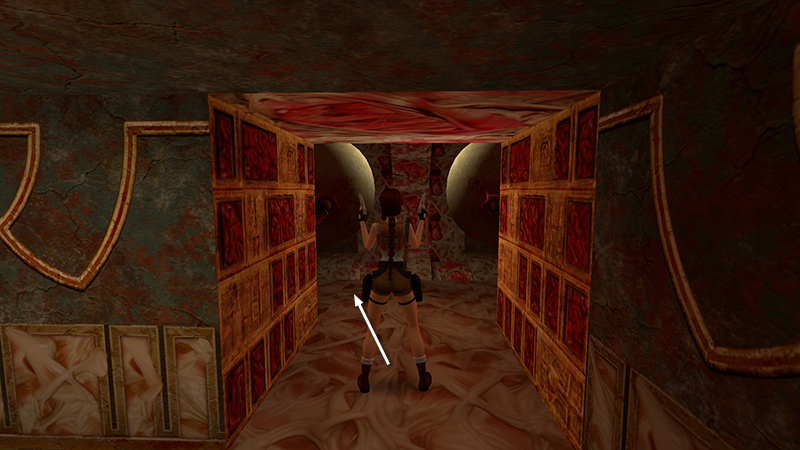
Advance along the next corridor. (There's another save crystal here in New Game+.) Angle Lara slightly to the left as you enter the room with the 2 incubators, so only the egg on the left hatches.
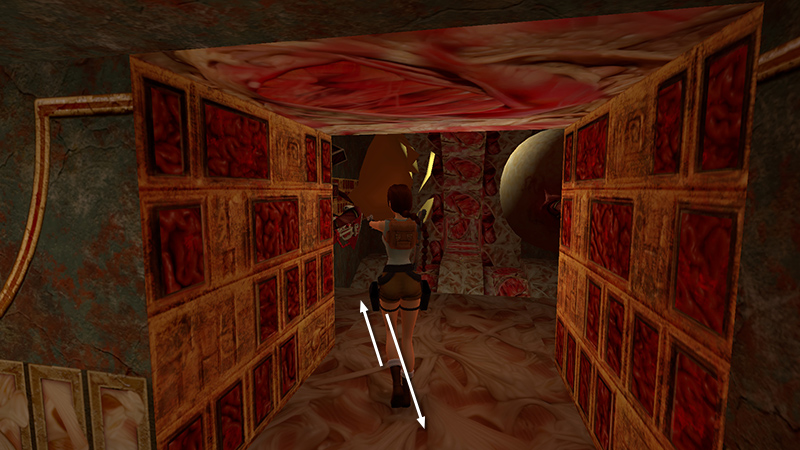
Then back up into the doorway to kill the first of 2 winged mutants (15-16).
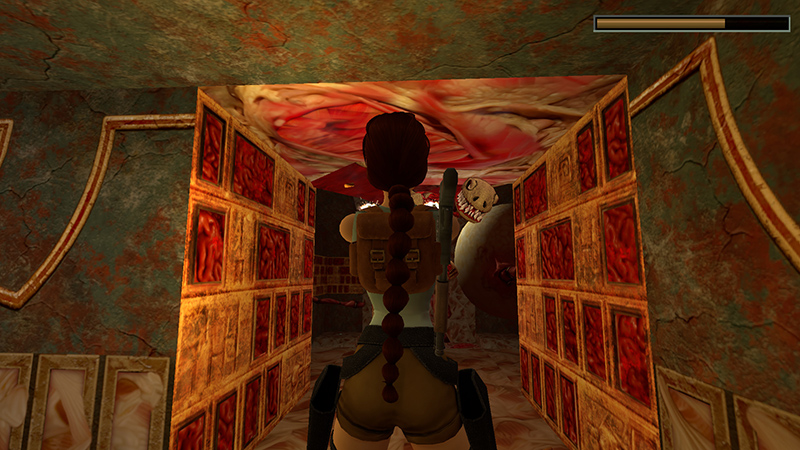
It may try to enter the narrow passageway, but it shouldn't get very far.
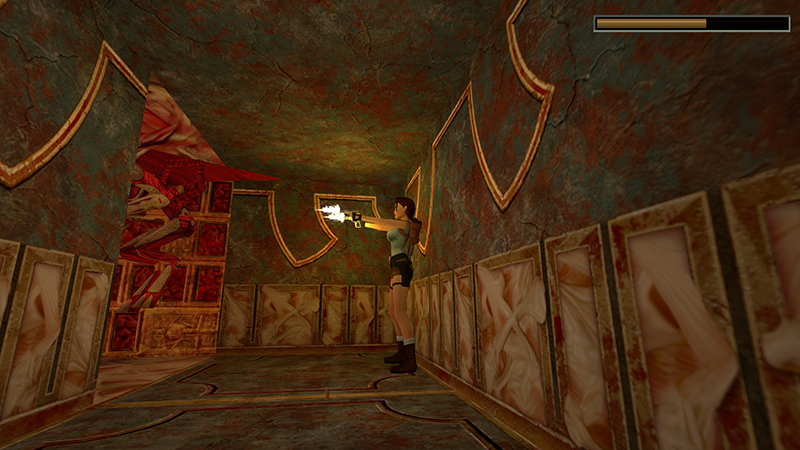
If you back up all the way to the wall, Lara should take little or no damage when the mutant explodes. Of course, you can kill it quickly with more powerful weapons, but I recommend conserving some Uzi ammo for later when you'll really need it.
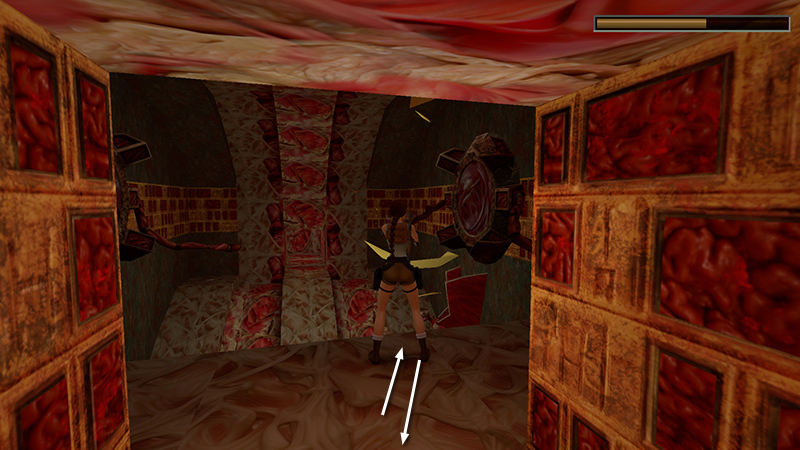
When it explodes, repeat the process to hatch...
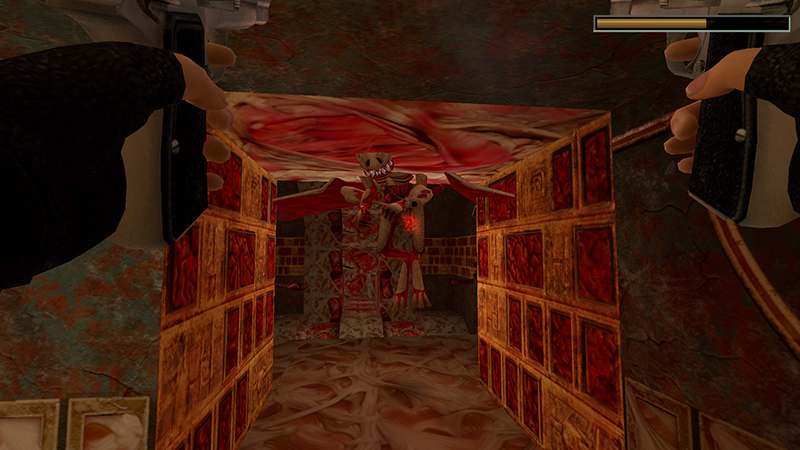
...and kill the mutant on the right.
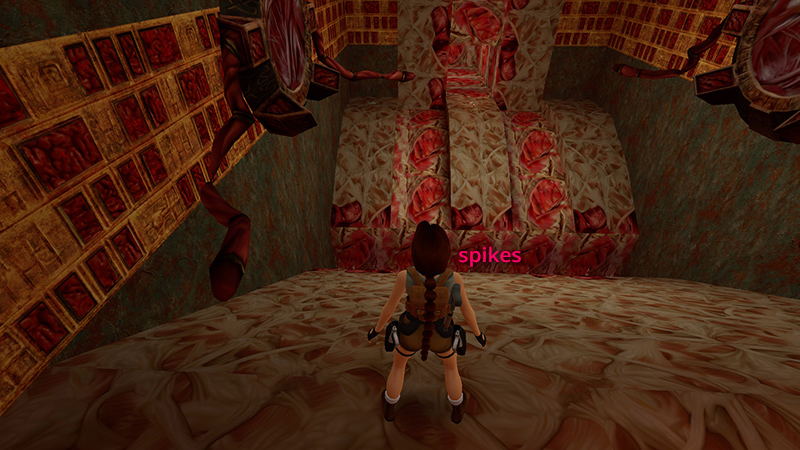
Now position Lara at the top of the slope, facing either section of pulsating floor on the opposite slope (not the three tan slopes, which are too steep and slippery to stand on).
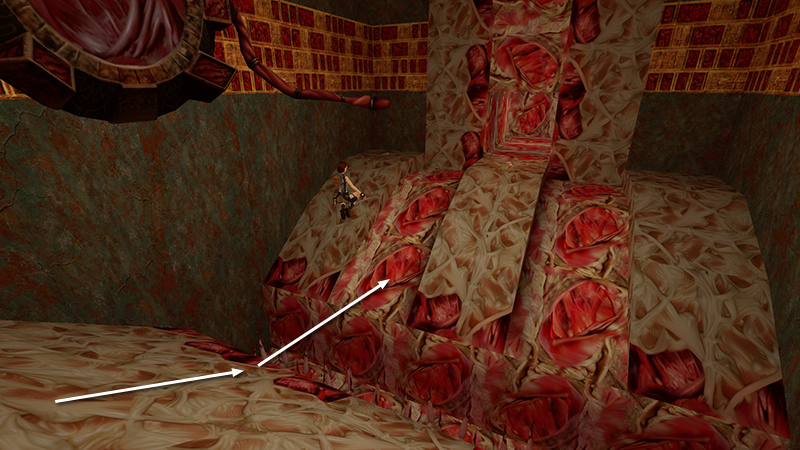
Slide down the slope and jump near the bottom to clear the spikes and land on the fleshy floor.
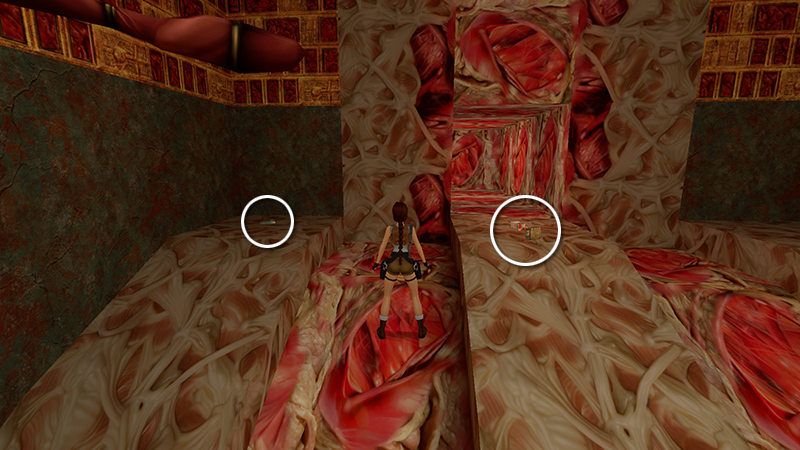
Go to the top and pick up 2 sets of Uzi clips, a large medi pack, and some shotgun shells (26-29). Then follow the passageway to the next area.
[Previous | Next | Atlantis Walkthrough]
DARK MODE: I plan to add optional dark mode for these pages, but my current priority is updating the walkthroughs. Meanwhile, may I suggest a reputable dark mode browser extension, such as Dark Reader? (Download only from trusted sites, like darkreader.org or your browser's web store.)
Walkthrough text and diagrams copyright © Stellalune (email ). Feel free to copy or print this walkthrough for personal use. By all means, share it with friends, but please include this credit line so people can send me their feedback. No part of this walkthrough may be reproduced on another site without permission.