Mission of San Juan – Revisiting the Tree of Life Challenge Tomb (part 2)
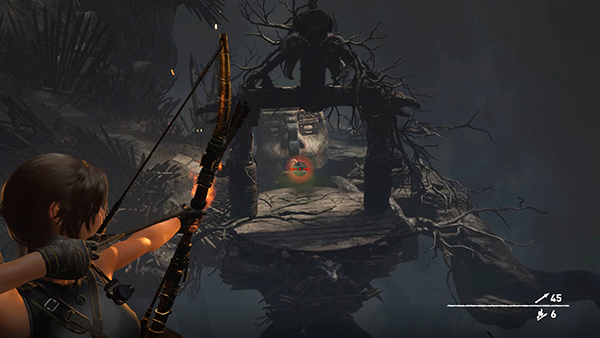
The round, wooden ledge below is too far away to reach, so shoot a fire arrow into the gas vent behind it.
The resulting explosion propels the ledge toward you. Jump onto it and ride it down.
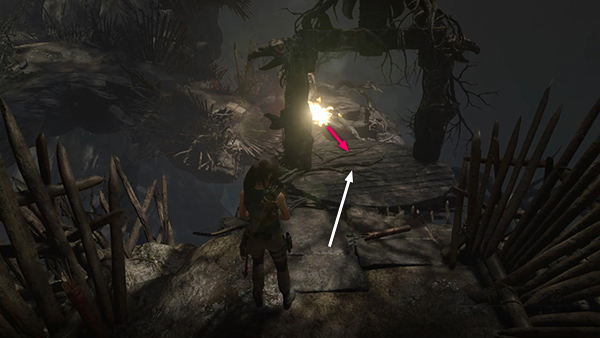
Jump off to the left before the gas starts flowing again.
Follow the path to a fork. If you already have document #15, continue up the slope on the right. Skip the next 2 screenshots and pick up the walkthrough below. If you still need document #15, head down the path to the left and jump over to the next ledge.
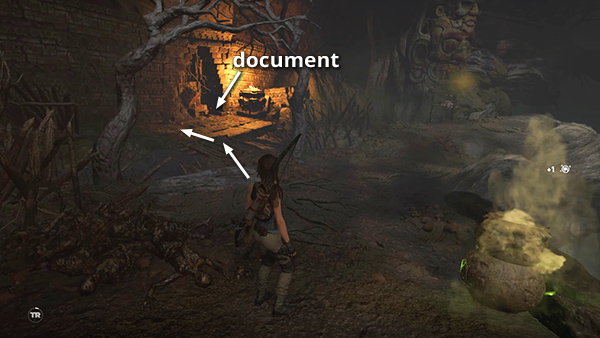
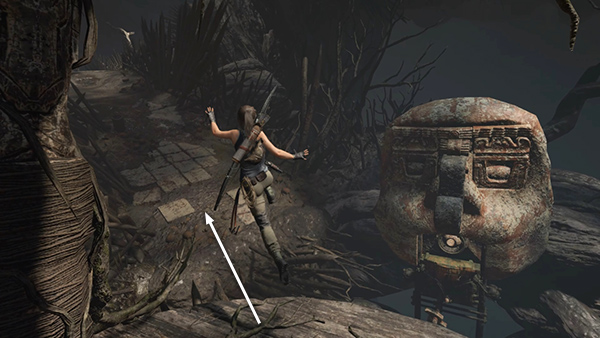
As you explore this area, watch out for 2 Yaaxil warriors who don't like Lara nosing around. One comes out of the bramble tunnel to the left of where she's standing in the screenshot above, the other appears on the ledge she just jumped down from. When the coast is clear, jump across to the ledge to the northeast. You'll find the document (15/27), World Tree (Mam/Legends of the Maya), sitting on the floor in front of the stone archway.
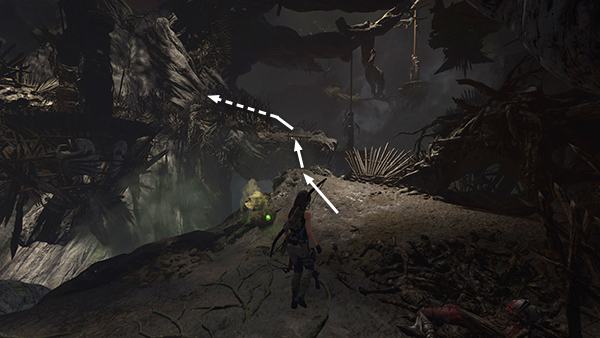
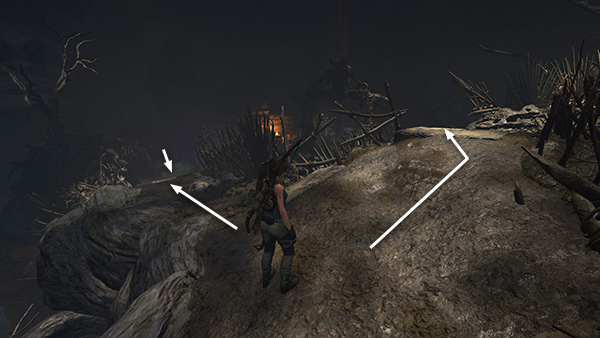
Go back the way you came to the fork in the path. This time, take the upper path to a stone ledge overlooking another round platform.
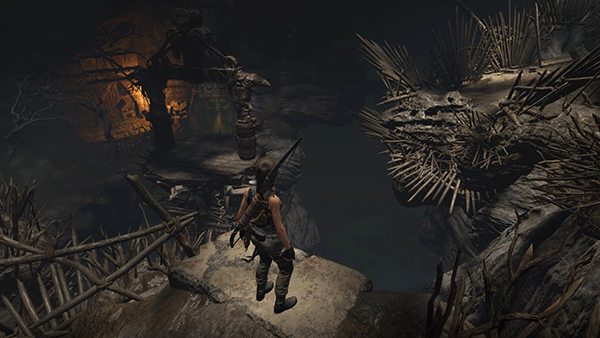
You'll need to use the platform to cross the wide gap to the next ledge.
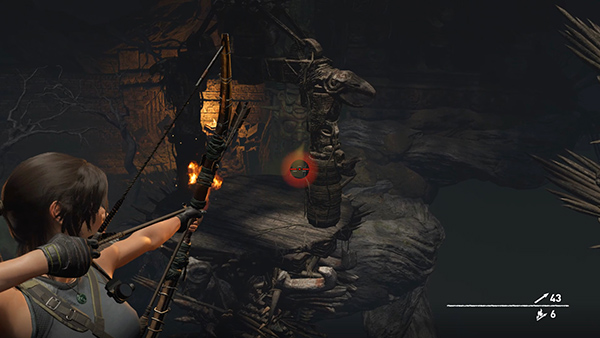
Shoot a fire arrow into the gas vent.
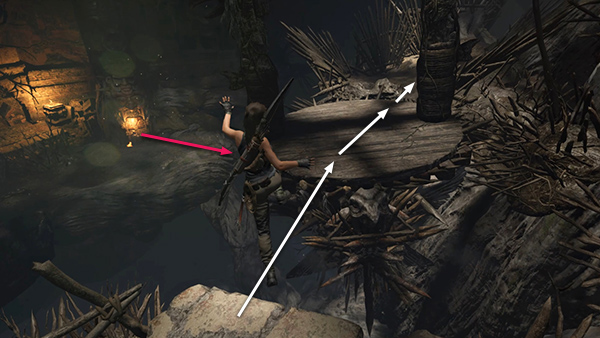
The explosion swings the platform up toward you. Jump onto it, run across, and jump down on the other side before the platform can swing back down. (If it does, you can either wait for the gas to start flowing, ignite it again, and ride the platform up to the ledge, taking a little damage in the process; or return to the ledge overlooking the gap and try the sequence again.)
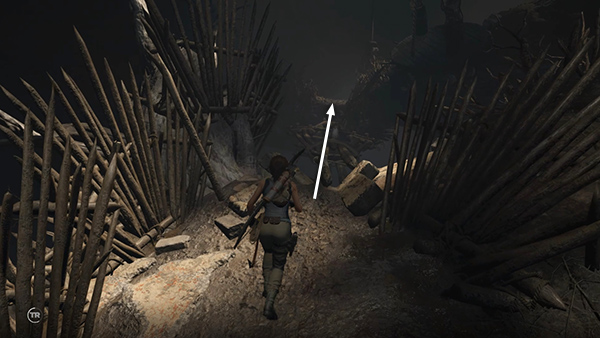
Continue across a rickety bridge made of logs lashed together. It tilts alarmingly but does not break.
[Previous | Next | Collectibles Guides]
Copyright © - Stellalune ( ). All rights reserved. Feel free to copy or print this walkthrough for personal use. By all means, share it with friends, but please include this credit line so people can send me their feedback. No part of this walkthrough may be reproduced on another site without permission. Follow this link for details about this site's advertising and privacy policy.