Mission of San Juan – Final Firefight at the Distillery

When you enter the next area, a short cutscene shows more Trinity soldiers arriving by helicopter, as the volcano erupts in the background.

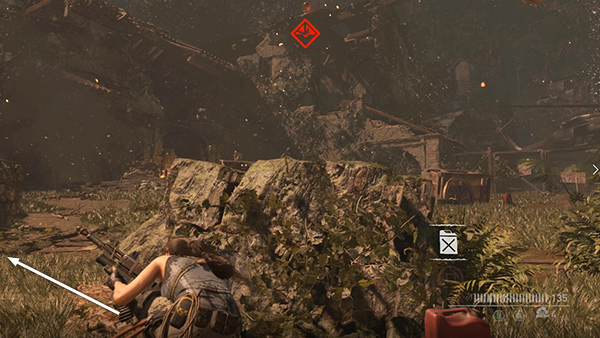
The way is now blocked behind you, so as soon as the cutscene ends, take cover behind the boulder just ahead. If you haven't already done so—or if the checkpoint reloaded and you're starting over—take a moment to use Focus and Endurance mixtures (details on the main page). These will make a tough fight much easier.
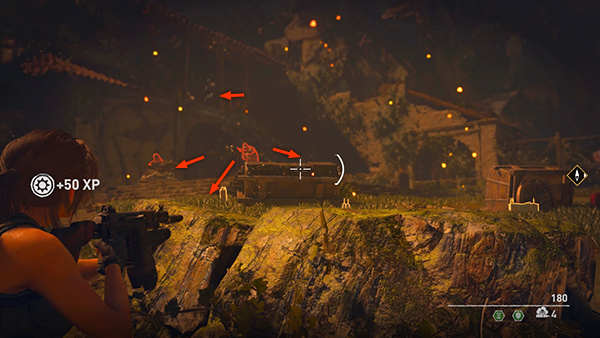
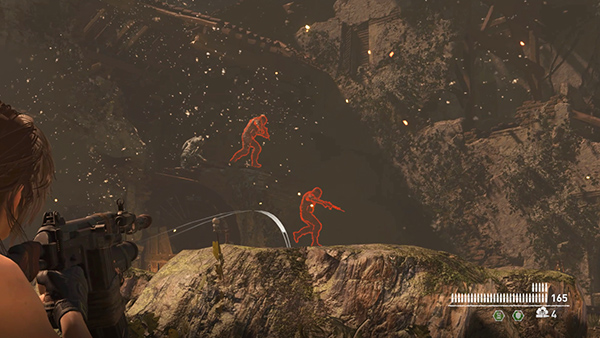
You'll need to fight about 10 guys here, but they appear in groups. All enter through the building ahead on the left, so at least you don't have to worry about anyone sneaking up behind you. Hold Aim to activate the time-slowing effects of the Focus herbs. Using Survival Instinct also helps to see distant enemies through the haze. Before targeting the first 4 soldiers...
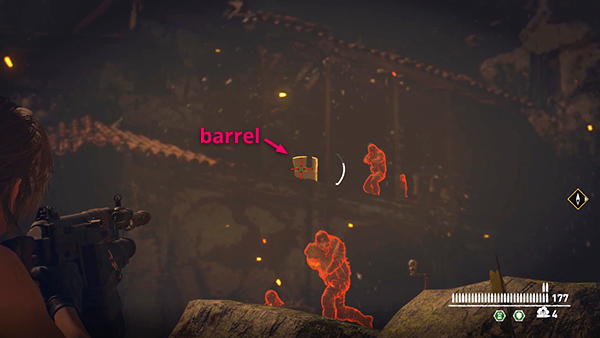
...try to hit the fuel barrel on the balcony to the upper left.
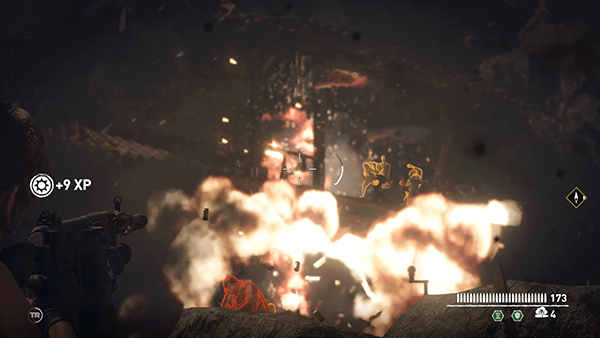
If you do this before the men can move out, it may kill three of them.

Then you can shoot the fourth as he runs toward you.
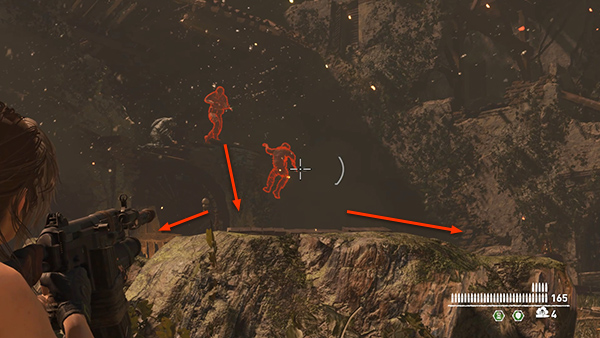
The next 4 enemies drop in from the balcony and disperse. If you have the more advanced Scales of the Serpent skills and can keep the slow-mo active by holding Aim the entire time, you may be able to shoot all of them from the starting position before the Focus effects wears off. Otherwise, just try and kill one or two as they arrive.
Or, if you have the Viper's Venom Skill and have crafted some poison grenades, you might try using one now. Aim high and press Alt Fire so the grenade arcs up over the barrier where you're hiding and lands on the ground below the balcony.
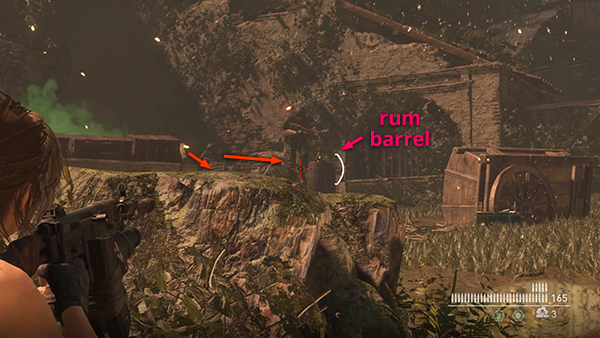
If the survivors run to the right, shoot them as they approach or aim for the rum barrel near the gated archway...
...and blow that up instead.
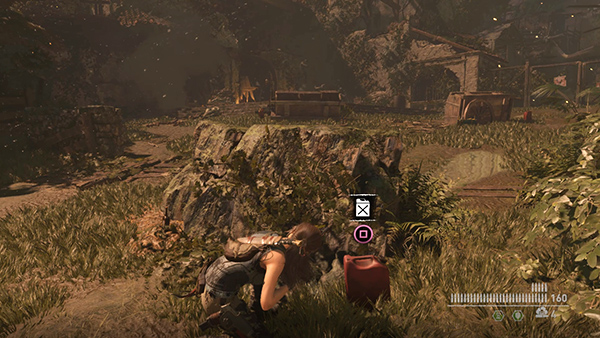
If you don't have grenades, if you run low on ammo, or if you just like blowing stuff up, grab the jerry can sitting near the boulder.

Hold Alternate Fire (Middle Mouse/R1/RB) to combine it with cloth from your inventory to make a petrol bomb.

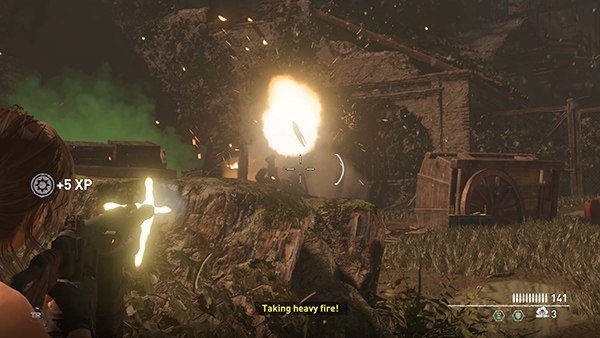
Then lob it at the second wave of enemies before they have a chance to disperse.

Ouch!
Occasionally one of the men will throw a grenade. If you see the red icon incoming, scramble over to the left and take cover behind the low wall.
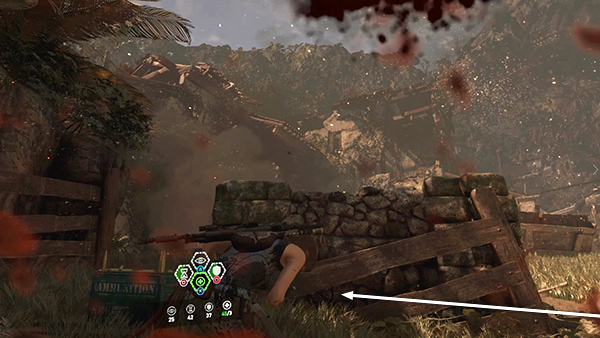
Release Aim to crouch. Then heal and/or top up your other herbs if necessary. There's also rifle ammo here.

One or two more men appear while you're fighting the second wave. The slow-motion aiming provided by the Focus herbs should allow you to finish off any stragglers before they do to much damage.
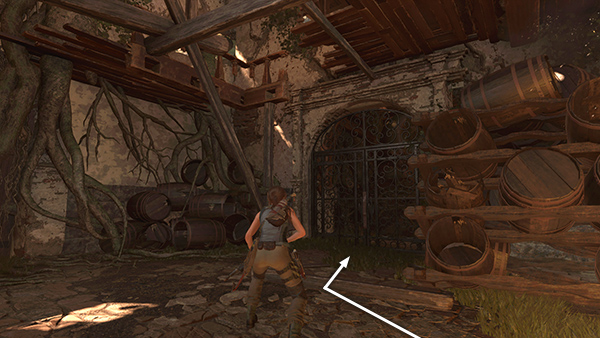
When you've killed the last man, Jonah radios to say he's commandeered a helicopter. He says to hurry, but you can take your time and gather whatever supplies you can find. Then enter the building where the bad guys came from and pry open the metal gate to get to the field with the helicopter.
[Previous | Mission of San Juan Walkthrough]
Copyright © - Stellalune ( ). All rights reserved. Feel free to copy or print this walkthrough for personal use. By all means, share it with friends, but please include this credit line so people can send me their feedback. No part of this walkthrough may be reproduced on another site without permission. Follow this link for details about this site's advertising and privacy policy.