Kuwaq Yaku – Second Treasure Chest in Piranha Cavern
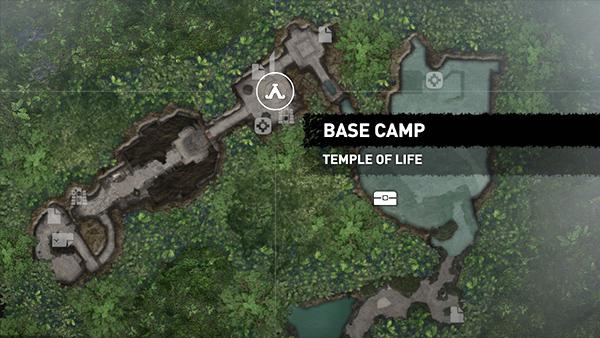
After obtaining the LOCK PICK, fast travel to the Temple of Life Base Camp, one of the two camps that appear on the Kuwaq Yaku map later in the game. The camp itself is in the northernmost part of the level, on the stone circle where Lara read the mural about the jaguar mouth, silver eye, etc. The location of the treasure chest will also have been revealed on your map if you found the explorer backpack near the Challenge Tomb entrance earlier.
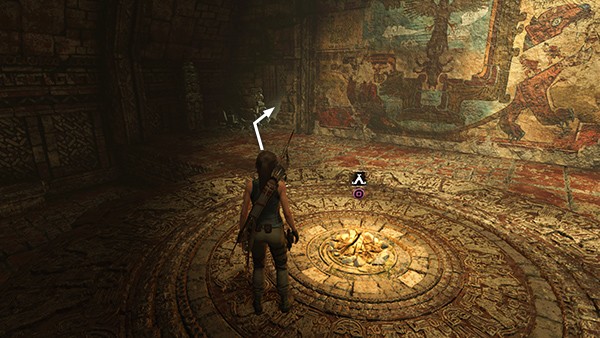
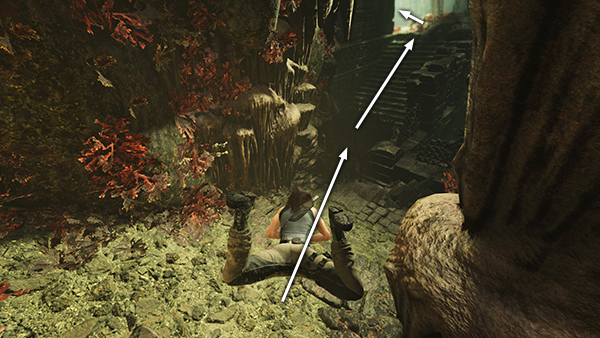
Go through the opening in the wall just north of the campsite.
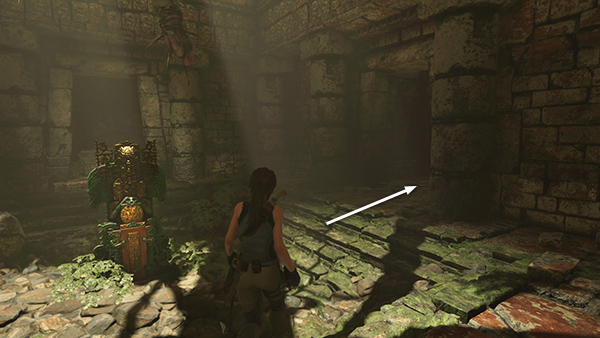
Pass the stele you examined when you first passed through this area and exit to the right.
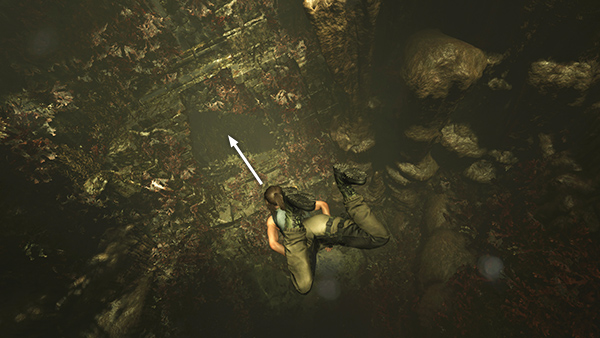
Dive into the pool and swim down through the opening on the southeast side, just like you did the first time.
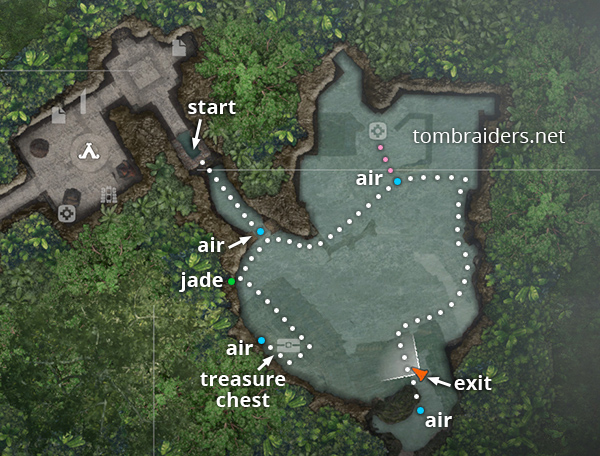
The route from the entrance to the treasure chest, then on to the exit, is shown in this map, as well as in the screenshots below.
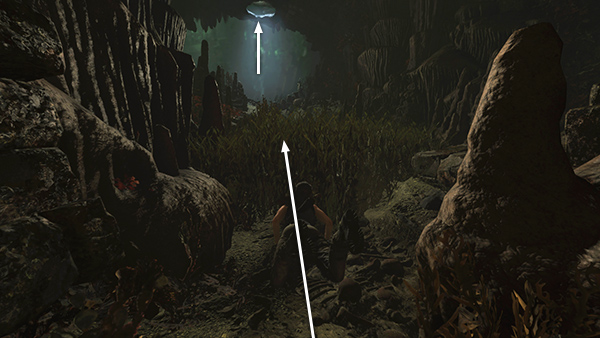
Swim forward along the passageway, hiding from the piranhas in the grass if necessary. Just beyond the second patch of grass is an air pocket. Approach it and press Interact to pop up and take a breath.
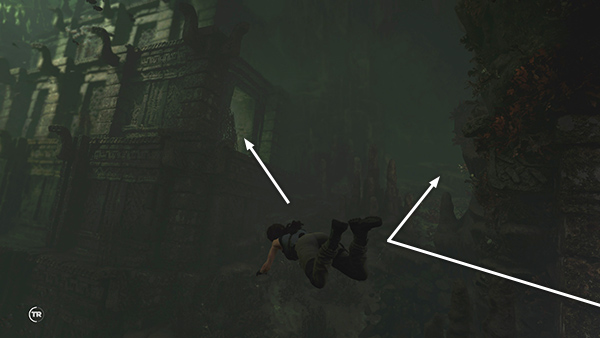
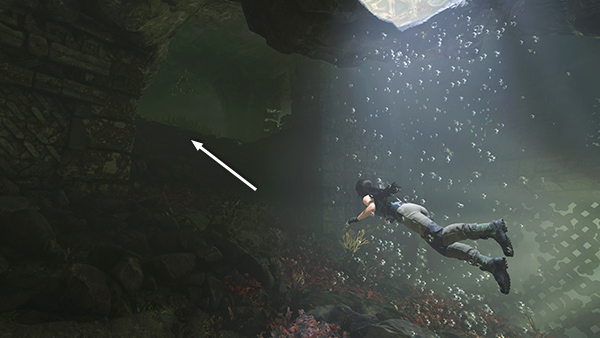
Then swim out into the cavern. If you don't care about getting every pickup, head straight for the doorway of the ruined building ahead on the right. Otherwise, make a sharp right and head toward the west cavern wall...
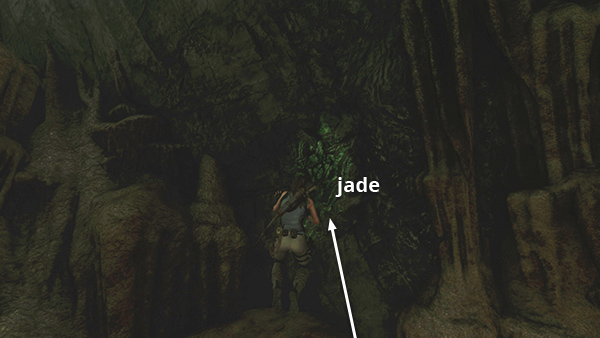
...where you'll find some jade ore you can hack out of the wall.
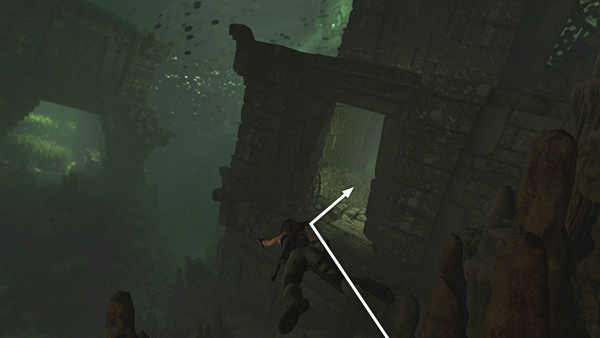
Turn around and swim through the doorway of the ruined building on the right. (If you don't have the various Caiman's Breath skills, you may want to return to the previous air pocket first then continue from there.) Once you're inside the building, you may see a few stray piranhas, but they shouldn't cause any trouble.
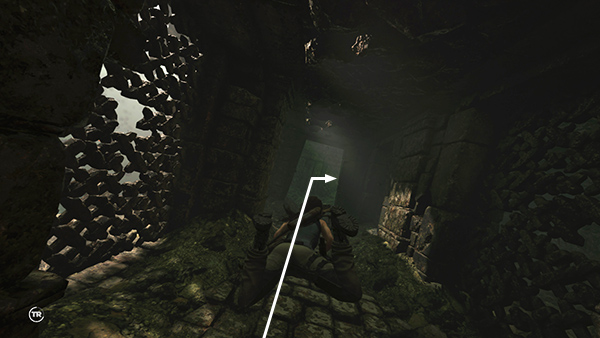
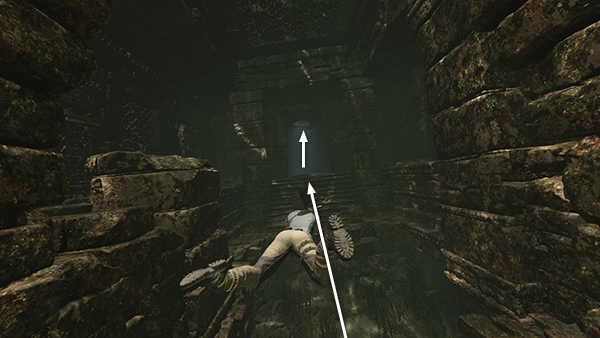
Inside the building, swim forward to the end of the passageway and turn right.
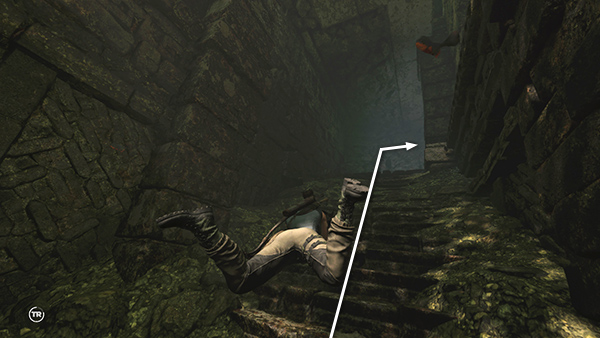
Swim up the stairs and turn right again.
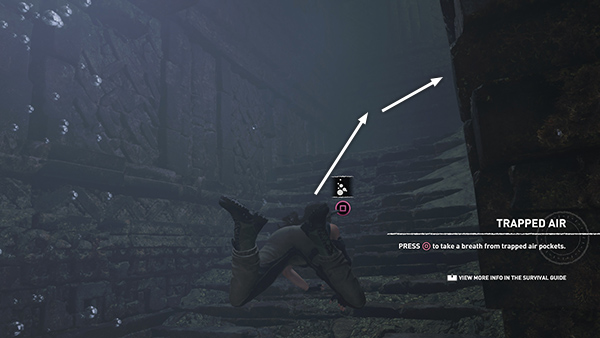
Just ahead is another pocket of trapped air.
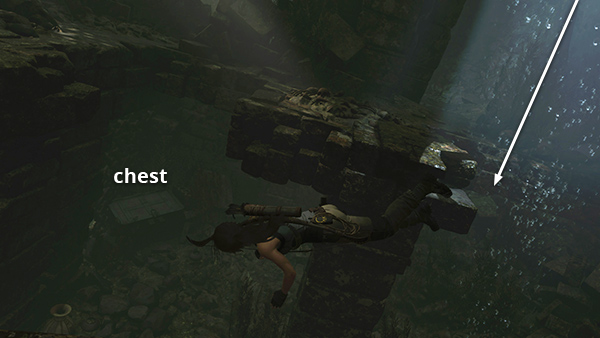
Take a breath then swim down through the broken floor to find the treasure chest (2/2) sitting in the southeast corner.
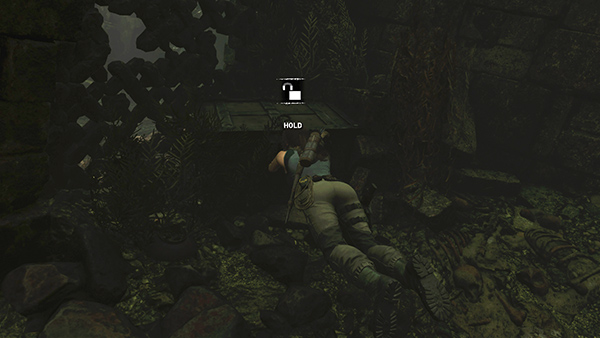
Swim close to it and hold Interact to open it with the LOCK PICK. Inside is an Artifact, an Inti Statuette, (Quechua/The Resistance). This does not count as one of the 4 official relics, but you can examine it later in the Artifacts menu. You also receive a few random rare resources.
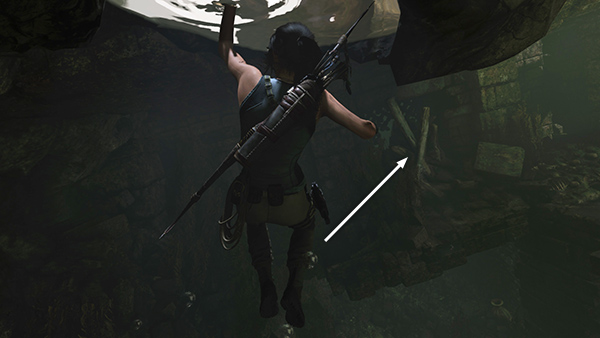
Return to the air pocket at the top of this room. There's no direct route from here to the exit that doesn't involve death by feeding frenzy. To get out, start by swimming to the wooden barrier on the north wall.
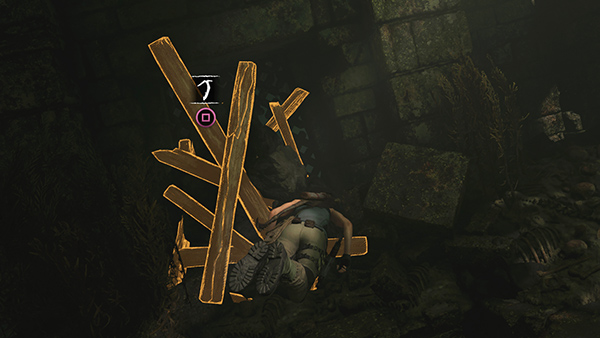
Use your climbing axe to break it down.
Swim through the opening and continue northward, back to the first air pocket.
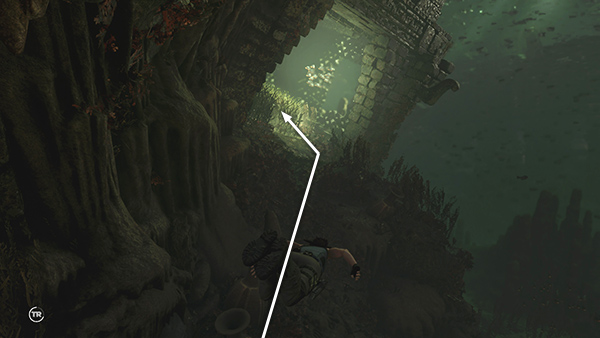
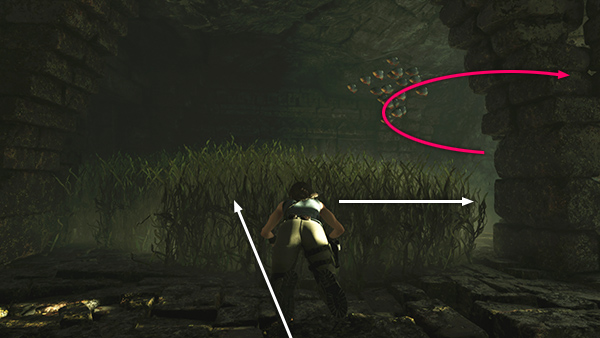
From here you will be retracing the same basic route you took the first time you passed through this cavern. Start by heading east from the air pocket and through the well-lit archway.
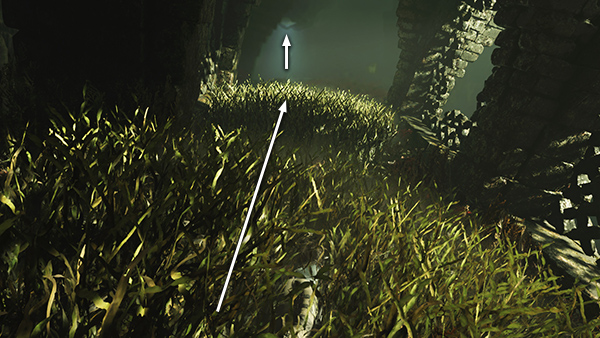
Hide in the grass on the bottom if necessary to avoid the piranhas. As soon as the way is clear, swim forward to the next air pocket.
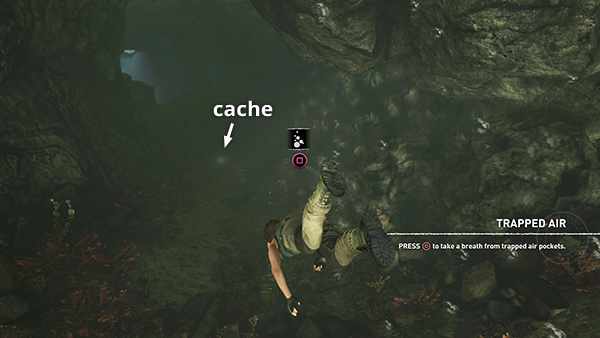
If you missed the survival cache (10/14) earlier, after taking a breath, turn left (northeast) to find the cache buried on the bottom just before the next patch of grass. Dig it up, turn around, and swim back to the same air pocket you just used. (This side trip is marked with pink dots on the map detail above.)
Continue to the east, up the stairs...
...and into another patch of grass. Wait for the patrolling piranha school to pass. Then continue to the right (south)...
...down the stairs...
..and around to the right.
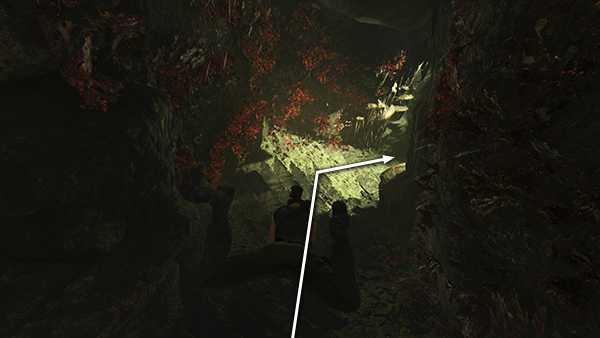
Head for the opening on the left, at the top of the next set of stairs.
Continue straight ahead (south) past a big opening in the floor to another pocket of trapped air.
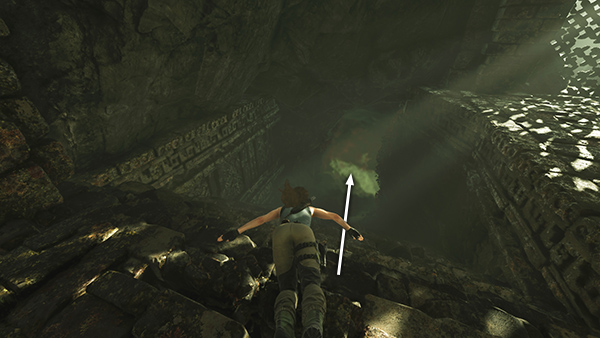
Take a breath. Then continue up and around to the right...
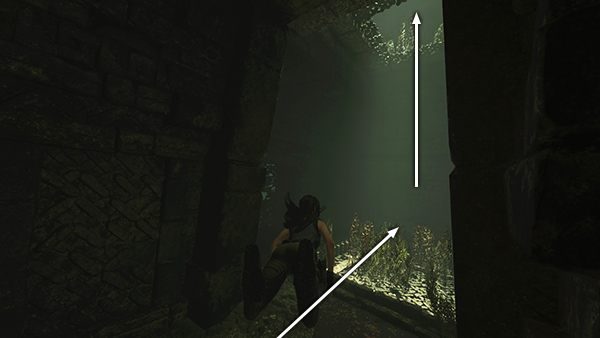
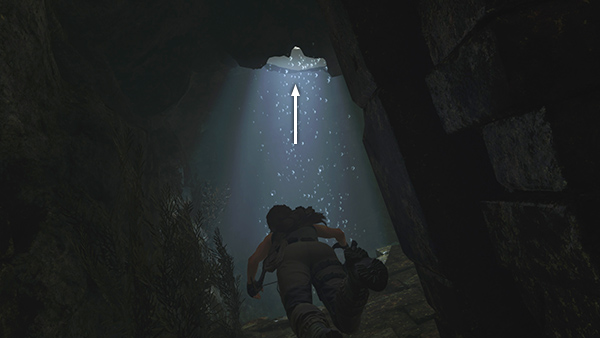
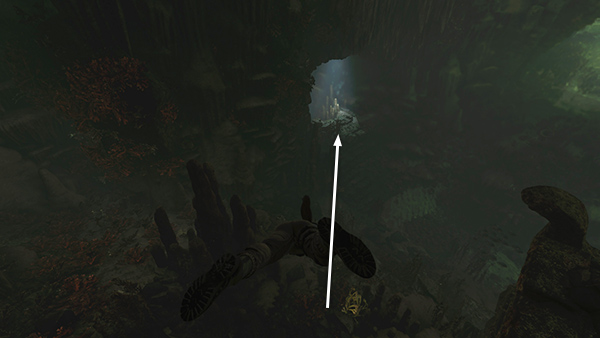
...until you reach a tall, vertical room with light streaming down from above. Head straight up to the surface.
From here, retrace the same route you took the first time, minus all the enemies. If it's been a while, refer to the main walkthrough for details. After following the path south through the jungle, you'll go through the clearing with the crashed airplane, then climb the wooden wall in the southeast corner of that area to reach the Airfield Dirt Road Base Camp. You can then continue on foot or fast travel out to wherever you left off.
Copyright © - Stellalune ( ). All rights reserved. Feel free to copy or print this walkthrough for personal use. By all means, share it with friends, but please include this credit line so people can send me their feedback. No part of this walkthrough may be reproduced on another site without permission. Follow this link for details about this site's advertising and privacy policy.