Kuwaq Yaku – Flooded Ruins with Piranhas
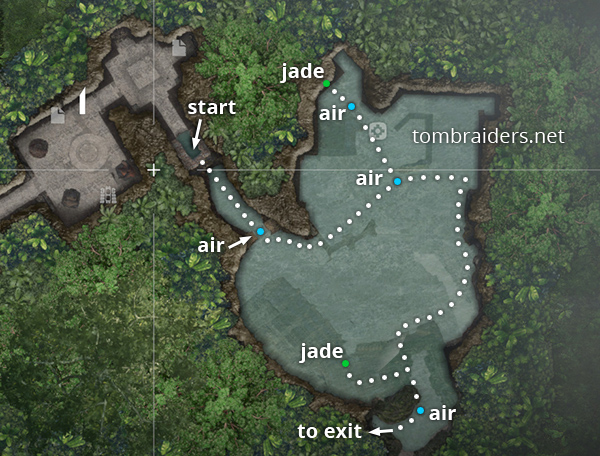
This map illustrates the same route shown in the screenshots below.

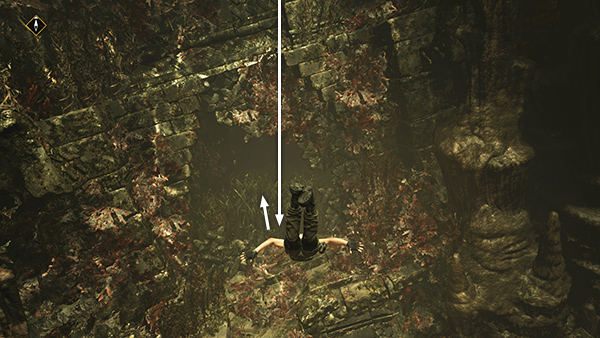
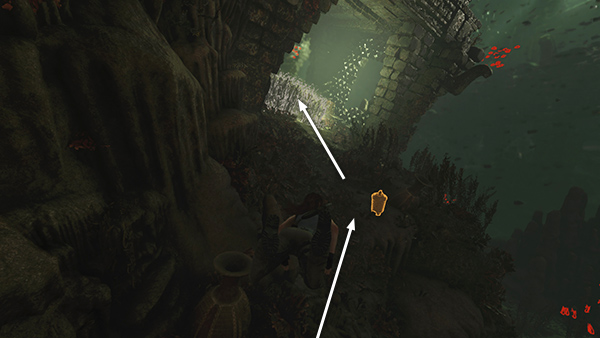
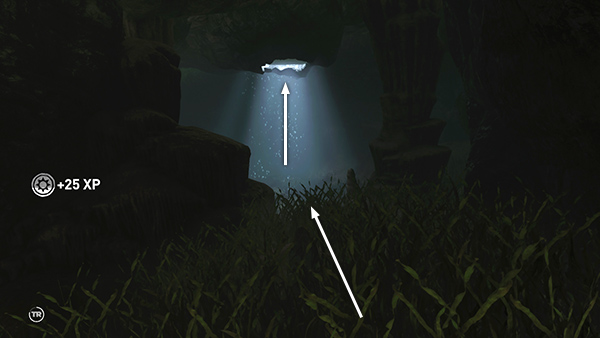
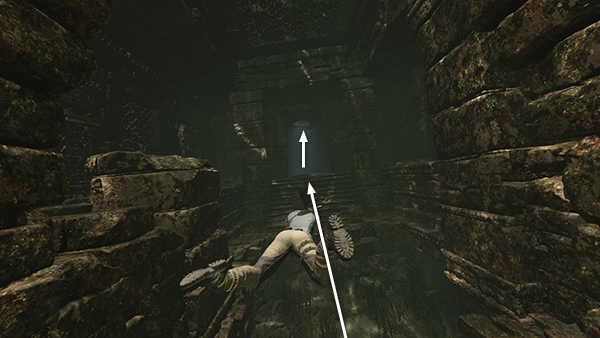
After examining the stele and unlocking the new skill, dive off the wooden platform into the pool below.
Swim down and into the tunnel to the southeast.
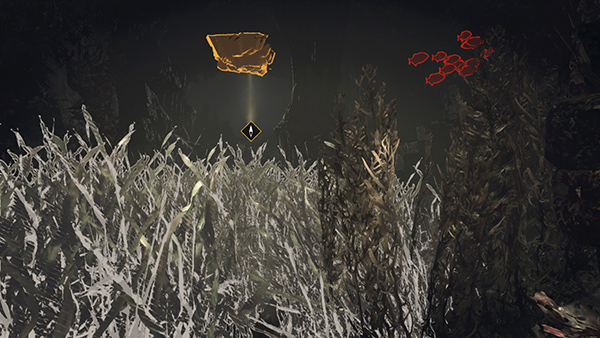
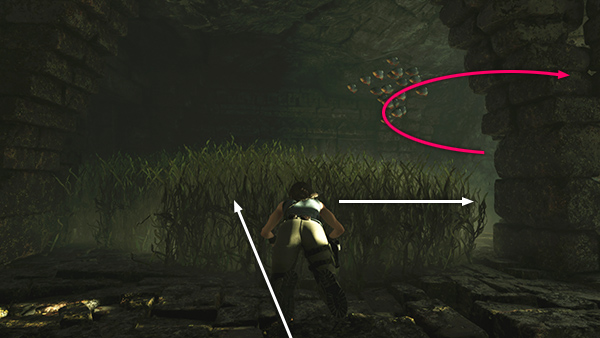
If you activate Survival Instinct, a school of piranhas glows red, and the grass where you can hide glows white. Air pockets will also be highlighted. Swim along the bottom into the first patch of grass...

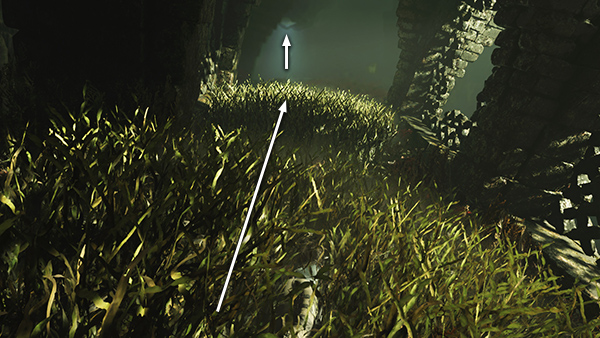
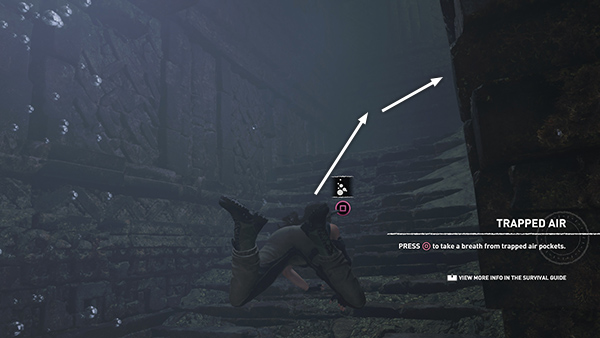
...then the next...
...then on to the trapped air pocket beyond. Press Interact to pop up and take a breath.
From the first air pocket, head forward and a little to the left. Loot a supply cylinder on the bottom if you have the time/inclination. Then move into the next patch of grass, underneath the stone structure with the broken lattice, to avoid being detected. (Don't forget to hold either Mouse/Trigger button, or L3, to swim faster if necessary.)
If the coast is clear, swim on to the next patch of grass, then the air pocket beyond.
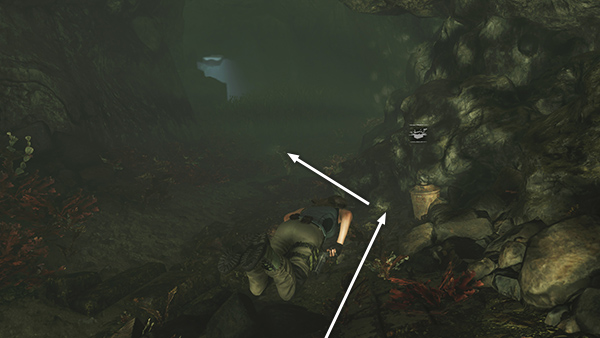
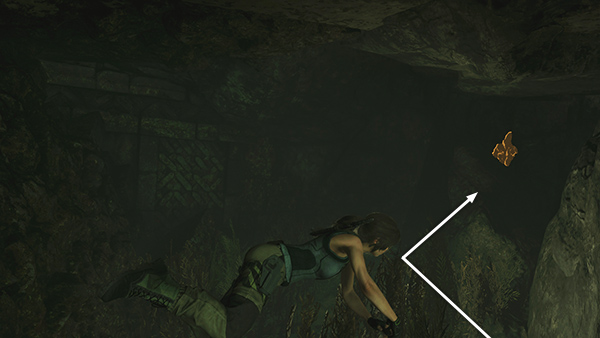
After taking a breath, turn left (northeast) to find another resource cylinder sitting on the bottom near a pile of rocks, and beyond it...
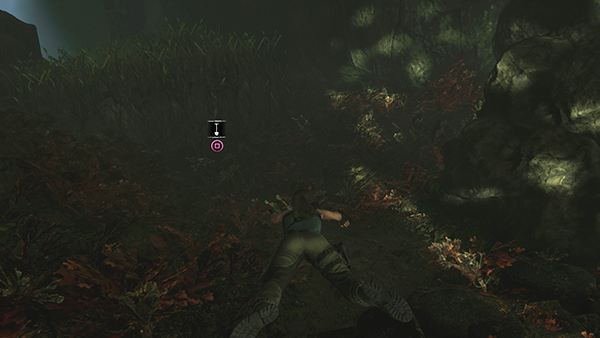
...a survival cache (10/14), buried on the bottom just before the next patch of grass.
NOTE: If you've checked the annotated level map, you'll notice there's also a treasure chest in this area. You can't open it until you get the LOCK PICK, so it's covered at the end of the main walkthrough under REVISITING THIS AREA.
After digging up the cache, move into the grass, then if it's safe, on to the air pocket just ahead (north).
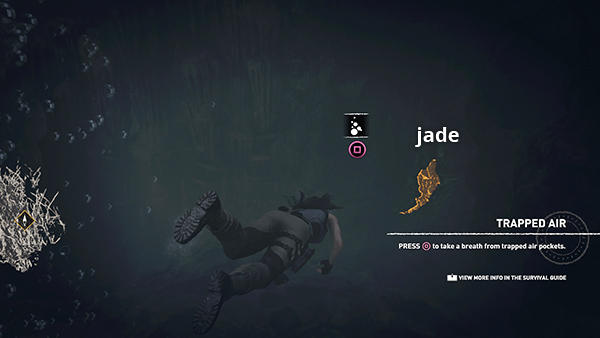
After you take a breath, look for a deposit of jade in the rock wall just west of the trapped air. Pry it out with your axe. Then return to the air pocket to top up.
Return southward to the previous air pocket.
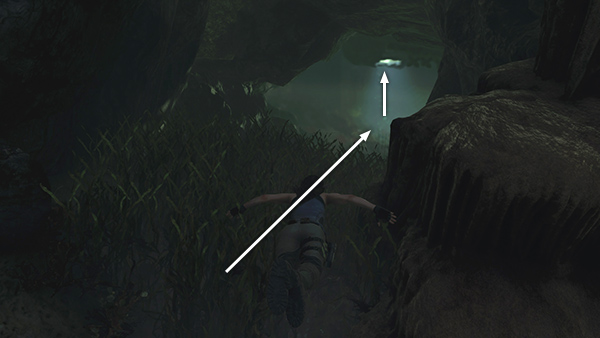
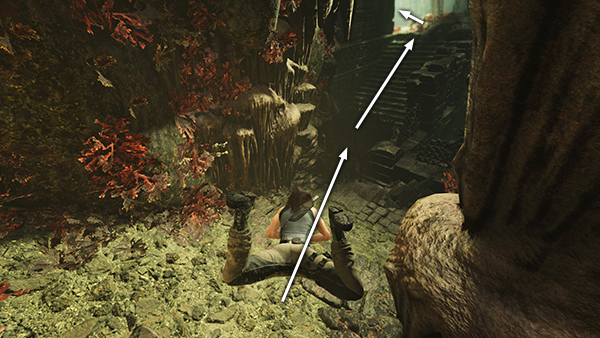
Take a breath then prepare for the longest leg of the journey: Swim up the stairs to the left (east)...
...and into the grass at the top. If necessary, wait for a school of piranhas to pass, then turn right (south)...
...and continue downward, following another flight of stairs to the bottom...
..and around to the right.
Here you'll move out into the open again. If there are piranhas around, you may be able to avoid them by swimming into the grass at the foot of the next flight of stairs. If the way is clear, keep swimming up the stairs and through the doorway on the left.
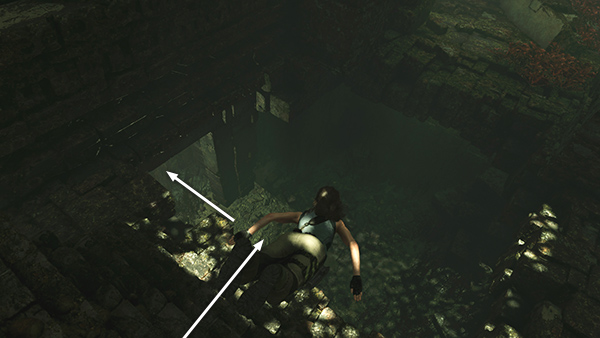
Continue straight ahead (south) past a big opening in the floor to another pocket of trapped air. Now, if you don't care about minor pick-ups, you can skip the next 3 screenshots and proceed to the exit.
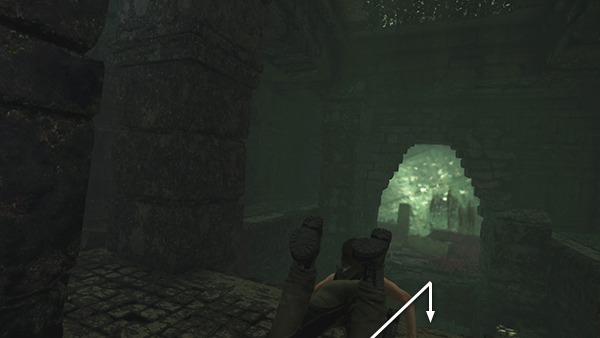
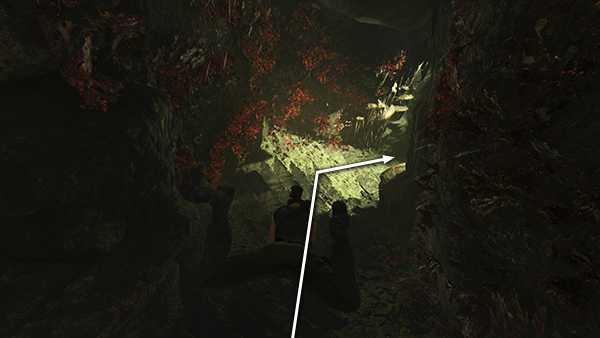
But if you like, you can go back and investigate the opening in the floor in the previous room. Swim back the way you came (north), then down into the room below...
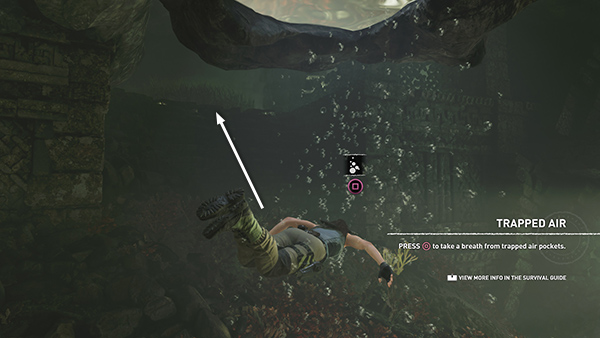
...and through the doorway on the left into a small, dark room.
There's some more jade embedded in the right wall. Pry it out and book it back to the last air pocket.
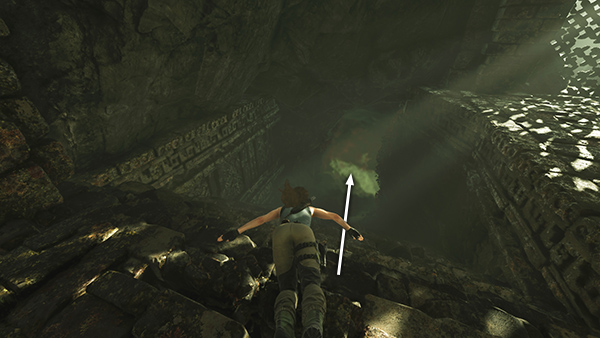
To reach the exit, swim up the stairs to the west of the air pocket. Continue up and around to the right...
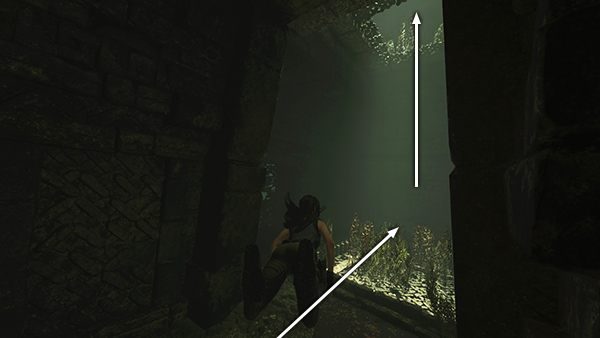
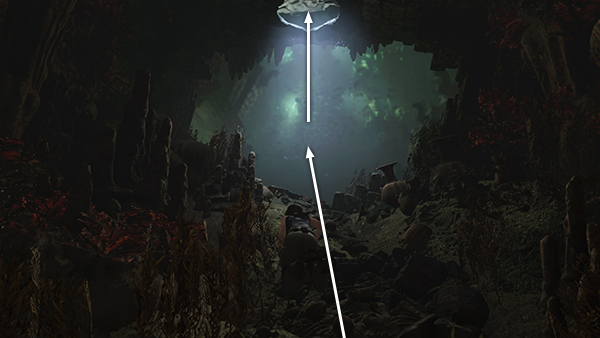
...until you reach a tall, vertical room with light streaming down from above. Swim up, up, and up some more until you reach the surface.
Copyright © - Stellalune ( ). All rights reserved. Feel free to copy or print this walkthrough for personal use. By all means, share it with friends, but please include this credit line so people can send me their feedback. No part of this walkthrough may be reproduced on another site without permission. Follow this link for details about this site's advertising and privacy policy.