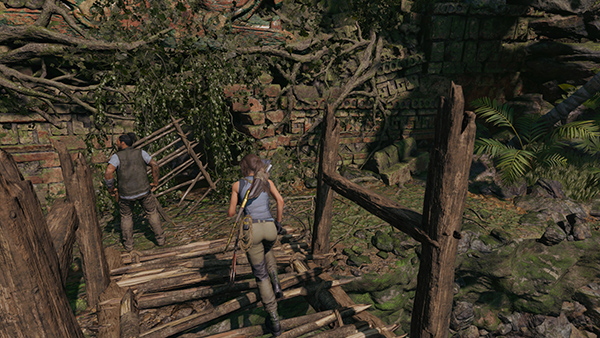
Peruvian Jungle – Drawbridge Puzzle
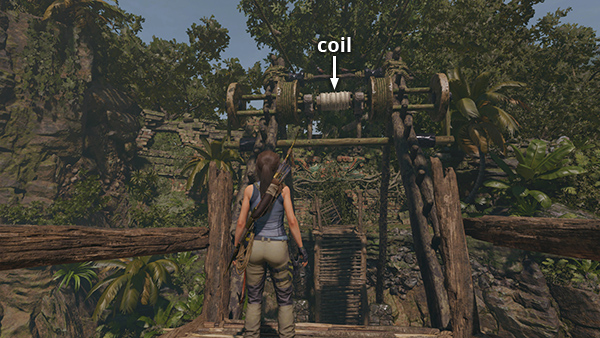
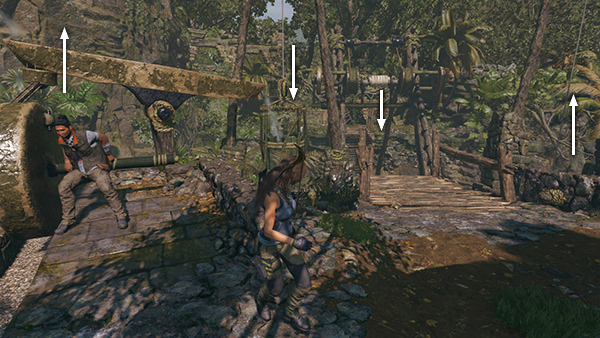
Now to cross that river. The drawbridge has an elaborate if old-school hydraulic mechanism. You can probably figure it out with a little trial-and-error. The relevant parts are 2 rope coils, one at each end of the bridge, above on this side of the river...
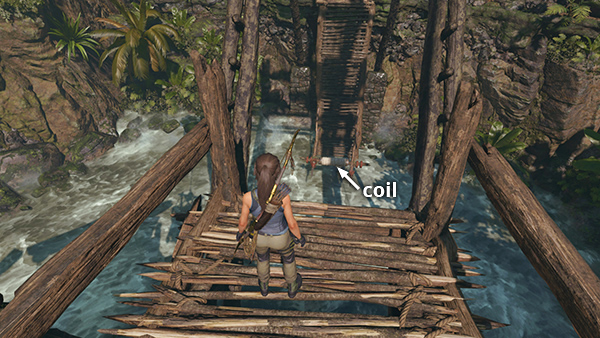
...and down below on the other side.
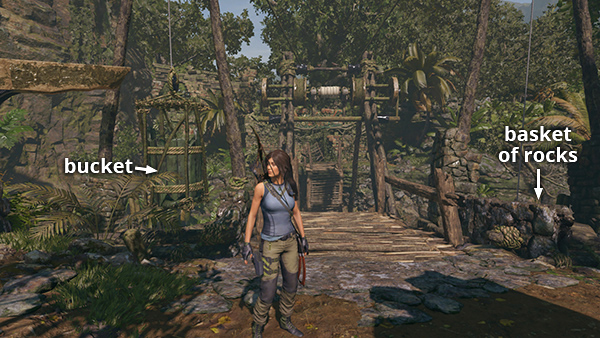
An empty bucket to the left of the bridge and a basket of rocks that serves as a counterweight on the right side.
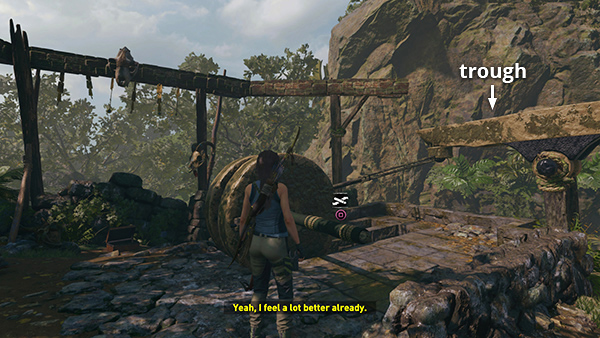
A stone wheel with a handle that tilts the attached trough up and down.
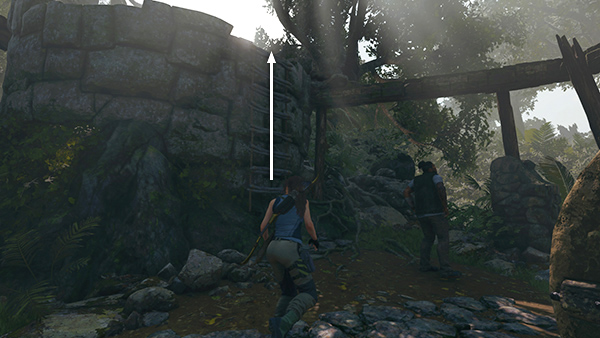
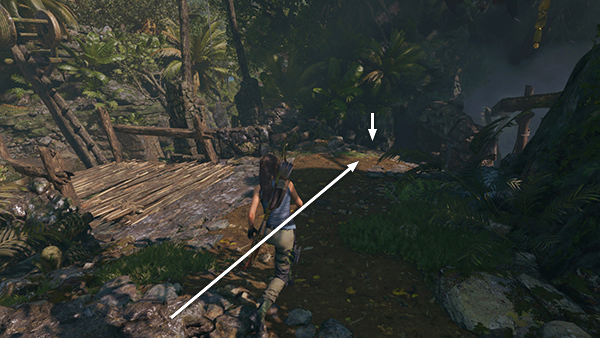
Climb the ladder to the top of the low, round tower.
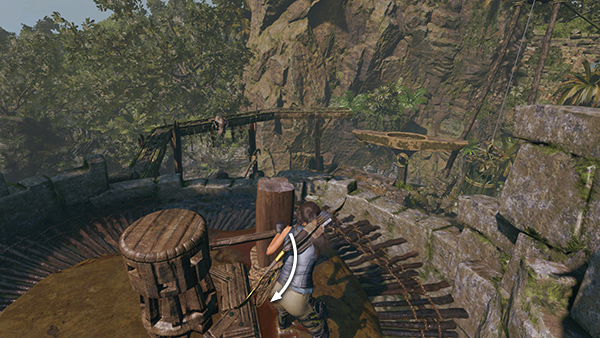
Go around behind the wooden handle and pull it.
This starts the water flowing into the trough attached to the stone wheel. The trough is tilted the wrong way, though, so this doesn't have any useful effect.
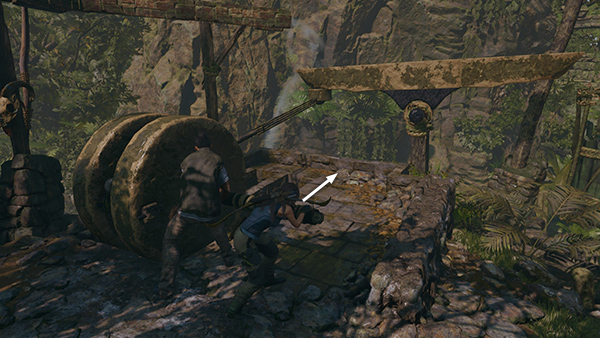
Jump down, grab the handle on the stone wheel, and start to push. Jonah will automatically come to help Lara.
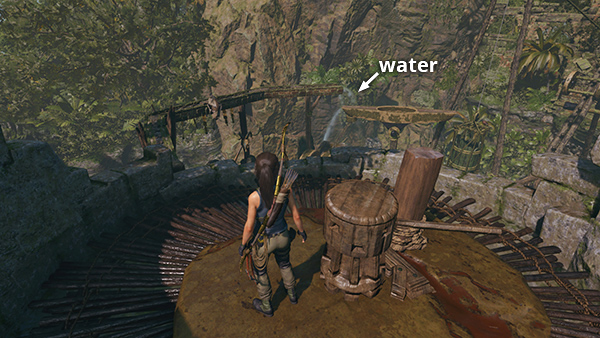
This tilts the left end of the trough up, so the water flows down into the bucket on the right. Don't try and do anything else this first time. Just watch what happens. As the bucket fills, it lowers. The basket of rocks rises, and the rope coil at this end of the bridge also lowers. However, the bucket leaks, and Jonah gets tired after a while and has to let the handle go. Still, you have some useful information now.
The second time is (hopefully) the charm, so.... Push the handle on the stone wheel forward once more.
As soon as the water starts flowing into the bucket, release the handle and run to the right. Jump off the edge onto the ramp that leads down below the bridge (to that ledge where you found the survival cache earlier).
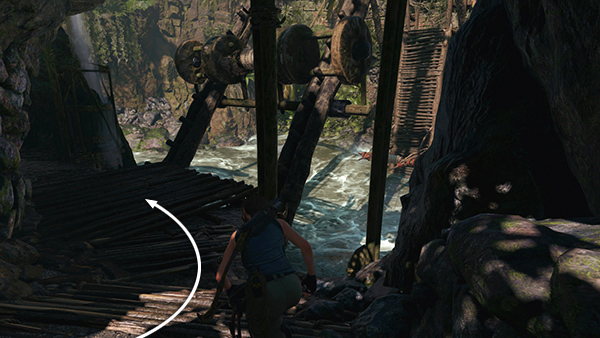
Run down and around to the left.
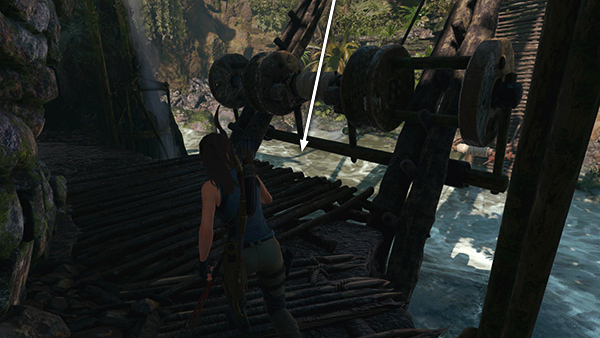
If you're fast enough, you should arrive just as the rope coil reaches its lowest position.
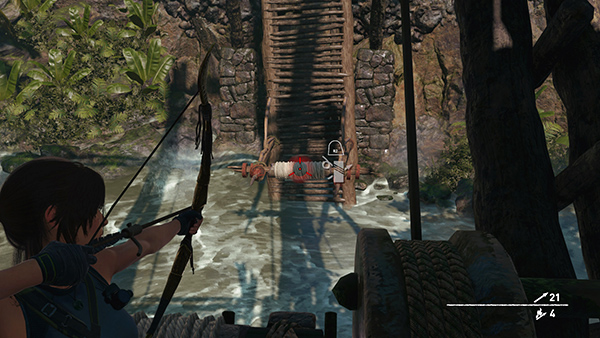
Stand near it and shoot a rope arrow into the rope coil on the opposite side of the river.
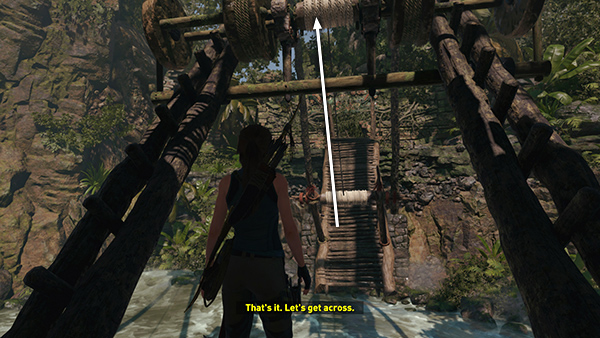
Now that the two coils are tethered together, when this side of the bridge rises back up, so does the other side. Victory!
Watch Jonah jump across like the superhero he is.
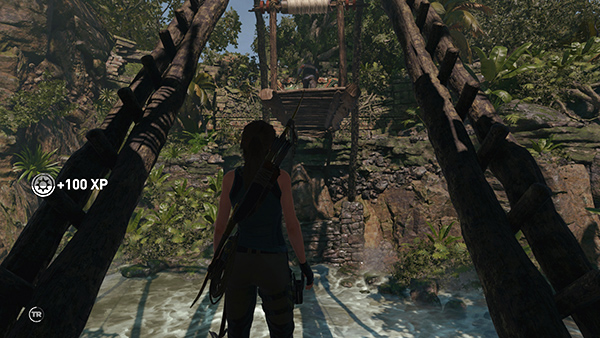
Then return up top and follow him across.
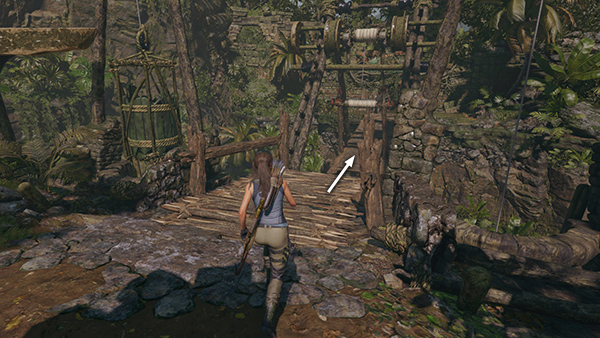
When you reach the other side, the two work together to open the rickety wooden door and go through.
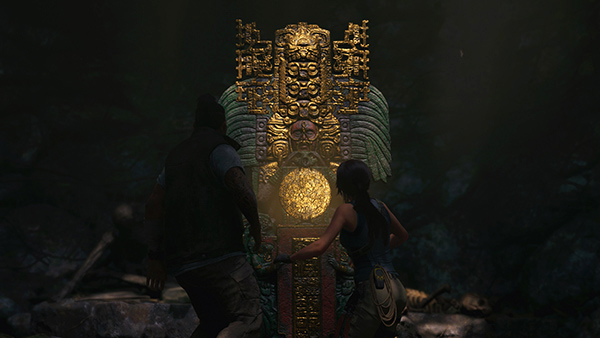
Inside they find an ornate stele that reveals a secret recipe. You automatically unlock Eye of The Eagle, the --- Skill that allows Lara to use herbal mixtures to enhance Perception. All those blue flowers you've been collecting now have a use.
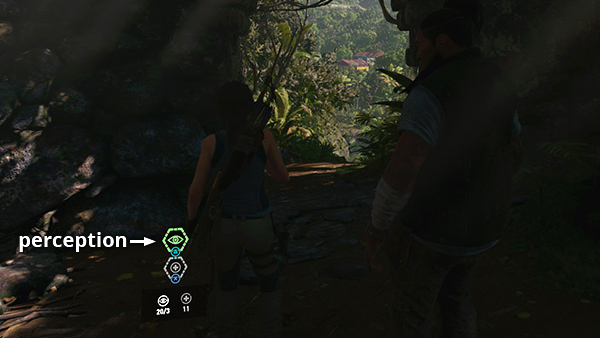
This works similarly to healing. To try it out, press F4 on the keyboard
or hold L1/LB on the controller and press Triangle/Y.
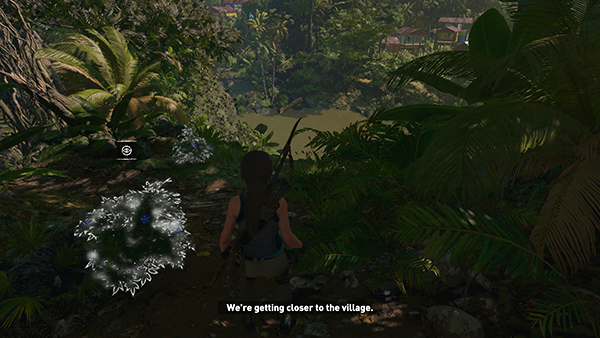
Lara starts tripping balls, and all animals and natural resources now have a sparkly, white glow. Killer. After a while the effect wears off. There's a visual and auditory warning when this is about to happen.
Copyright © - Stellalune ( ). All rights reserved. Feel free to copy or print this walkthrough for personal use. By all means, share it with friends, but please include this credit line so people can send me their feedback. No part of this walkthrough may be reproduced on another site without permission. Follow this link for details about this site's advertising and privacy policy.