Peruvian Jungle – Second Crypt (part 2)
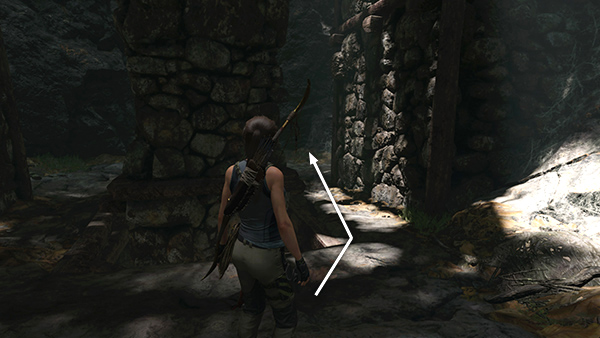
Go around the tower to the back right corner of the room.
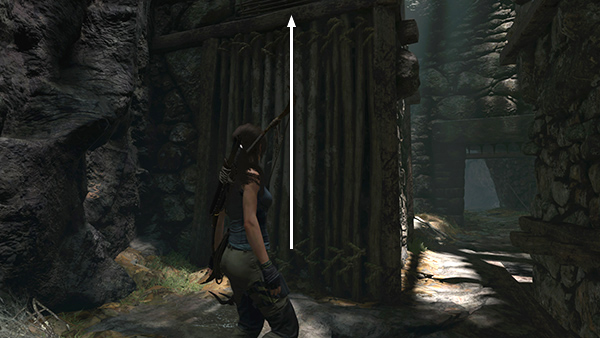
Turn around and scramble up the wooden wall...
...then the horizontal wooden slats, to grab the wooden beam above. Climb to the right, then jump to the right to grab a handhold on the tower. Scramble up to the handhold above. Climb then jump to the right again, and finally scramble onto the upper ledge.
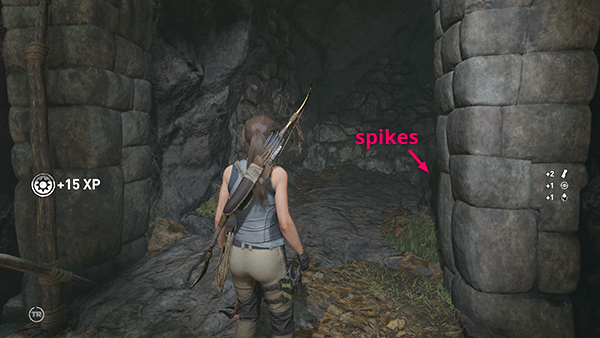
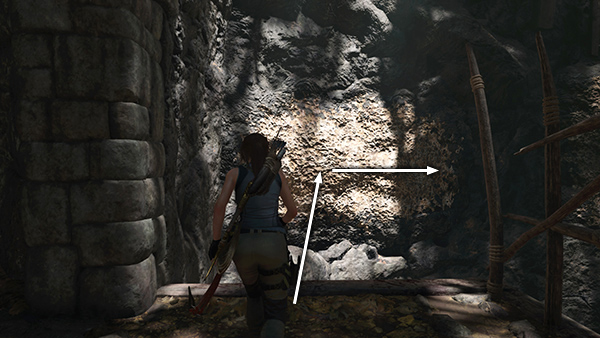
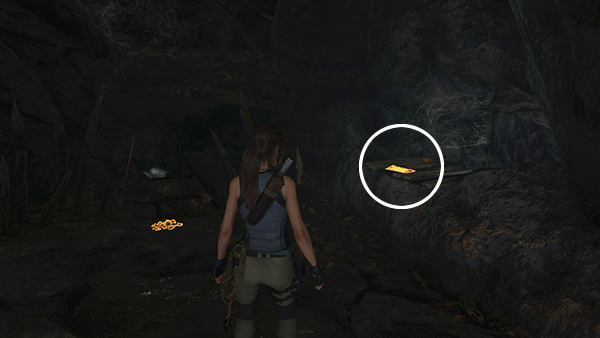
Grab loot another resource container and carefully follow the passageway around to the right...

...jumping over a concealed spike pit just before the room with the statue heads.
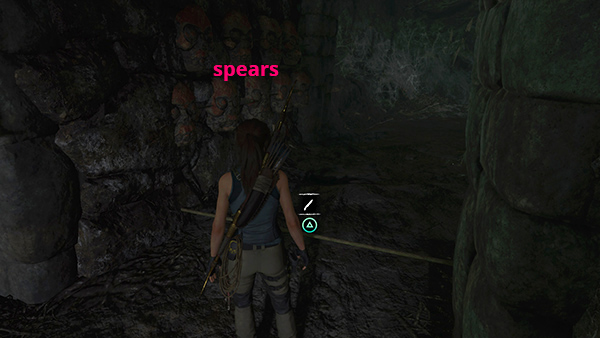
Continue through the hall of heads to a spear trap, which you can either scramble beneath or trigger in advance by cutting the tripwire.
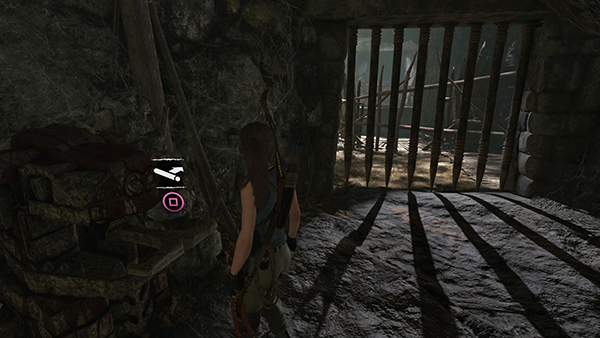
At the end of the passageway, push another handle to open another wooden gate.
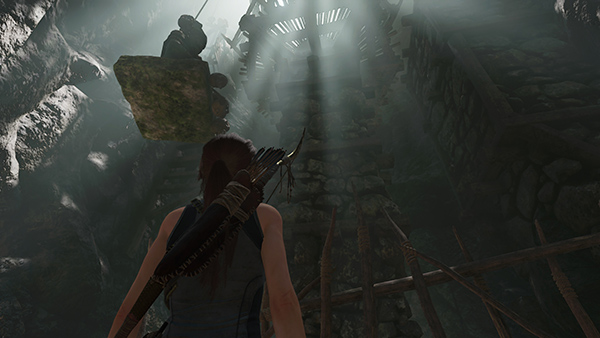
Just when you though you were almost there, the tower rises even higher.
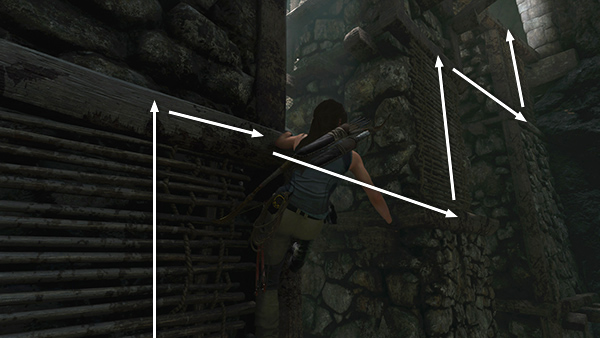
Turn left and jump across the gap to latch onto the climbing wall. Climb to the right as far as you can.
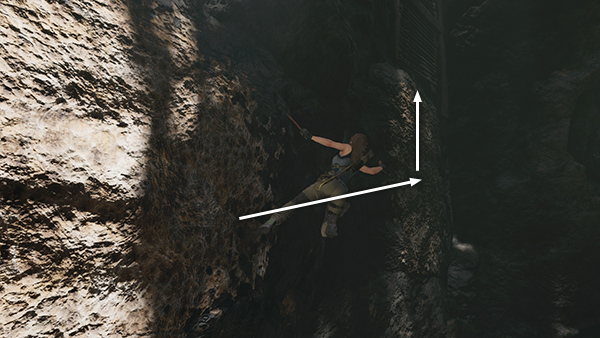
Then jump to the next section of climbable wall.

Climb to the top and scramble up two sections of wooden slats to grab the handhold above.
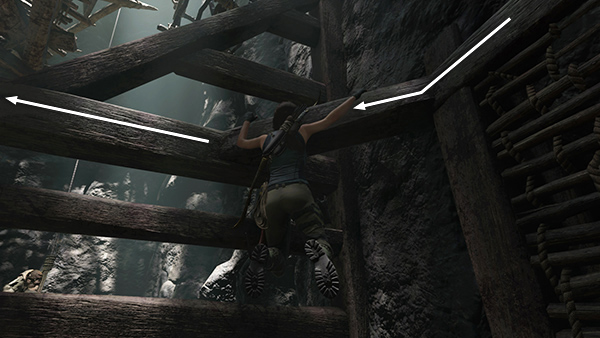
Climb along the beams to the left.
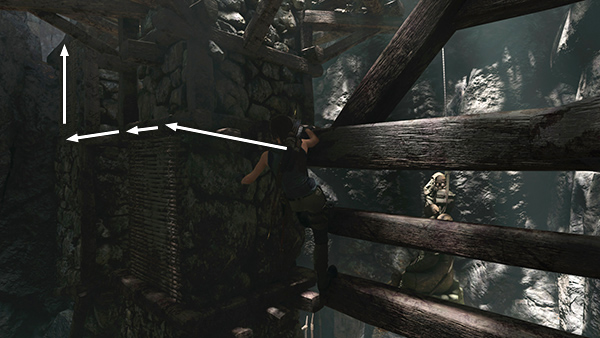
When you can't go any farther, lean then jump out to the left to grab a wooden beam on the side of the tower. (You're aiming for the beam at the top of the wooden slats. If Lara falls and catches the handhold below, scramble up to the higher handhold.) Climb then jump to the left again, and finally scramble up onto the ledge.
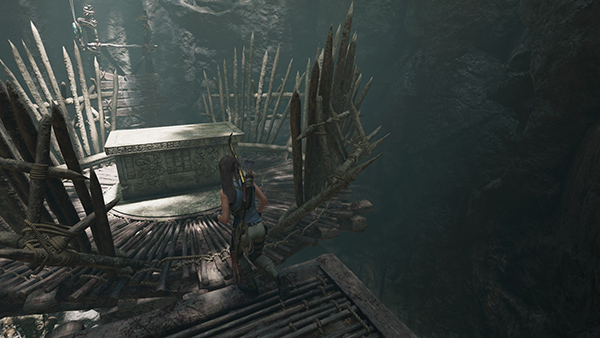
Open the sarcophagus to discover a Vestige: Eveningstar's Cape, along with 750 gold pieces. Later, when you get back to camp, you'll be able to examine this outfit component and see what is required to restore it.

Before leaving this area, turn around and break down the weak wall to access a hidden chamber.
Inside you'll find mushrooms, gold ore, and a document (7/13), A King's Ransom from the Conquerors Story.
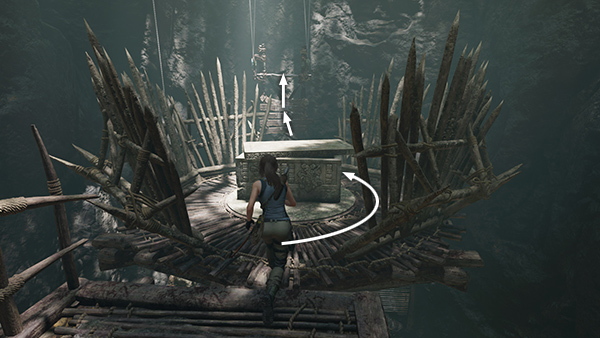
Return to the sarcophagus, move around behind it, and jump toward the dangling wooden contraption. Scramble up to grab the bar at the top...
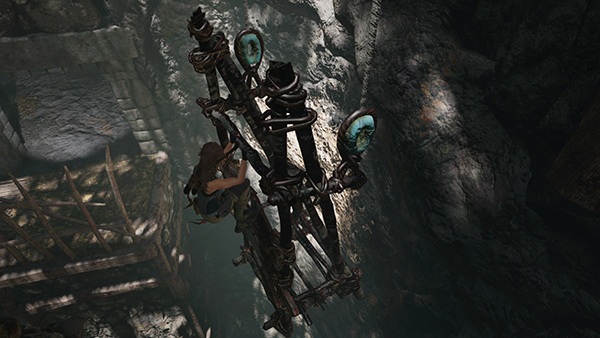
...and ride it down to the floor.
Proceed straight ahead to get back to the room with the 2 handles. Use the second handle to open the exit if you didn't already do so. Continue straight on (more or less) to get back outside.
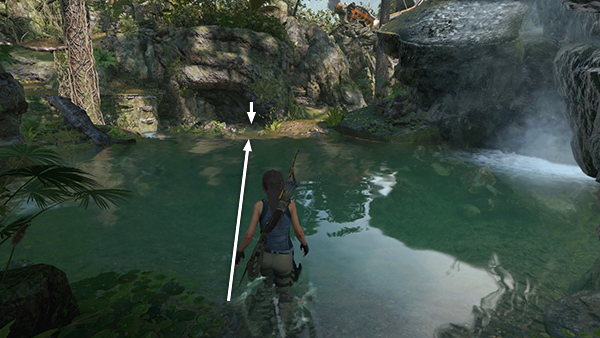
Cross the shallow pool outside the crypt entrance and drop down into the area below.
[Previous | Crypt Walkthrough | Main Walkthrough]
Copyright © - Stellalune ( ). All rights reserved. Feel free to copy or print this walkthrough for personal use. By all means, share it with friends, but please include this credit line so people can send me their feedback. No part of this walkthrough may be reproduced on another site without permission. Follow this link for details about this site's advertising and privacy policy.