Kuwaq Yaku – The Forge DLC
Forge of Destiny Challenge Tomb (part 7)
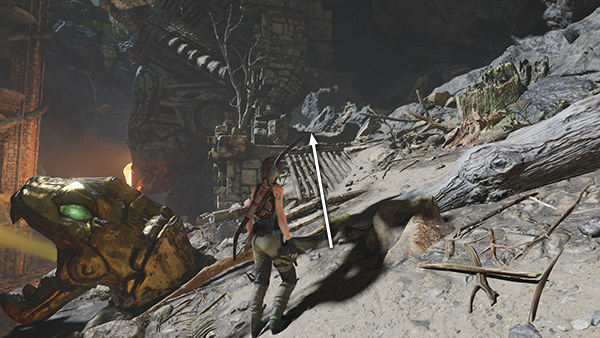
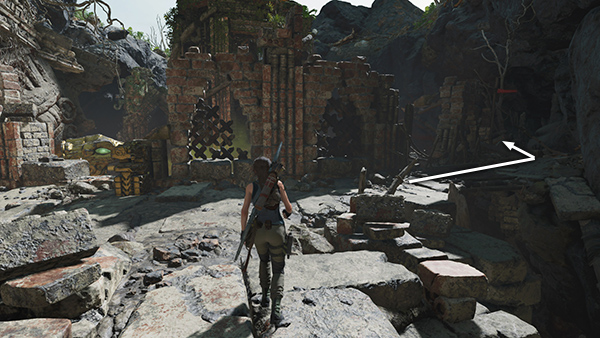
After picking up the last document, follow the path to the left (north).
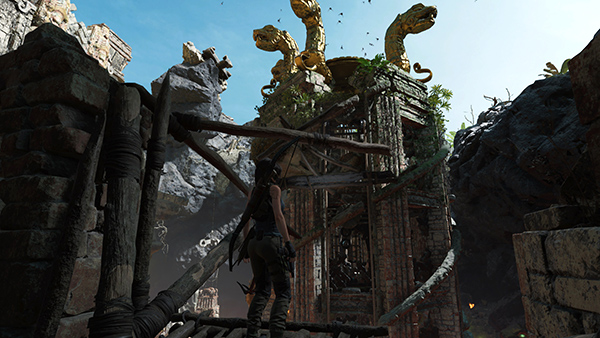
At the top is another jaguar-head switch.

Use it to turn on the last gas jet.

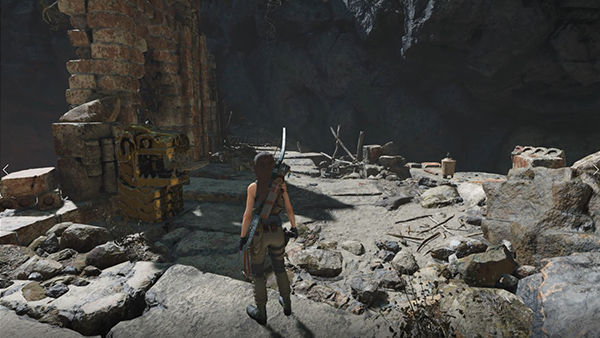
Then turn around to spot more supplies and a mural (2/2), Exodus of Hope (Mam), about Abby's ancestors' flight from Mexico to Peru. If you've found the other collectibles, this mural completes The Hidden Past Story.
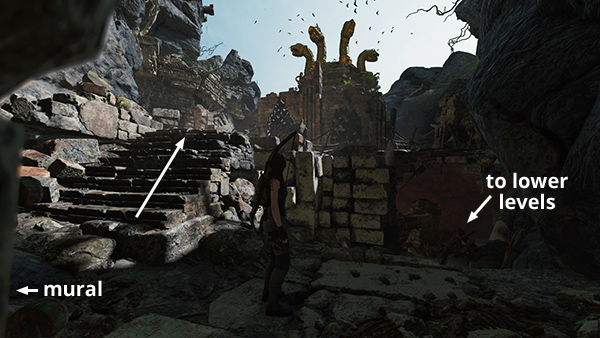
NOTE: The stairs leading down from the landing with the mural take you back to the lower levels. Unless you missed something, you don't need to go back, but if you do drop down through this opening, you won't be able to climb back up the same way.
Instead, you'll need to swing over to the ledges surrounding the tower. Use the counterweights to raise the ledges and reach the doorway on the northeast side of the cavern, just like you did before. Then retrace your route back to the area with the last jaguar-head switch and mural. (See the screenshots in the previous section if necessary.)
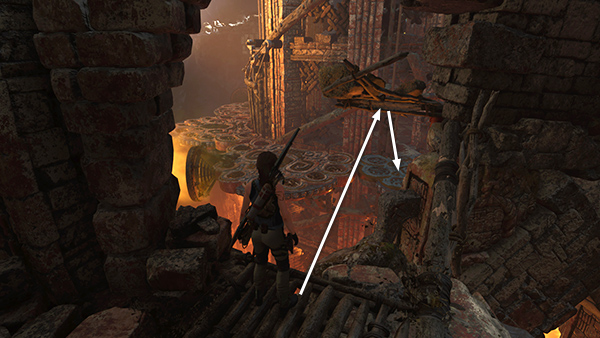
After examining the mural, continue to the right (north), to another wooden ledge overlooking the tower.
You're nearly at the top. Now you need to raise the ledges so you can reach them from here.
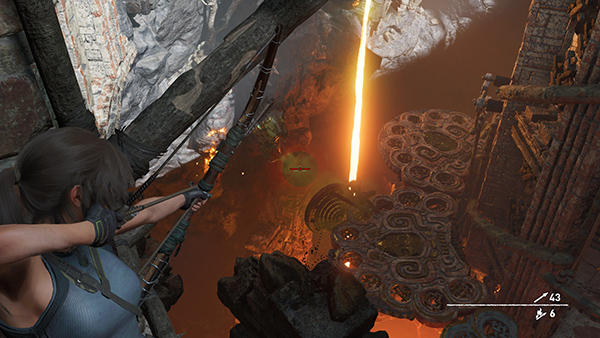
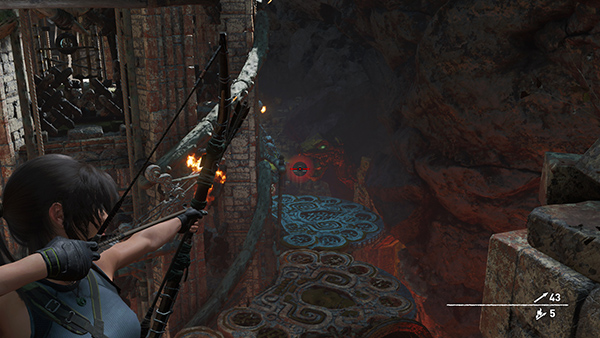
Shoot a fire arrow into the gas jet below on the left.
This rotates and raises the ledges along the curved tracks but only partway.
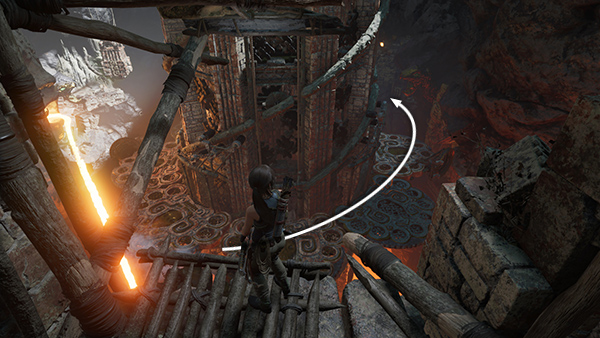
As the ledges spin, aim for the gas jet to the right of the tower, and when the ledge with the scoop on it moves in front of the jet, and the gas cycles on, shoot another fire arrow at it.
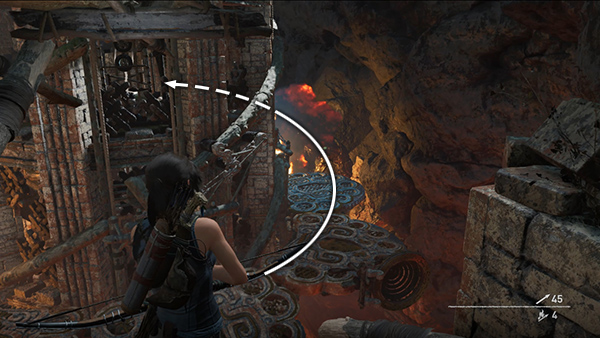
This second blast rotates and raises the ledges to the FOURTH LEVEL, where they again lock into place.
[Previous | Next | Tomb Walkthrough | Main Walkthrough]
Copyright © - Stellalune ( ). All rights reserved. Feel free to copy or print this walkthrough for personal use. By all means, share it with friends, but please include this credit line so people can send me their feedback. No part of this walkthrough may be reproduced on another site without permission. Follow this link for details about this site's advertising and privacy policy.