Croft Manor – White Queen Puzzle
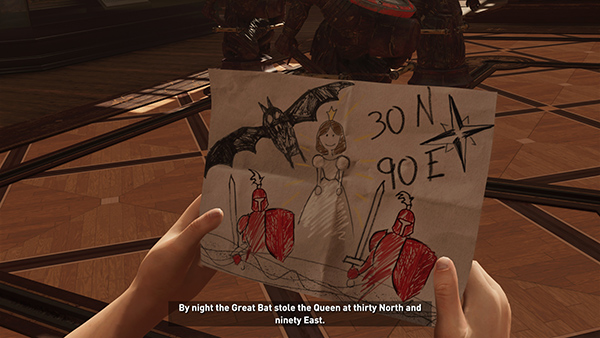
After entering the puzzle room and receiving the Enigmatic Clues...
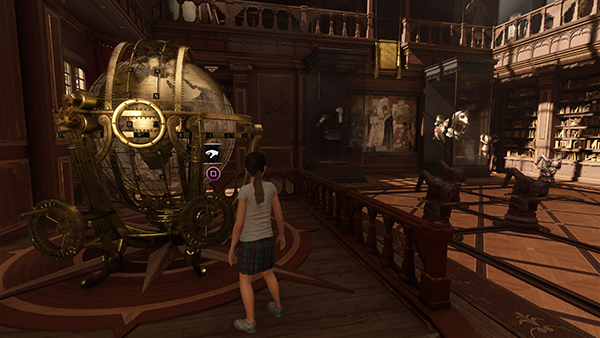
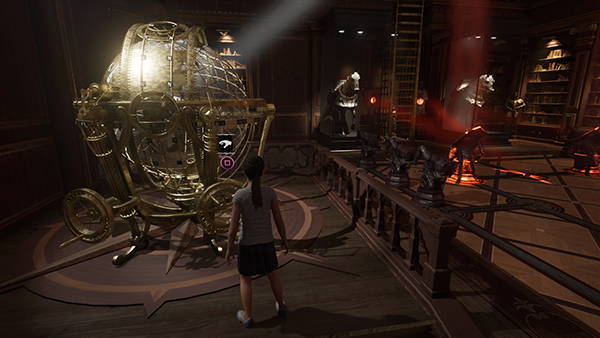
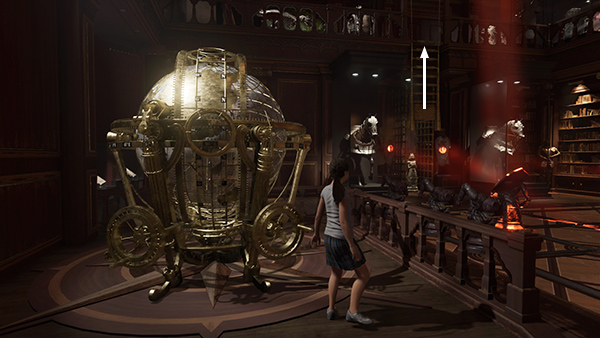
...approach the huge globe and use the wheel on the right...
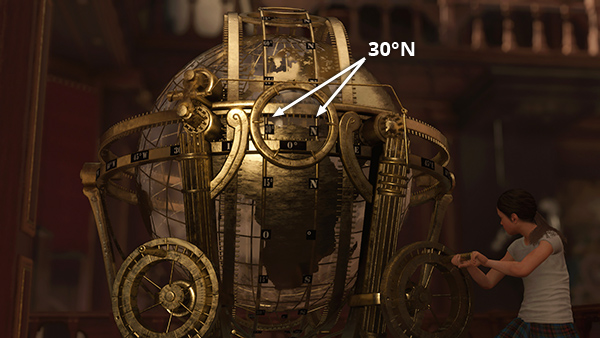
...to rotate the globe in order to match the latitude in the clue: 30° North.
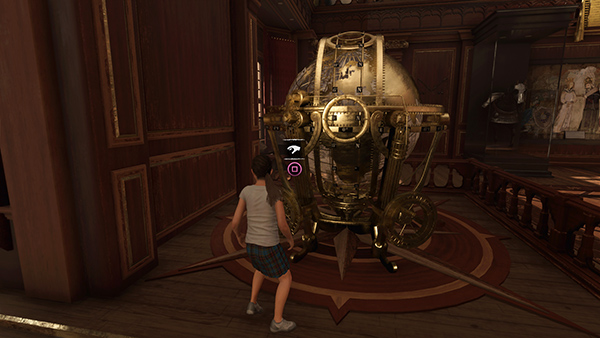
Then use the left wheel...

...to set the longitude to 90° East.
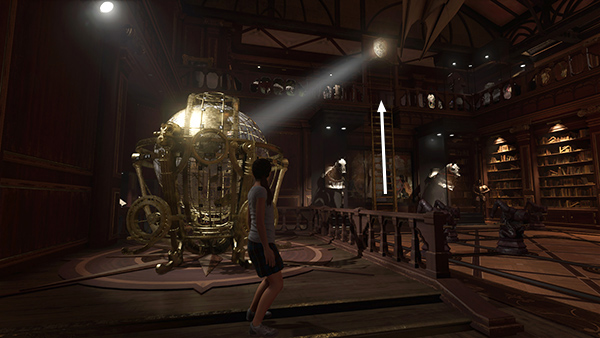
The solarium shades close, a beam of light shines down, reflects off the globe, and illuminates a crest high on the wall, causing a ladder to descend from the upper level.
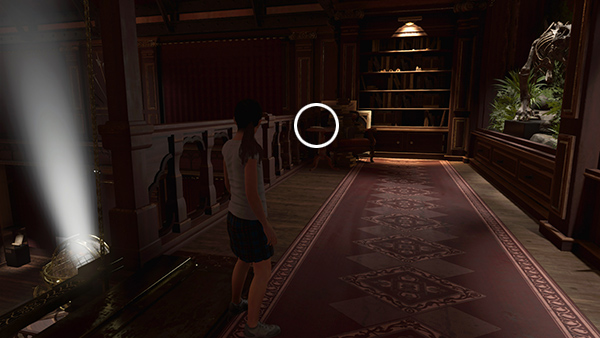
Climb the ladder and look to the left to spot a document (3/3), Letter to Contractor, sitting on a table near the T. rex skeleton. This completes the Mystery of the White Queen Story, which you can review in the Artifacts menu.
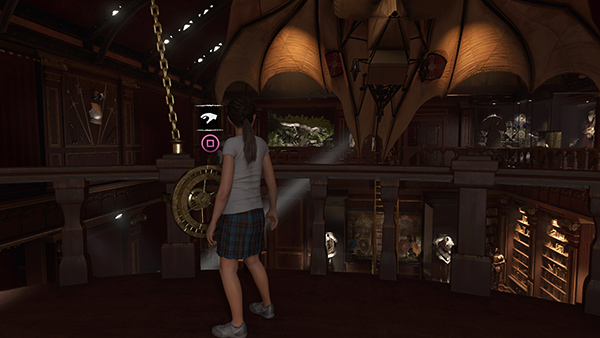
Move around to the far end of the mezzanine, examining the various artifacts as you go. Turn the wheel here...
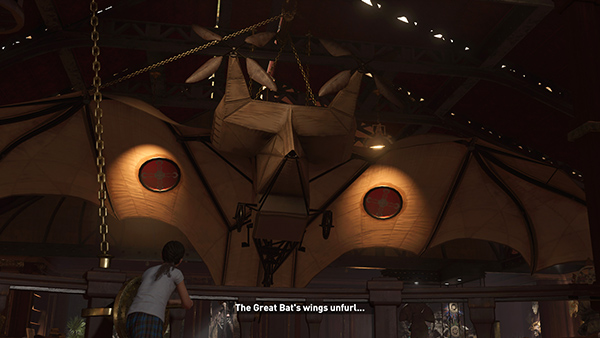
...to spread batlike glider's wings.
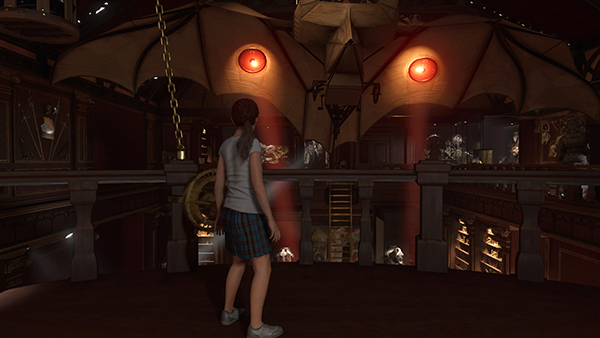
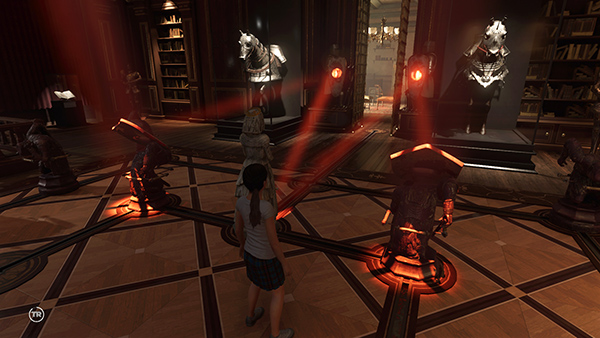
Two beams of red light now shine down onto the game board below.
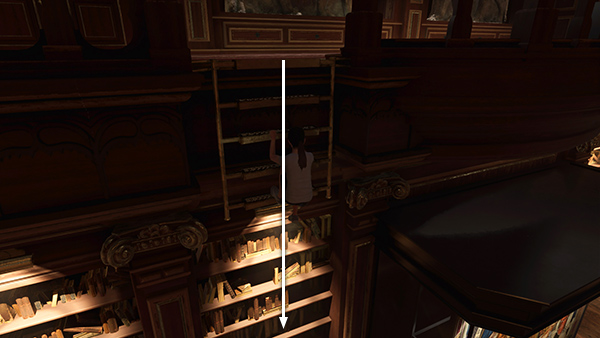
Use the shorter ladder to the right of the wheel to descend to the lower level.
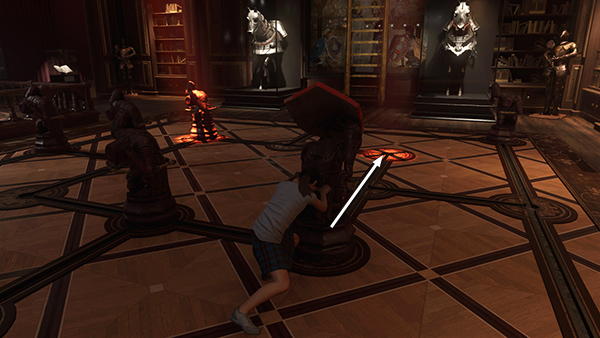
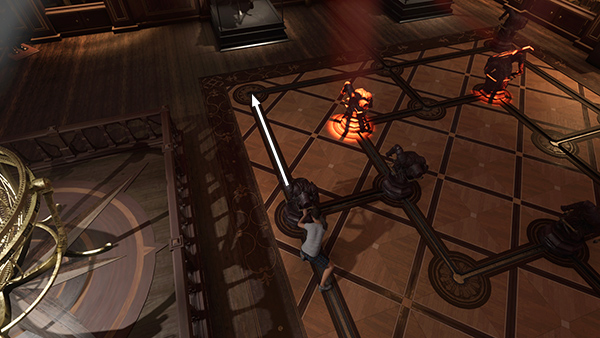
Now you'll need to maneuver the pieces on the game board so the red beams shine on the 2 shielded knights. There's no one correct solution, but here's one way. To get oriented, start by grabbing the knight on the right (nearer the entrance) and pushing it forward into the red beam to the right of the ladder.
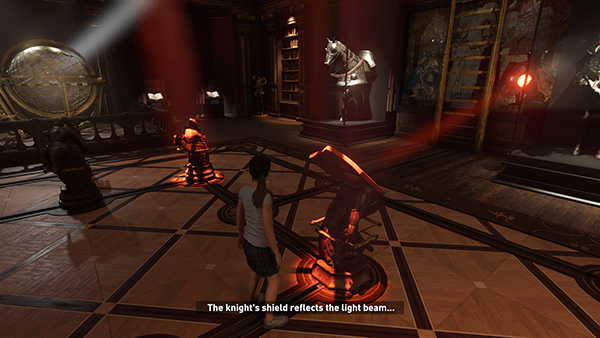
Lara comments that the knight's shield reflects the light.
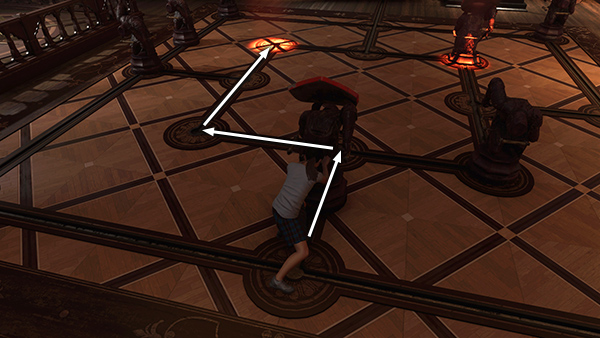
Now move the pawns out of the way so you can maneuver the second knight. Again, there's no one right way to do this. One solution is to start with the pawn on the far left (nearest the globe) and push it forward into the corner.
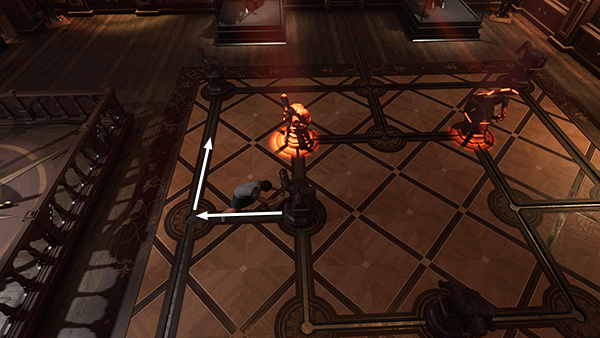
Then drag the pawn nearest the illuminated one around toward the first pawn you moved. (Every piece does not need to end up on a circle in order to solve the puzzle.)
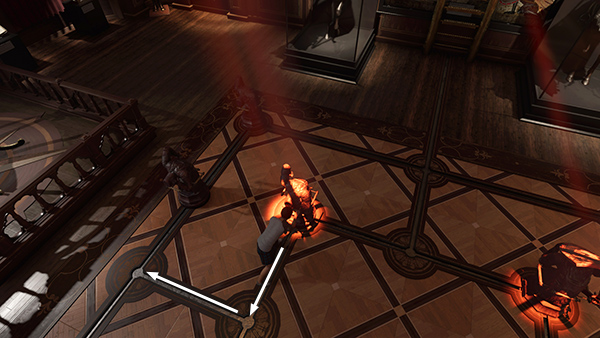
Pull the illuminated pawn away from the ladder then maneuver it in line with the two you just moved.
Now the first three pawns are out of the way.
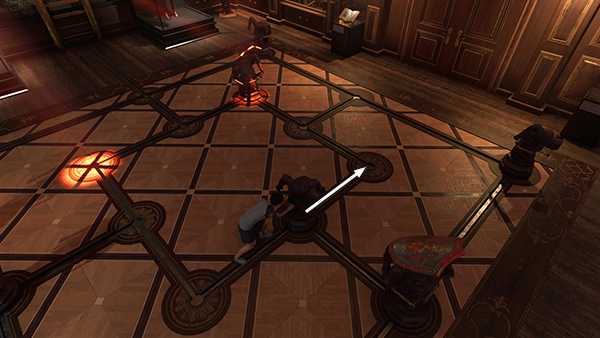
Push the pawn sitting in front of the knight once toward the entrance, in order to clear the track between the second knight and the light beam. (The pawn in the corner next to the knight can stay where it is.)
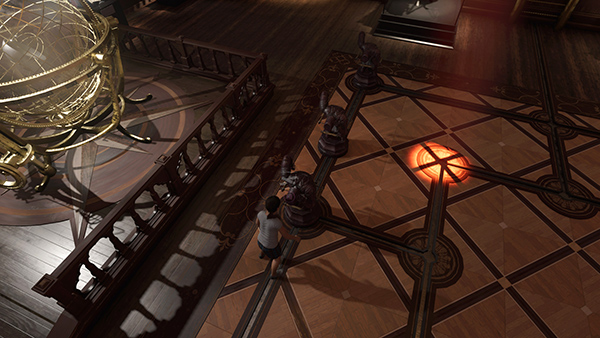
Now you can move the second knight along the zig-zagging track into the light.
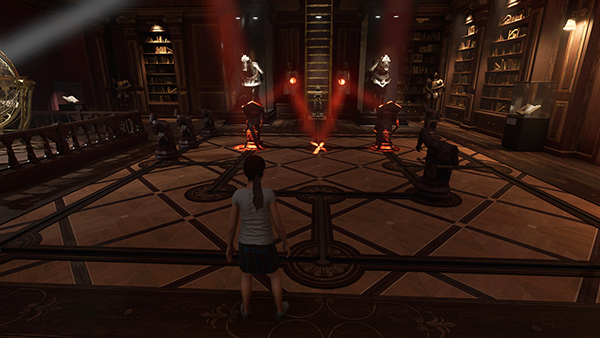
When both knights are positioned correctly, the light beams activate a mechanism, revealing the White Queen, trapped behind the ladder.
Return to the globe and turn either wheel.
This shuts off the first beam of light and raises the ladder so you can reach the queen.
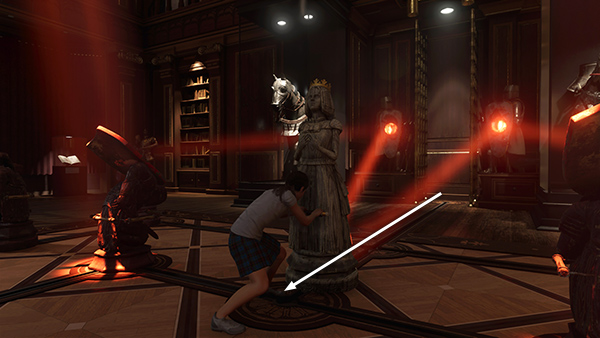
Grab the queen and drag her onto the circle where the light beams converge.
This opens a secret door behind the ladder.
Copyright © - Stellalune ( ). All rights reserved. Feel free to copy or print this walkthrough for personal use. By all means, share it with friends, but please include this credit line so people can send me their feedback. No part of this walkthrough may be reproduced on another site without permission. Follow this link for details about this site's advertising and privacy policy.