Cozumel – Dig Site Combat - Stealth Approach (part 1)
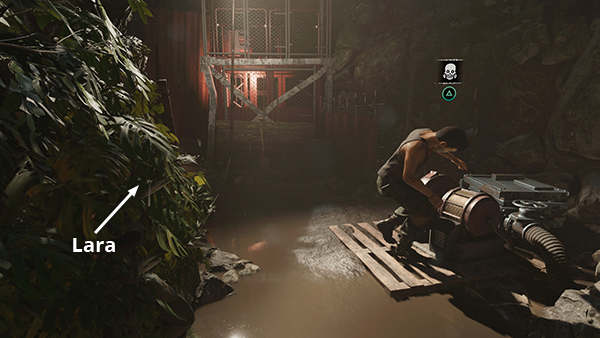
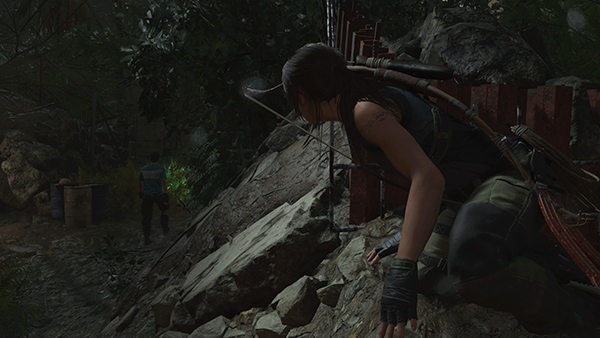
As you enter the dig site, Lara conceals herself against a vine-covered wall and you get a brief tutorial on Vine Wall Movement. Wait for the Trinity lackey to approach. While he's looking at the broken water pump move along the wall toward him until you see the Melee prompt.
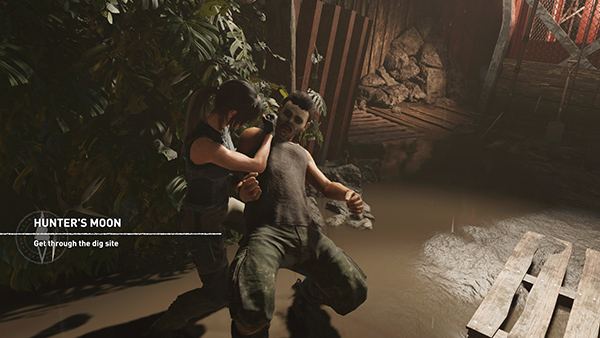
Then press the Melee button to take him down stealthily.
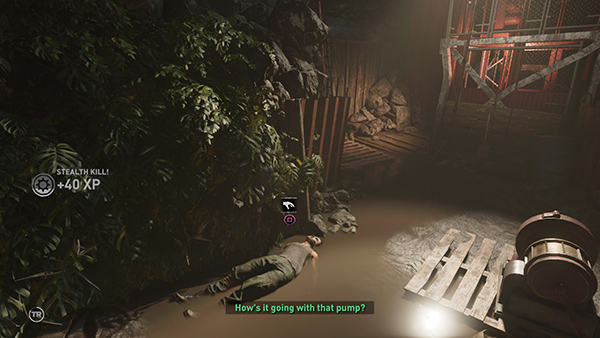
Press Interact to search his body for ammo, supplies, and money.
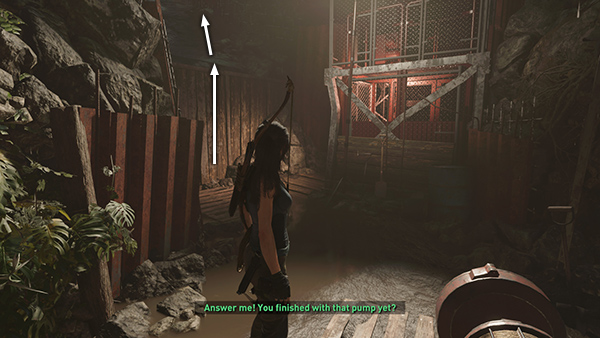
Now you can move out of concealment and scramble up the wooden wall into the next area.
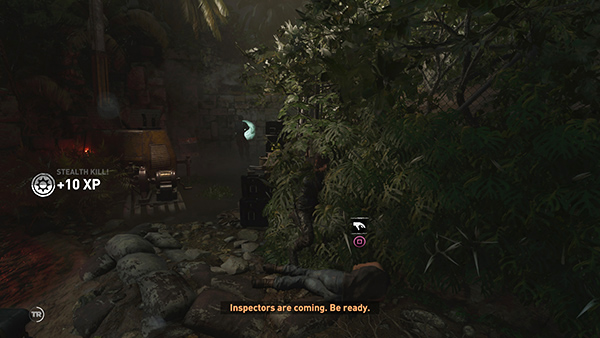
Lara spots some more Trinity operatives ahead.
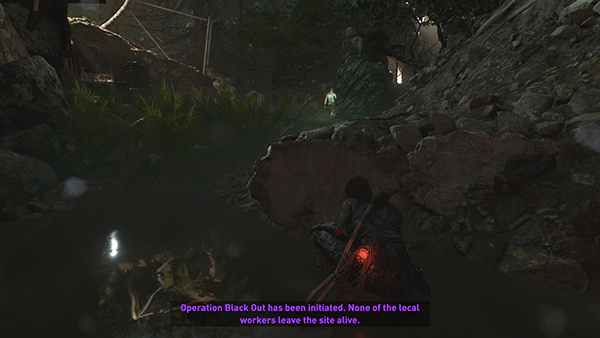
She slides down the embankment and takes cover behind a rock.
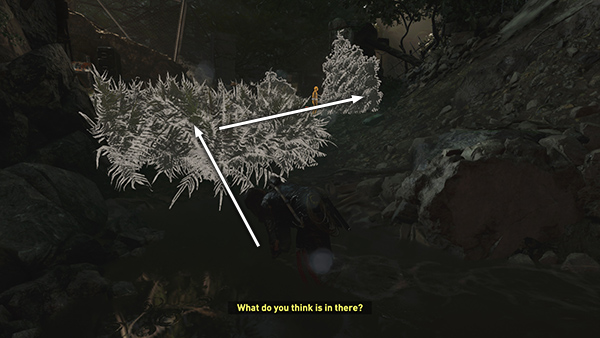
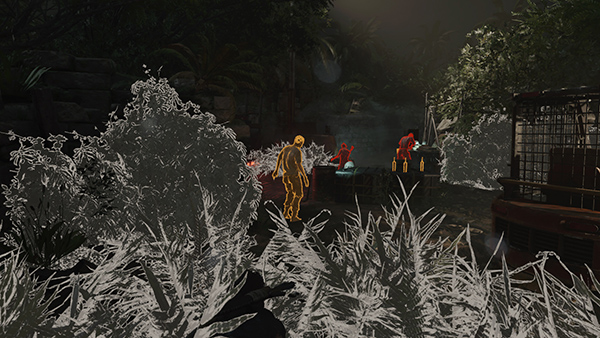
If you press Survival Instinct now, you'll notice the bushes and vines where you can hide are highlighted in white. Move forward into the clump of ferns. Then advance to the vine-covered wall beyond.

From there, advance to another clump of ferns near the closest enemy.
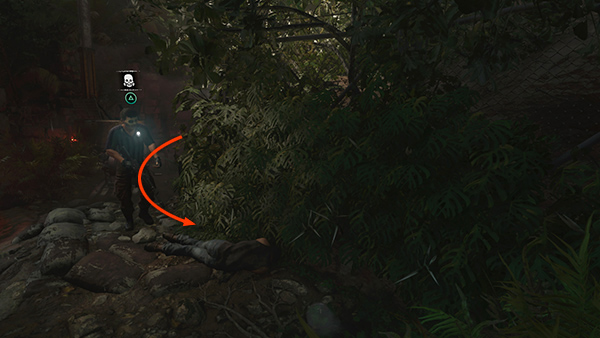
An on-screen tutorial explains how to use Survival Instinct to gauge enemy awareness.
If you activate it now, you'll notice that the nearest enemy glows yellow, while the others—working near each other on the far side of the clearing—glow red. Enemies highlighted in red are visible to other enemies. So if you were to shoot one of them, the others would be alerted. Enemies highlighted in yellow are isolated, so if you can kill them quietly, the others won't notice.
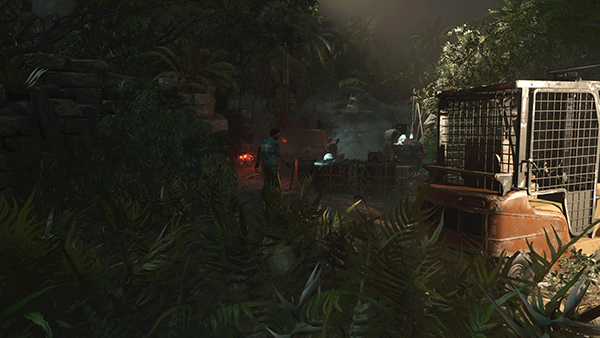
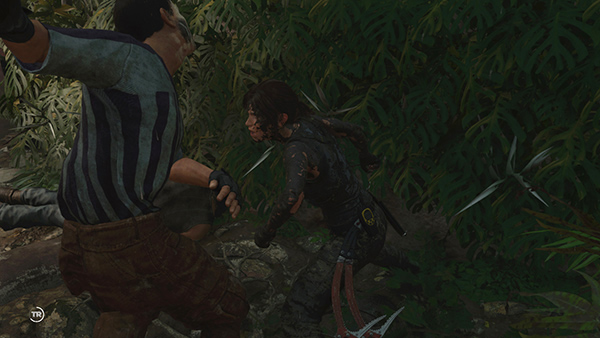
Try that now: Lara remains in a defensive crouch as long as there are enemies around, so you don't need to press any particular button to sneak. Just move forward slowly and quietly and take cover against the vine-covered wall behind the nearest enemy. Move toward him until you see the Melee icon above his head.
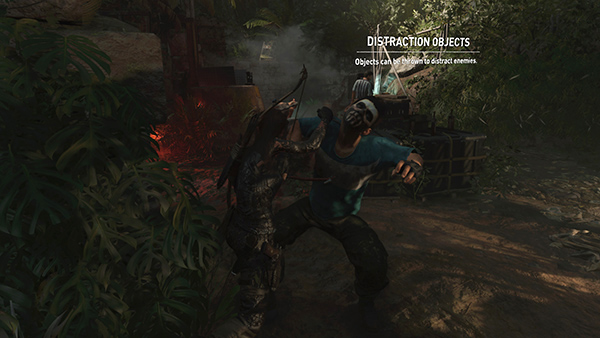
Press Melee to take him down with your axe and knife, then Interact to loot the body.
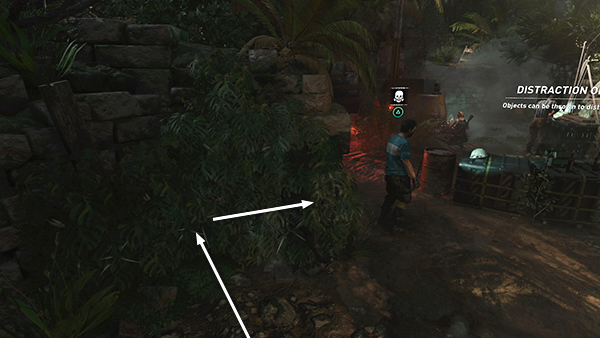
Next comes a tutorial about Distraction Objects. Sneak forward until Lara is crouching behind the supply crates. Press Interact to grab a bottle.
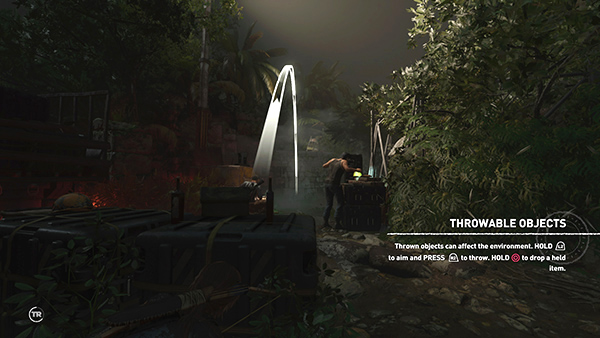
Hold the Right Mouse or Left Trigger button and you'll see a white arc showing where the bottle is aimed. Adjust with the mouse or right stick to aim at the whitewashed stone wall beyond the 2 bad guys. Then press Left Mouse or Right Trigger to throw the bottle. If you change your mind, hold Duck/Drop (C/Circle/B) briefly to drop the bottle instead of throwing it.
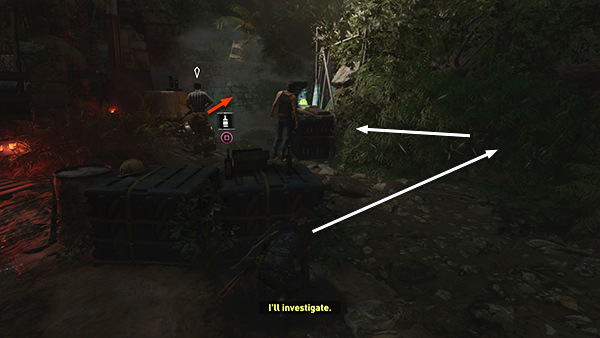
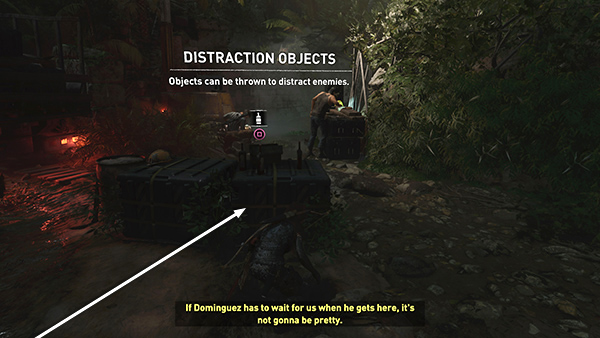
The enemy on the left
is alerted (notice the white symbol above his head) and goes to investigate. While they're distracted move to the vine-covered wall on the right and sidle up toward the enemy who stayed behind.
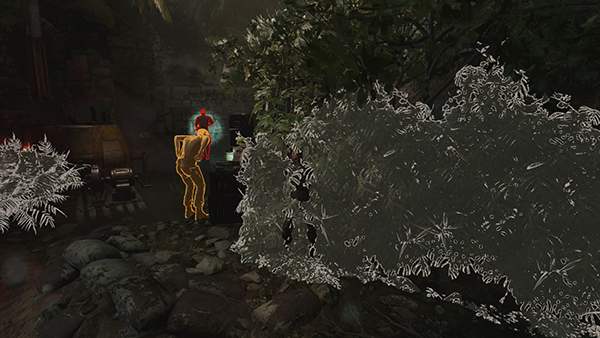
Check his status by activating Survival Instinct just to make sure he's isolated (yellow).
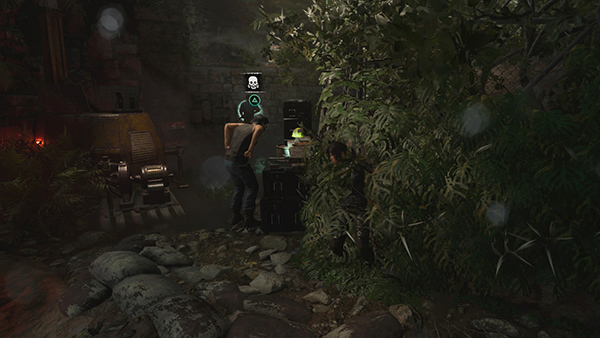
Then, when you're close enough to see the Melee icon...
...press the button for another stealth takedown. Then press Interact to search his body for supplies.
If you remain hidden near the vine-covered wall, the third enemy should make his way back around to you. Now that he's on his own, just wait for the Melee prompt...
...and do your thing.
Copyright © - Stellalune ( ). All rights reserved. Feel free to copy or print this walkthrough for personal use. By all means, share it with friends, but please include this credit line so people can send me their feedback. No part of this walkthrough may be reproduced on another site without permission. Follow this link for details about this site's advertising and privacy policy.