City of the Serpent – Boss Fight – Dominguez/Kukulkan
Using Fear Arrows (part 2)
NOTE: If you don't have fear arrows or would rather use other weapons, see the alternative strategy here. If you only have a few fear arrows, use this strategy until you run out, then switch to the other.
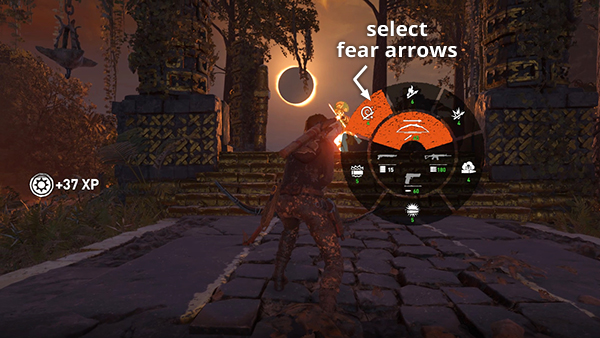
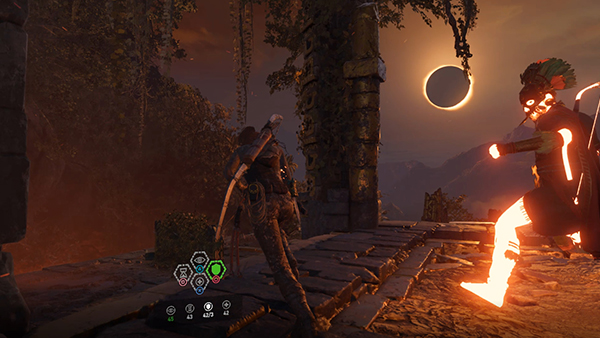
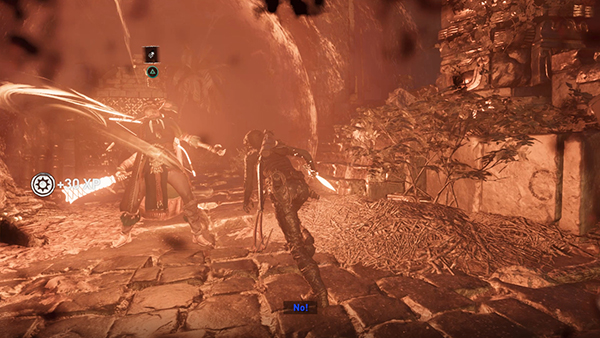
Once you've taken down his protective shield, as shown in part 1, Dominguez attacks, but you can also fight back. If you have fear arrows in your inventory, quickly tap the Bow Select button (1 on the keyboard, D-pad Up on controller) a few times to select them.
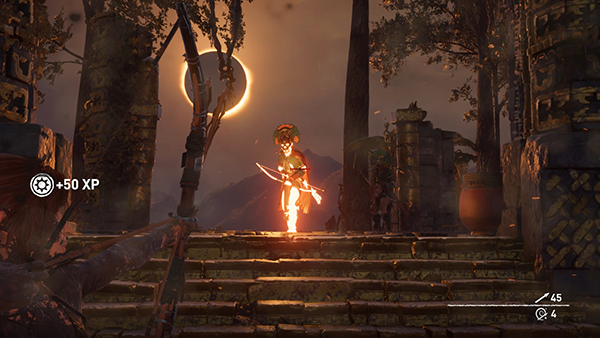
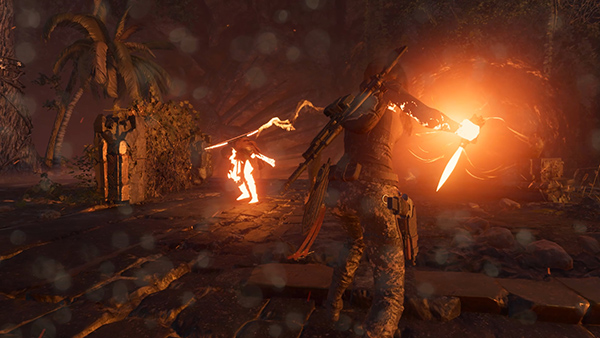
Then move toward Dominguez as you shoot him with three fear arrows. If you do it quickly enough, he won't have time to retaliate. He won't start to hallucinate and attack his minions, but on the medium (Rite of Passage) combat difficulty setting, three fear arrows will stun him.
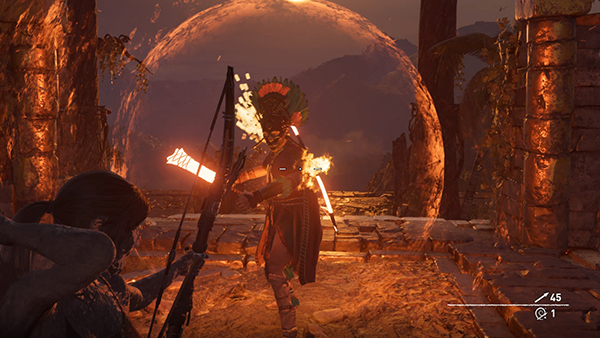
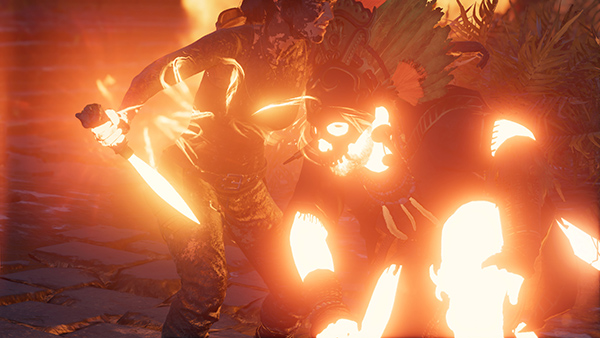
He'll emit an energy burst and a golden bubble will surround him. Rather than protecting him, this indicates he's vulnerable.
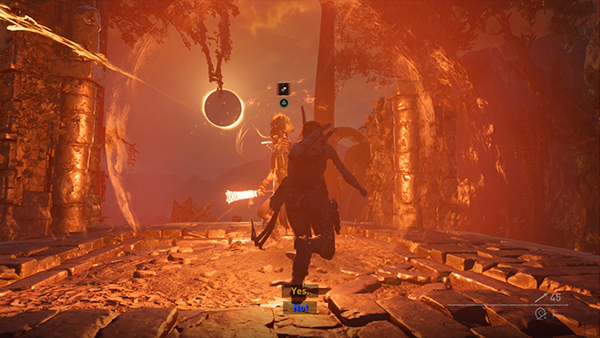
You have just a few seconds to run toward him and press Melee to attack. If you don't reach him in time, he regenerates a bit and lowers the bubble. Then the first phase of the fight repeats until you get it right. If this happens, you're better off reloading the checkpoint and starting again with a full complement of fear arrows.

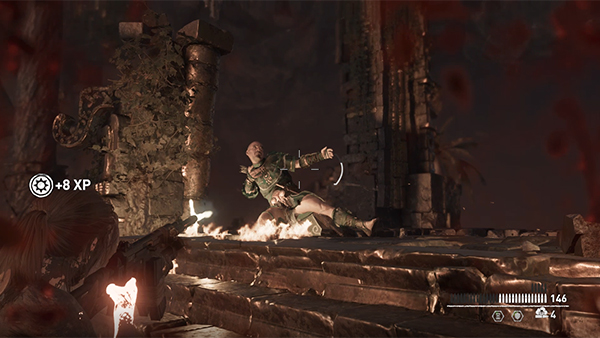
When you do land the melee attack, another short cutscene plays: Lara and Dominguez struggle. She stabs him with her knife, and he shoves her away, but not before she grabs the dagger.
 As soon as Lara gets to her feet and you're back in control, run away. If you stay too close to Dominguez, he'll start swinging his obsidian blade to blast Lara with fire. As you run toward the outside of the platform, heal if necessary and use Endurance and Focus herbs. Endurance herbs will reduce damage from fire, assuming you've unlocked the Heart of the Jaguar II skill, but you'll still want to avoid the flames if possible.
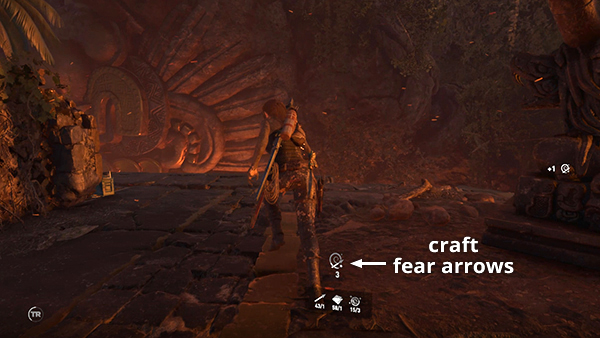
Head for the outside of the platform but don't get too close to the edge or the enemies may knock Lara off into the abyss. Then you'll have to continue from the last checkpoint. Run around the outside of the platform, crafting more fear arrows to replace the ones you just used.
If any of the Serpent Guards attack, go ahead and shoot them. Just make sure to use regular arrows or switch to one of your other weapons. Or, you can allow them to charge and use the Puma's Feint/Dodge Kill maneuver to take care of them without wasting any ammo. (Check the Cenote walkthrough if you need to review.) Save all the fear arrows for Dominguez.
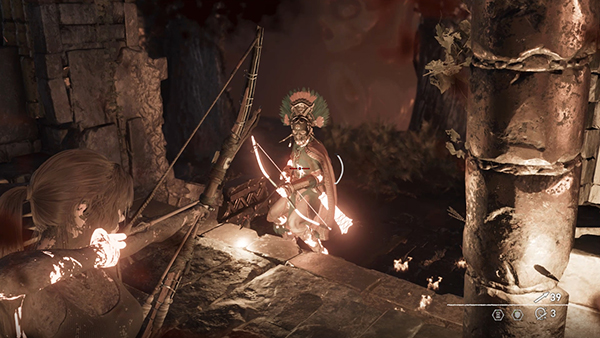
When you're ready, find Dominguez and shoot him with three more fear arrows. If you've used Focus herbs, holding Aim will slow time, so you can line up your shots. You don't need to land headshots. Just try not to miss, since you don't have many fear arrows.
 After this, the golden bubble surrounds Dominguez again. Sprint forward and press the button indicated for a second melee attack.
This time Lara stabs Dominguez with the Key of Chak Chel, but it's just a glancing blow, and one hit is not enough to finish him.
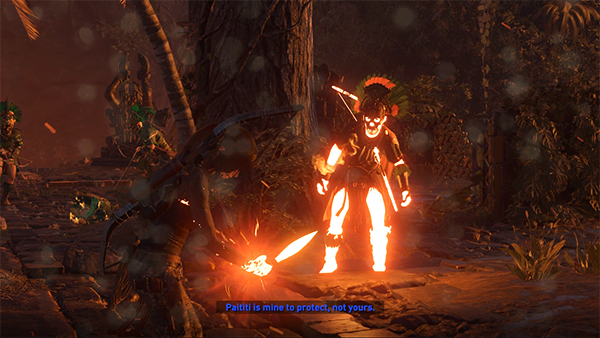
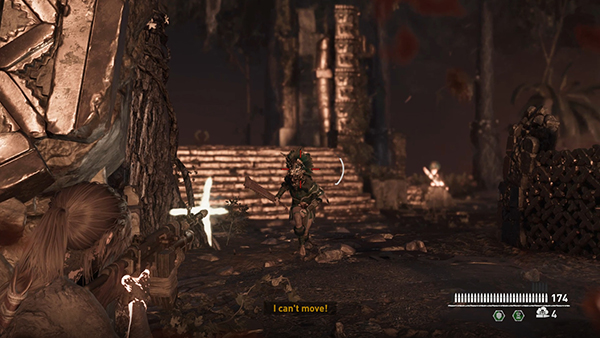
He shoves Lara back and resumes his rant about saving Paititi. If you haven't already taken care of the Serpent Guards, they'll appear now to assist him. You can fight them if you like...
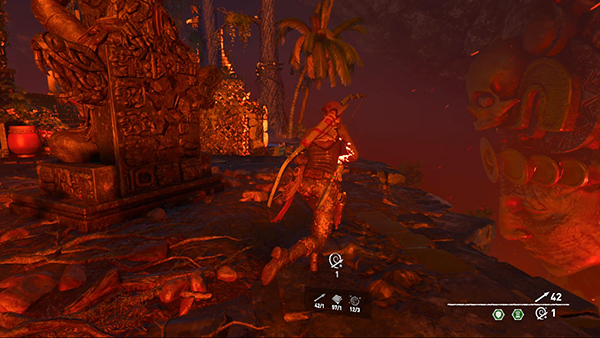
...or run away, use your various herb mixtures, and craft another batch of fear arrows. You can also collect ammo and herbs scattered around the platform, if you happen to run past them.
This time, when you approach Dominguez, you'll probably need to kill at least one of the guards to get to him. Again, don't waste your fear arrows on the lesser enemies. Use the rifle, one of the other guns, or even regular arrows.
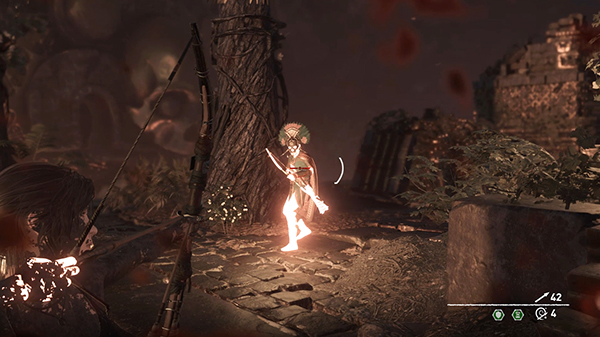
Then, when you have Dominguez in your sights, shoot him with three more fear arrows...
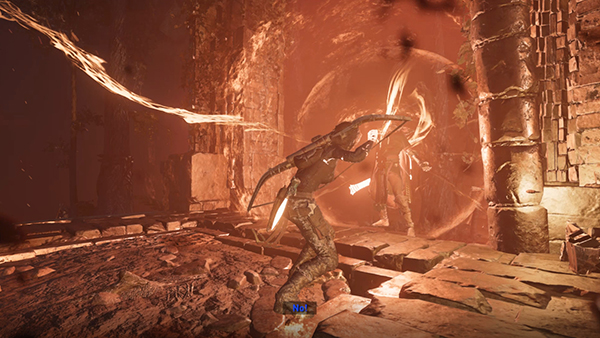
...until the energy bubble surrounds him.
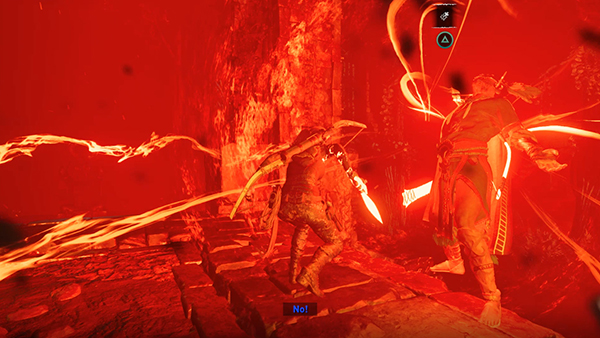
This is your signal to run in close for a third melee attack.
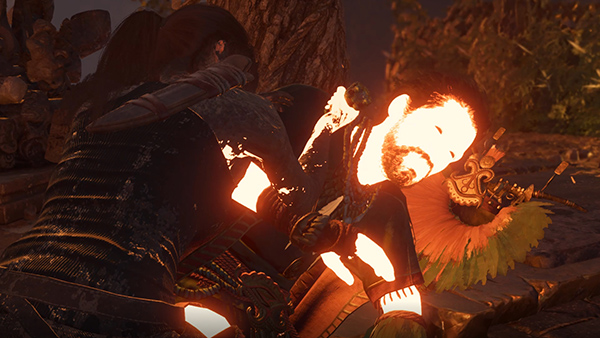
Lara stabs him with the dagger, and Dominguez loses his majestic helmet, making him more vulnerable to headshots but much crankier too.
You'll also notice the dagger transferring energy from Dominguez into Lara, even as he boasts about becoming more powerful.
[Previous | Next | City of the Serpent Walkthrough]
Copyright © - Stellalune ( ). All rights reserved. Feel free to copy or print this walkthrough for personal use. By all means, share it with friends, but please include this credit line so people can send me their feedback. No part of this walkthrough may be reproduced on another site without permission. Follow this link for details about this site's advertising and privacy policy.