Cenote – Escape the Cenote
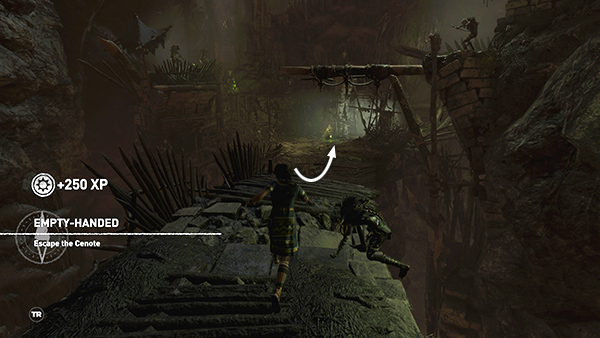
Run forward and grapple-swing across the gap.
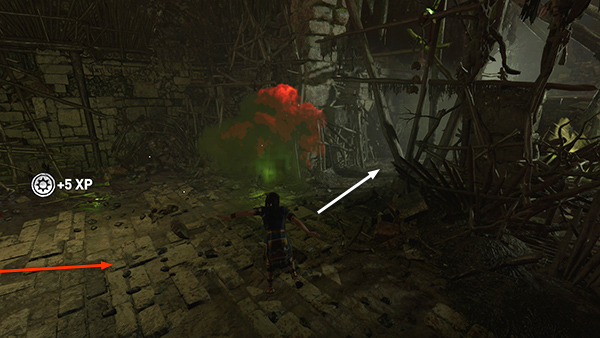
When you land, veer right to avoid the Yaaxil converging from the left. Run forward through the rough wooden doorway, keeping ahead of the pursuing enemies, and avoiding the detonating green orbs on your left...
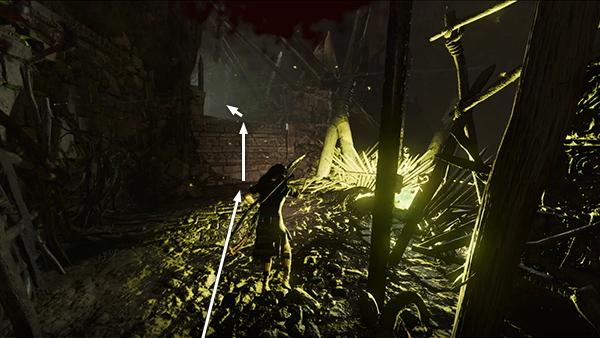
...then right. Scramble up the wall onto the ledge above.
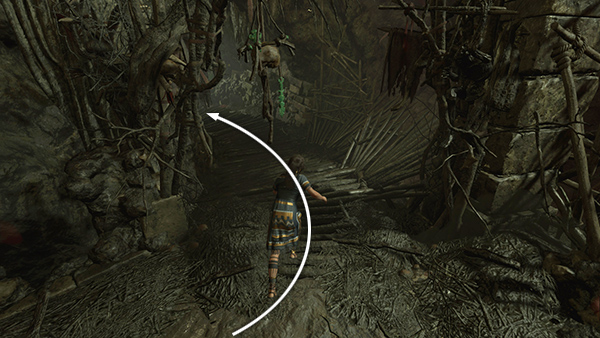
Follow the wooden walkway as it curves around to the left...
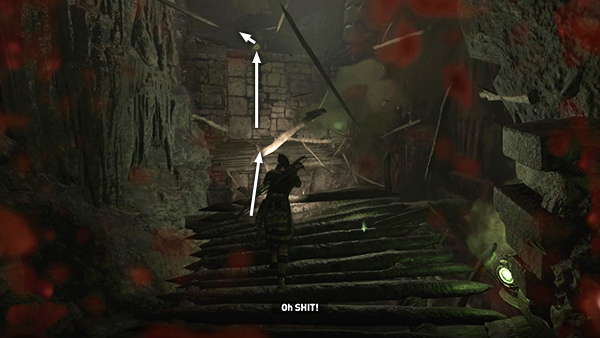
...jumping across a collapsing section near the end. Climb up another wall to trigger a short cutscene.
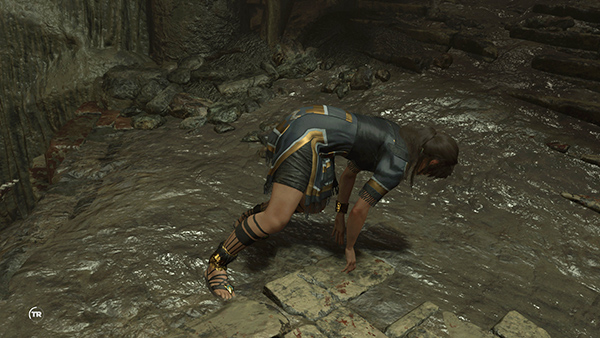
Lara scrambles onto the ledge and regains her footing. A checkpoint registers here.
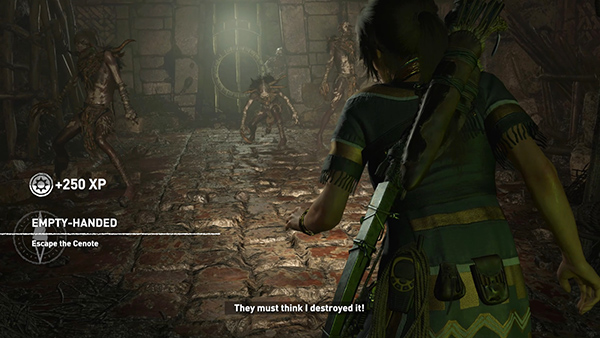
NOTE: If Lara dies before this checkpoint, the game reloads near the temple exit with Lara facing the wrong way. She'll say, "They must think I destroyed it," meaning the Box. Don't bother fighting the Yaaxil who surround her. Just turn around and start running, as described in the section above.
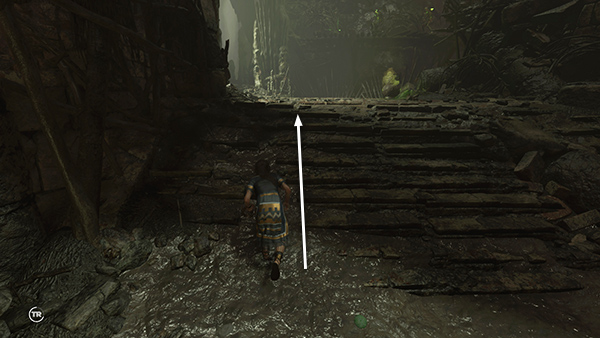
Continue up a short flight of steps...
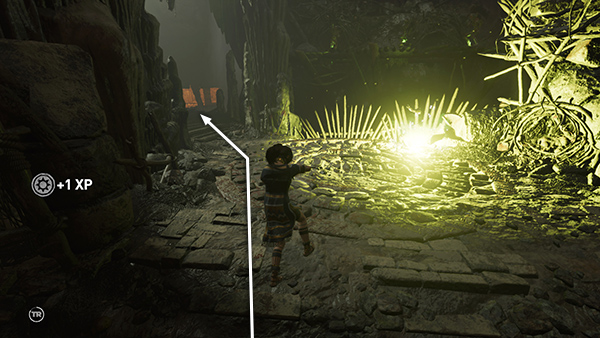
...to an area with a circular, carved stone floor. Then continue around to the left.
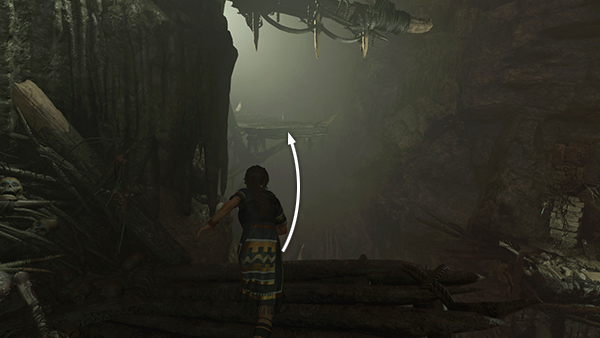
Grapple-swing across a wide gap in the wooden walkway to the next checkpoint.
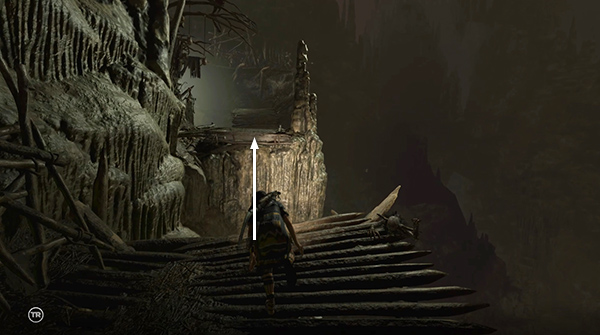
Jump across a smaller gap, grab the edge of the slightly higher walkway ahead, and pull up.
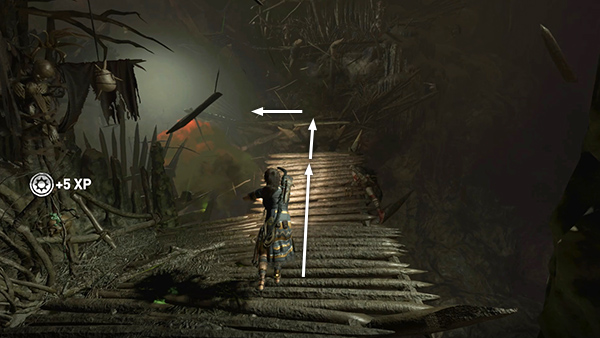
Run up the wooden ramp and jump across another gap onto another wooden walkway. Turn left and continue along the walkway...
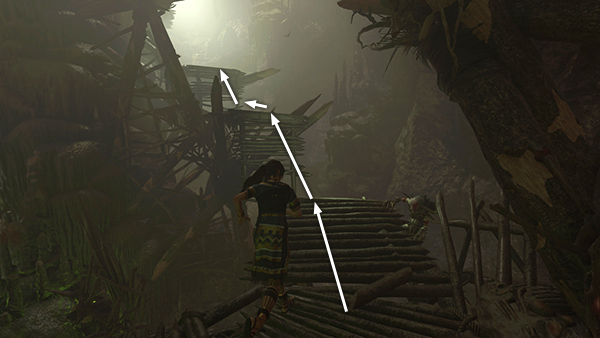
...jumping across several missing sections and avoiding the enemies who try to stop you.
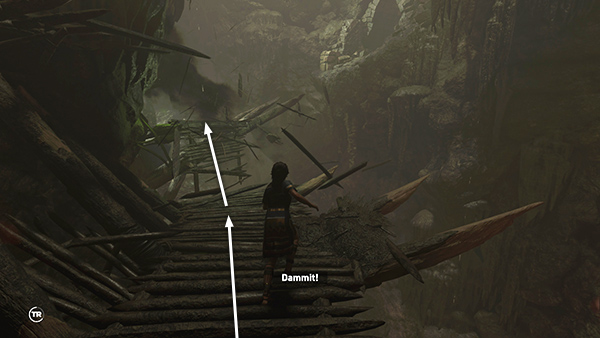
All the while the Yaaxil shoot arrows at Lara and explode green orbs along her path. You can heal as you go, but as long as you keep moving and don't fall through the gaps, Lara should be OK.
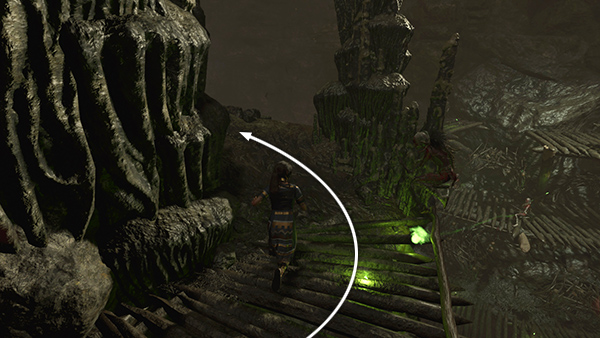
Where the wooden walkway ends, follow the stone ledge up and around to the left.
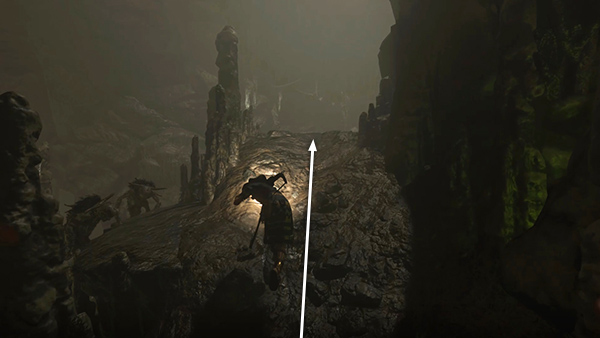
At the top, the path splits. Two enemies block the short path to the left, so continue forward up the slope.
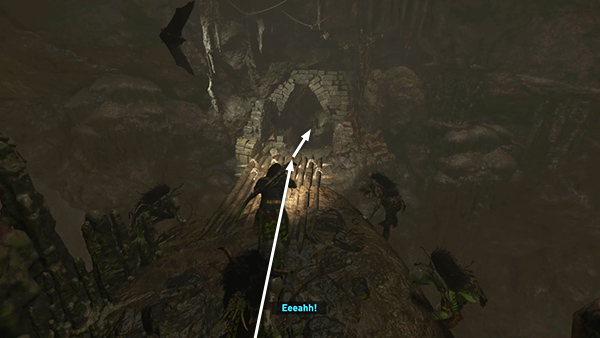
Run out onto the wooden ledge and jump toward the cave opening below.
Copyright © - Stellalune ( ). All rights reserved. Feel free to copy or print this walkthrough for personal use. By all means, share it with friends, but please include this credit line so people can send me their feedback. No part of this walkthrough may be reproduced on another site without permission. Follow this link for details about this site's advertising and privacy policy.