Cenote – Ancient Gate with Water Wheels and Spigots
East Side (part 2)
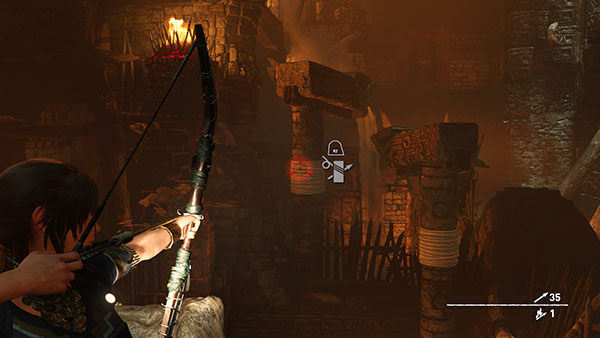
Now to get the water wheel on this side of the pool moving. This time the upper spigot does not move, so you only need to rearrange 2 spigots. Start by using a rope arrow to tether the left spigot to the winch.
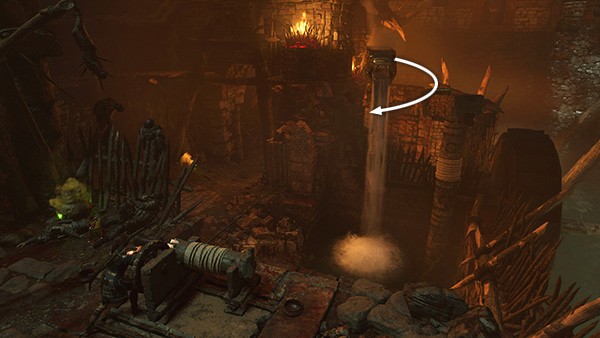
Crank the winch to
swing the left spigot around to the left, filling the pool below.
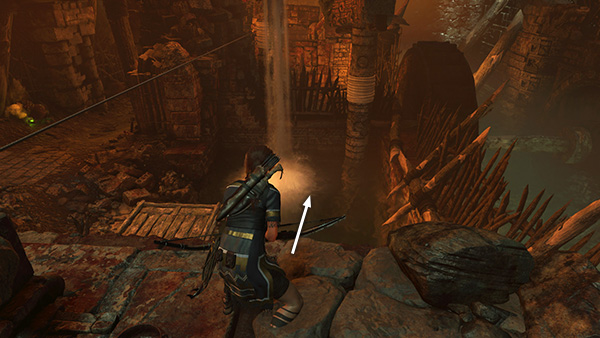
Dive in...
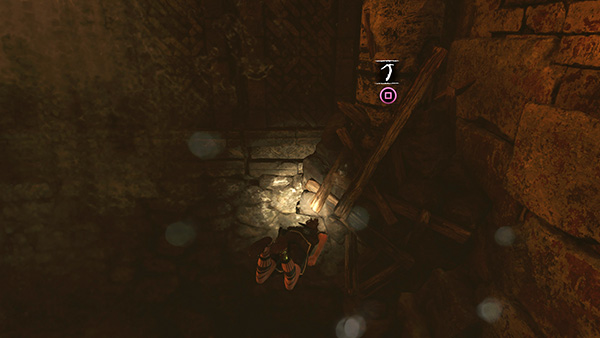
...and use your climbing axe to clear the debris from the base of the right spigot. Gather some resources on the bottom.
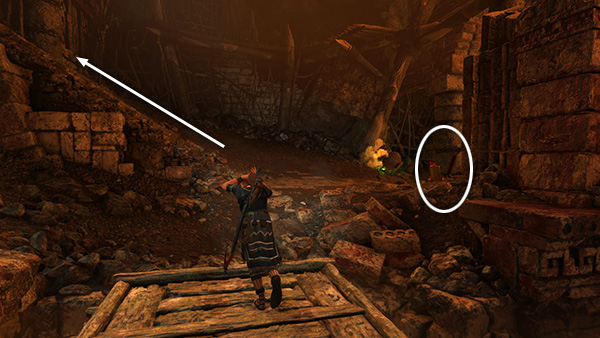
Then climb out of the water onto the wooden raft. Pick up arrows and shotgun ammo on the right. Then return up the stairs to the winch, where there are a few new enemies waiting.
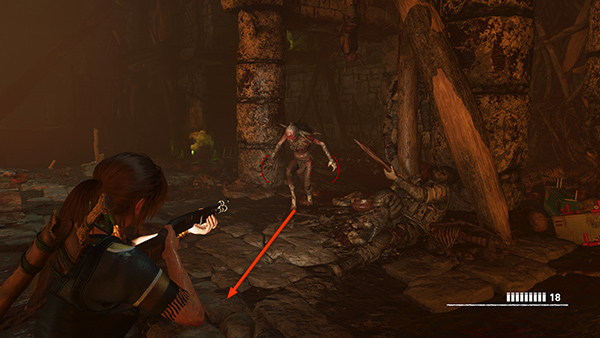
If you take a few steps forward after reaching the top of the stairs, you can meet the first Yaaxil warrior as he charges toward you from ahead on the left.
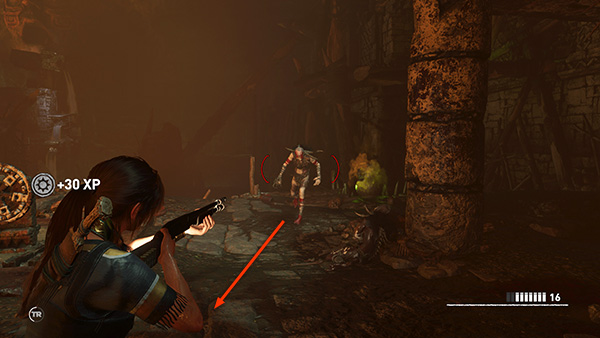
A second warrior also charges from the left. Shoot the green orb when the enemy passes next to it, or wait for him to charge and shotgun or dodge-kill him as well.
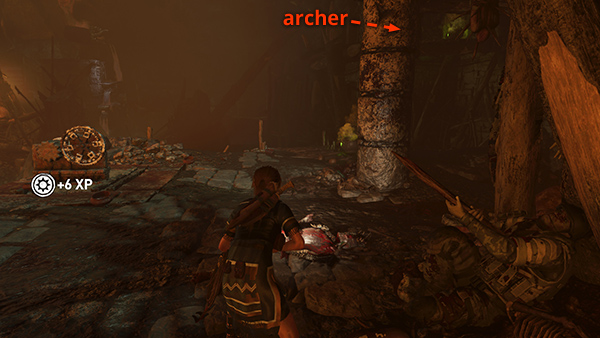
Now adjust Lara's position so the columns shield her from the 2 archers that now arrive on the scene, one above and behind where the warriors came from...
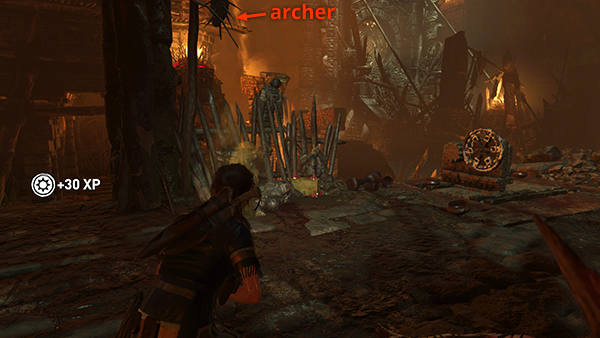
...the other on a ledge above and to the left
of the spigots. If you can avoid being struck with arrows, you can concentrate on fighting the next 3 enemies.
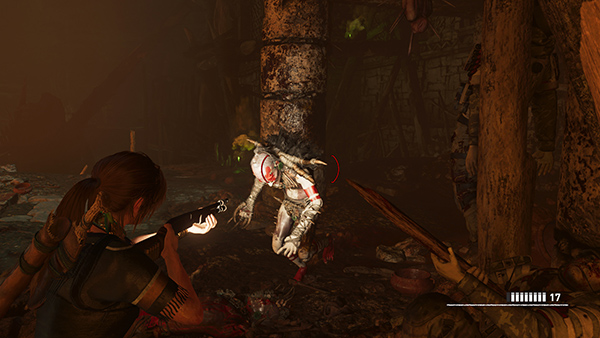
One comes from the same direction as the
first two.
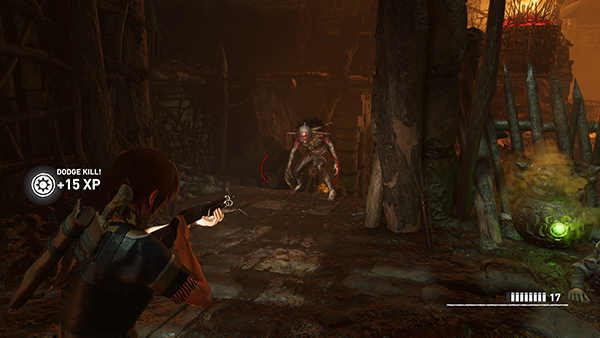
The second and third come up the stairs from the south.
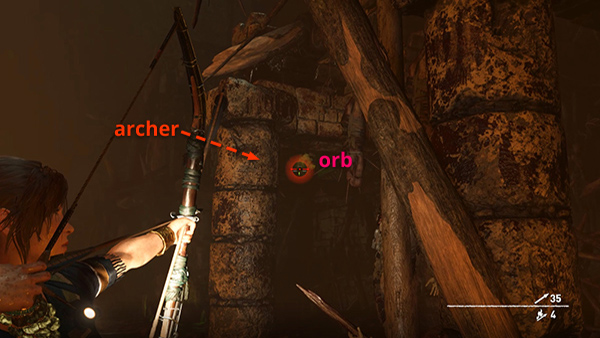
When you've dealt with them, shoot the green orb on the ledge to the north to kill one archer without exposing Lara to his arrows.
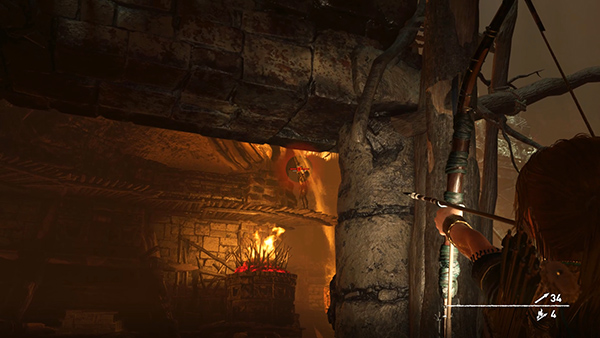
Then shoot the second archer on the wooden ledge above the spigots.
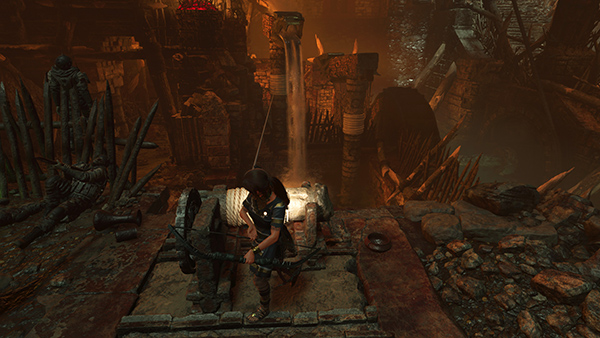
Loot the bodies and pick up any ammo you may not have been able to carry before. Then return to the winch. Use a rope arrow to tether the left spigot to the winch once more.
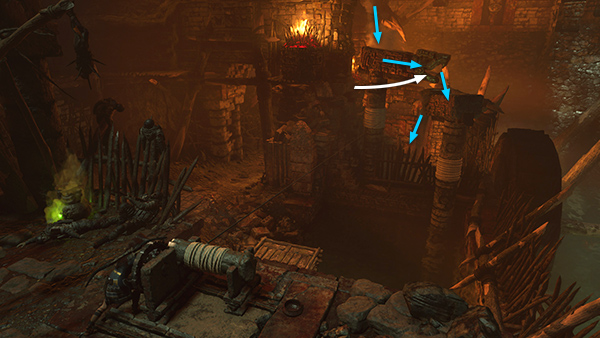
Crank the winch to rotate the left spigot to the right, so the water pours down onto the right spigot.
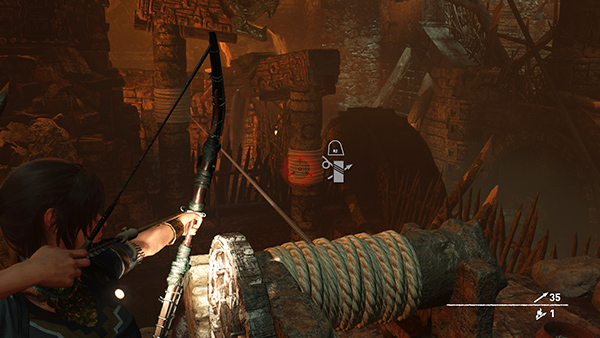
Now use another rope arrow to tether the right spigot to the winch.
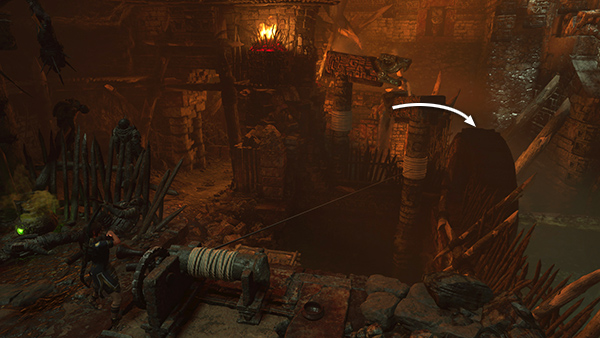
Crank the winch to swing the right spigot around to the right.
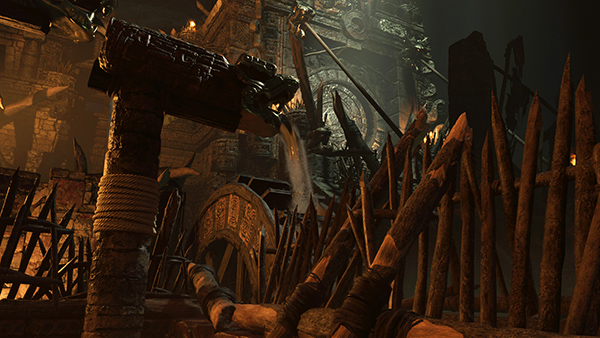
The water then flows down onto the wheel, operating the mechanism that opens the second door.
[Previous| Cenote Walkthrough]
Copyright © - Stellalune ( ). All rights reserved. Feel free to copy or print this walkthrough for personal use. By all means, share it with friends, but please include this credit line so people can send me their feedback. No part of this walkthrough may be reproduced on another site without permission. Follow this link for details about this site's advertising and privacy policy.