Cenote – Trapped Caverns and Entrance to the Ruins
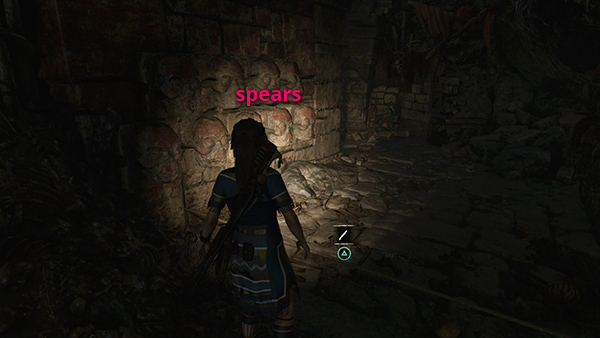
Proceed cautiously. There's a spear trap just ahead. Cut the tripwire to trigger the trap, then scramble under the spears.
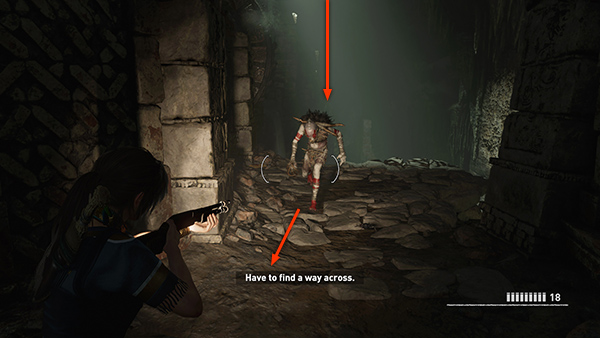
As you round the next corner, one of the painted people drops down from above and rushes toward you. Shoot him or use the Puma's Feint/Dodge Kill. Then loot the body for health and endurance herbs.
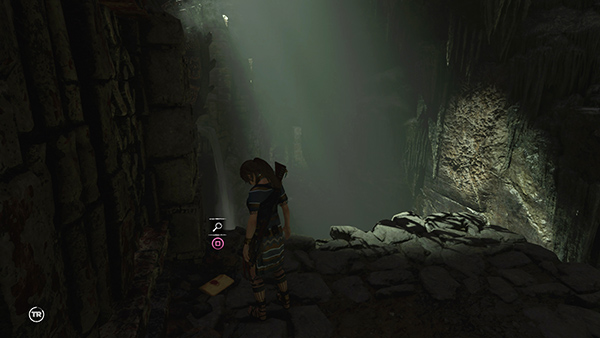
Before attempting to climb across the cavern, examine a document (5/6), Journal of T. Serrano 7 (Gates of Hell), lying on the ground near the left wall.
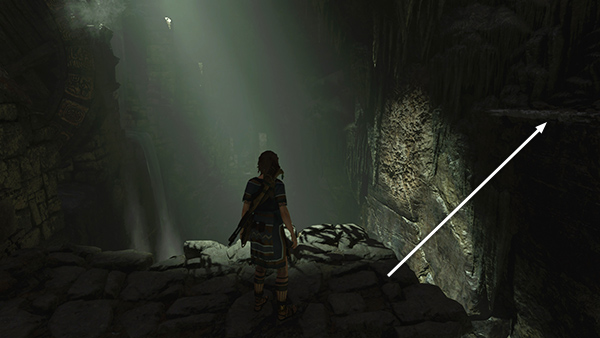
To cross the huge pit of spikes, start by jumping to grab the narrow ledge on the right wall.
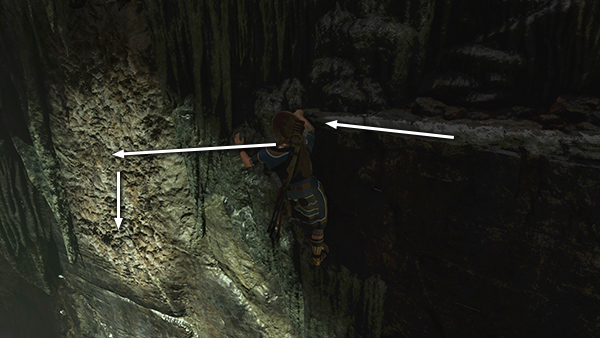
Climb to the left then jump and latch onto the climbable wall. Climb down as far as you can.
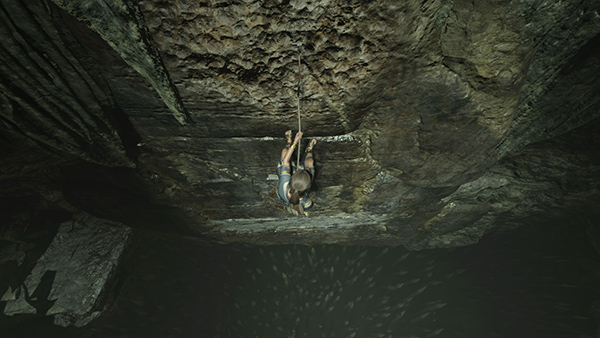
Then rappel down to the wall-running area.
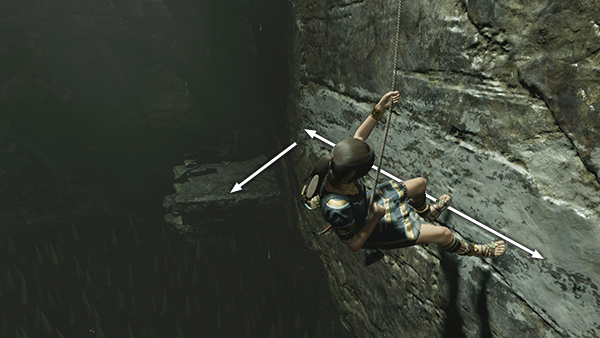
Run back and forth to build momentum, then jump toward the ledge on the left.
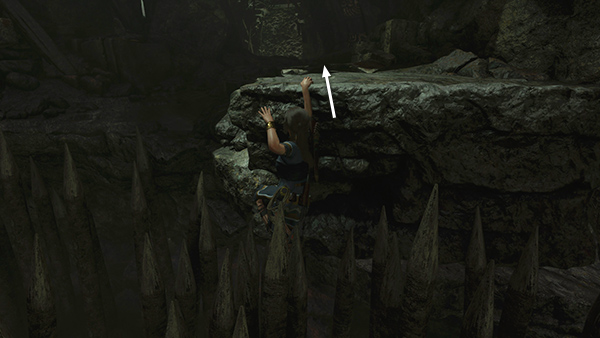
Grab the edge and pull up.
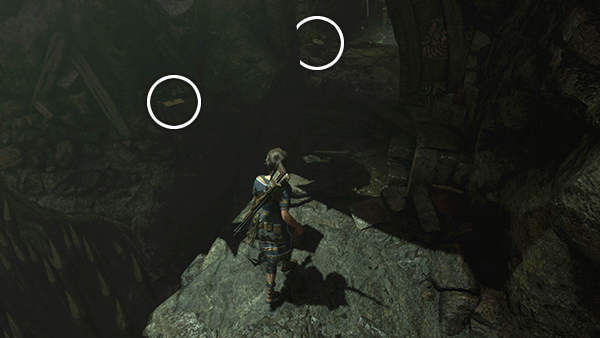
Examine another document (6/6), Journal of T. Serrano 6 (Gates of Hell), to the left of the tunnel entrance. Just inside the tunnel on the left is another resource container.
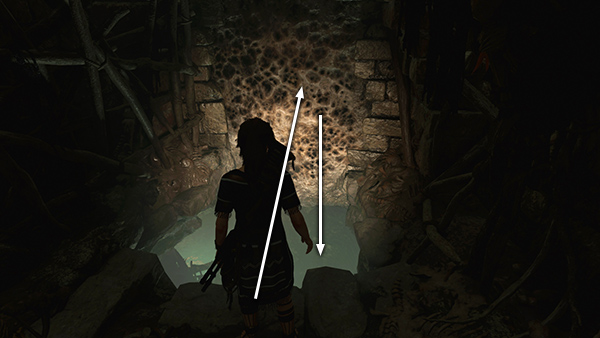
Continue to the opening in the floor. Jump across it and latch onto the climbing wall. Rappel down through the opening.
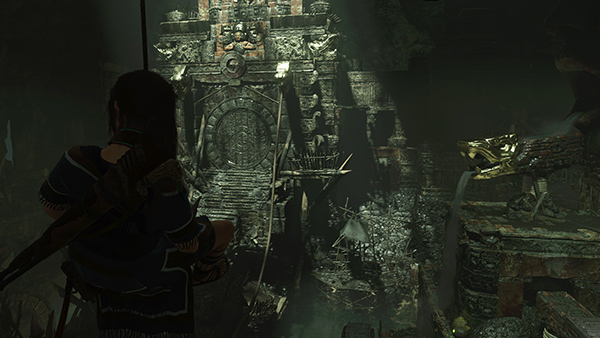
In a short cutscene, Lara surveys the elaborate construction below and wonders what might lie beyond the large, round door. Then she cuts the rope and drops into the pool.
Copyright © - Stellalune ( ). All rights reserved. Feel free to copy or print this walkthrough for personal use. By all means, share it with friends, but please include this credit line so people can send me their feedback. No part of this walkthrough may be reproduced on another site without permission. Follow this link for details about this site's advertising and privacy policy.