Climbing the Belly of the Serpent
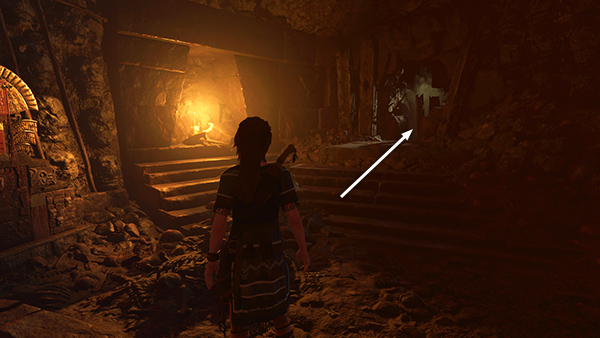
After examining mural #15, proceed through the narrow passageway into the foul-smelling area Etzli described.
Lara looks up as you receive a new goal: Climb the Belly of the Serpent.
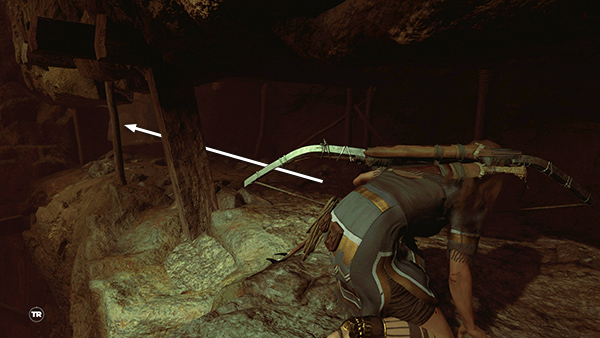
Start by walking out onto the narrow beam above the chasm.
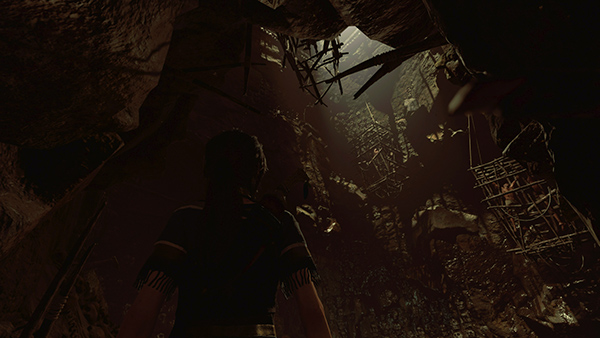
As you do, the far end of the beam detaches from the wall. When it settles, continue to the end, jump toward the wall ahead and scramble up to grab a handhold.
Climb up a bit, then jump up to grab the jutting ledge above. Pull up on top of it.
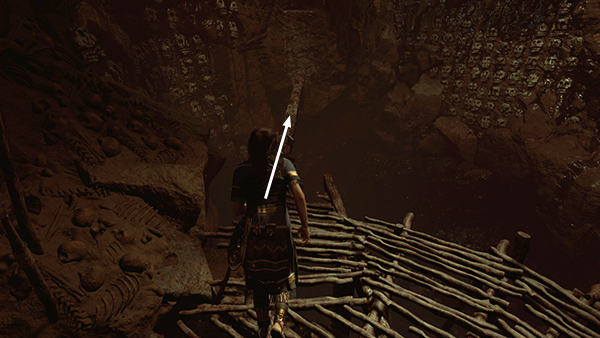
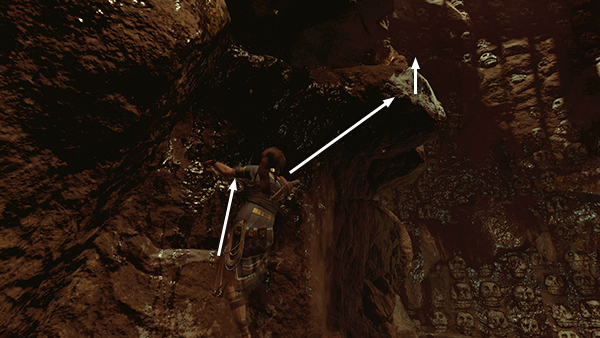
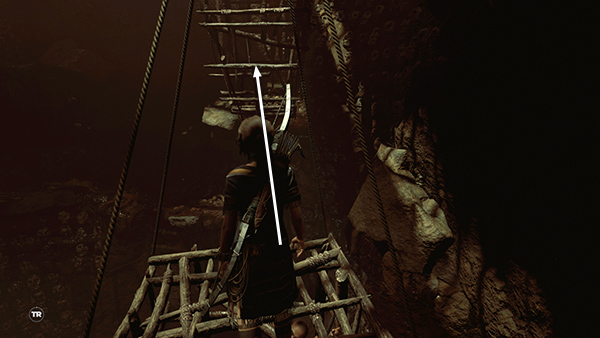
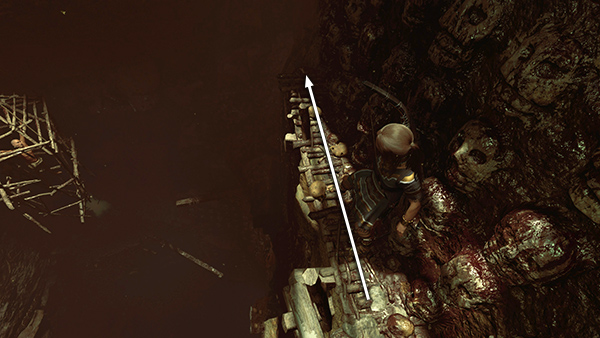
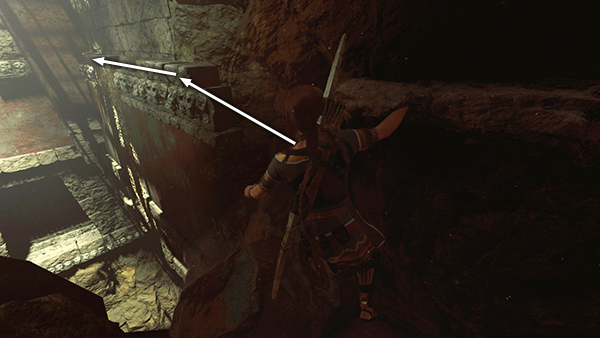
Creep around to the left, through the dead bodies and body parts, then move out onto the jutting wooden beam.
Jump to the horizontal bar, swing forward, and latch onto the rough climbing wall ahead.

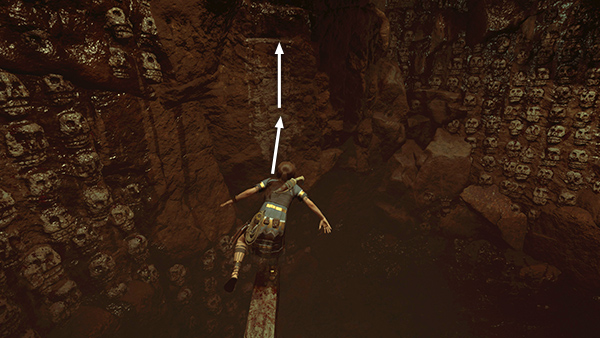
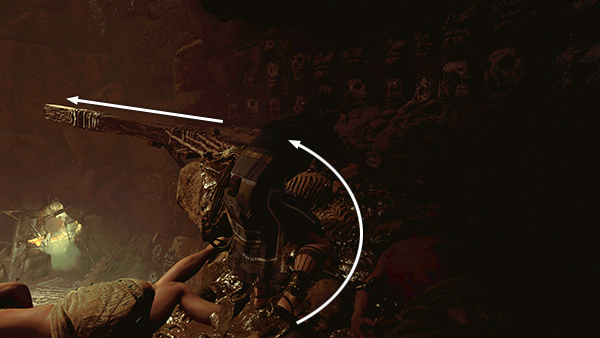
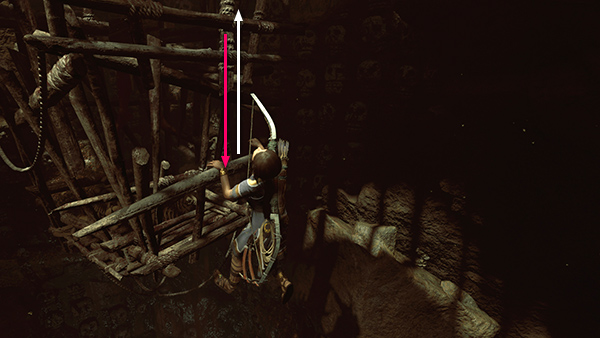
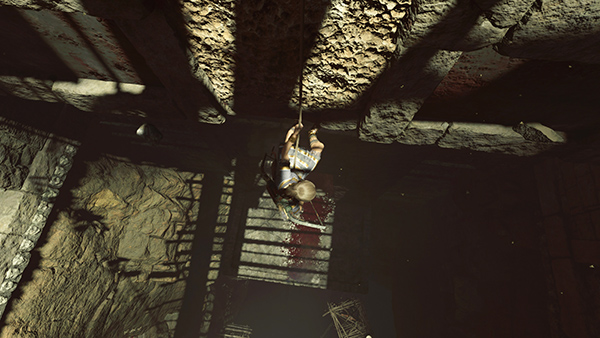
Climb down as far as you can. Then rappel down to the smooth wall-running area below.
Run back and forth while hanging from the grapple cable. Then jump to the left and grab the dangling cage. Climb on top of it.
When you jump and grab the second wooden cage...
...Lara's handhold snaps, and she drops to the bar below. If necessary, press Interact to hang on.
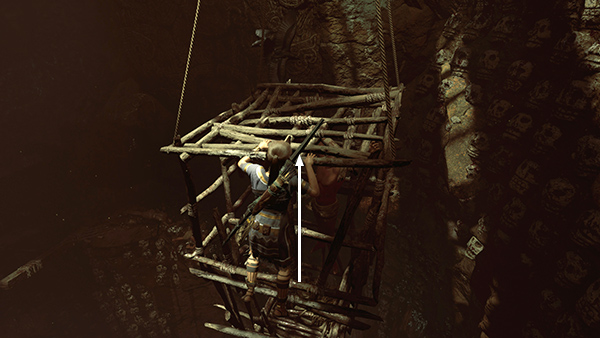
Climb to the top of this cage.
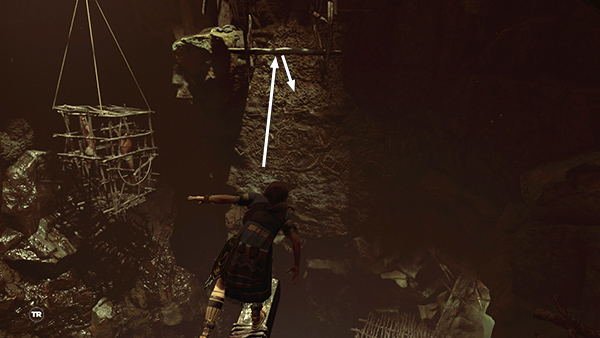
Jump toward the cavern wall ahead and scramble up to grab a wooden handhold. Climb onto the ledge above.
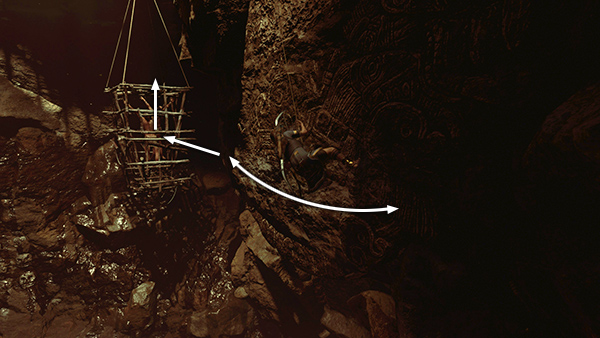
Inch forward along this narrow ledge until you can go no farther.
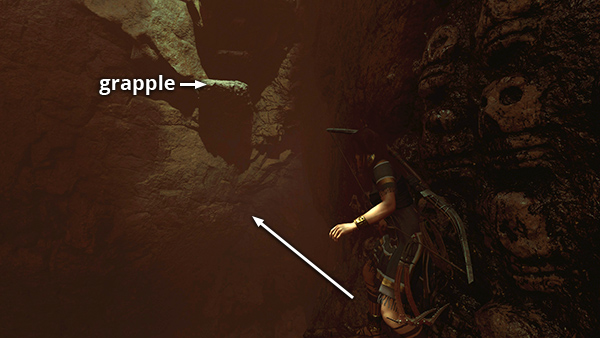
Then jump out into space and grapple the small ledge on the far side of the chasm.
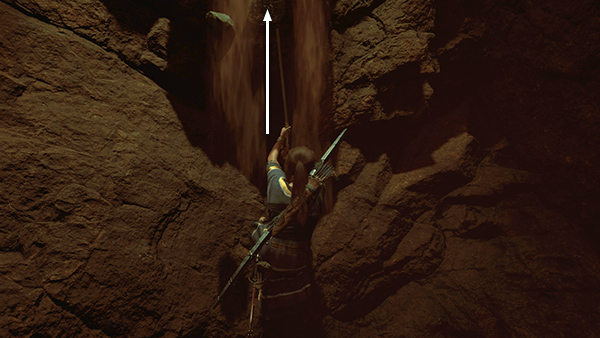
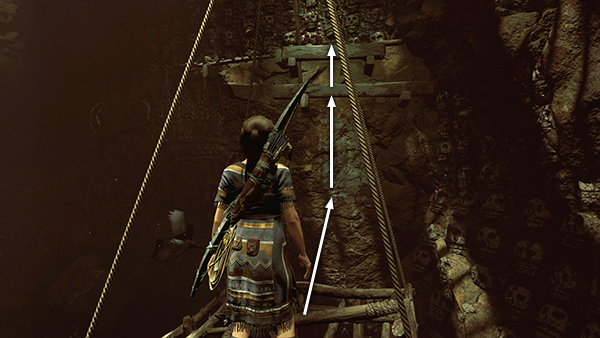
Climb the cable until you reach a solid handhold.
Climb up a little farther, jump to grab the jutting ledge above, and pull up.
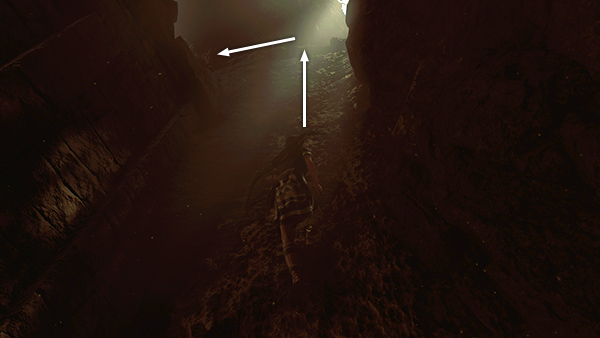
Duck as you make your way to the left beneath a low ledge.
As you go, Lara spots a cultist dumping a body off the edge into the pit.
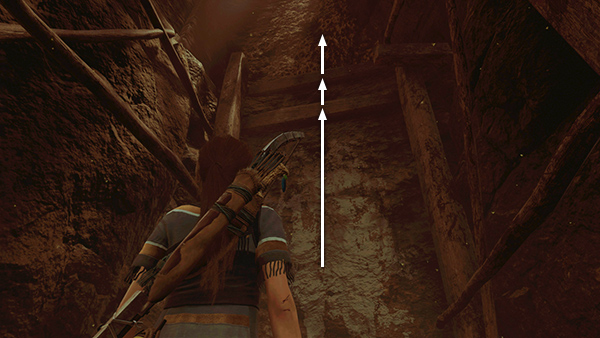
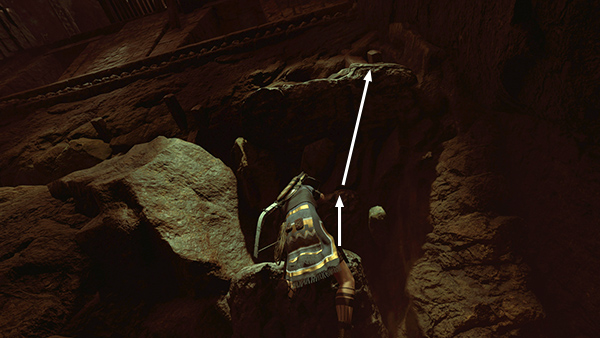
Continue to the end of the low tunnel. Then scramble up the wall, climb a couple of wooden handholds, jump up and latch onto the climbing wall above.
Axe-climb to the top, then climb along the narrow ledge to the left.
At the end of this ledge, jump to the left to grab the carved moulding above the door where the cultist emerged. It crumbles under Lara's weight, so you may need to press Interact to hang on.
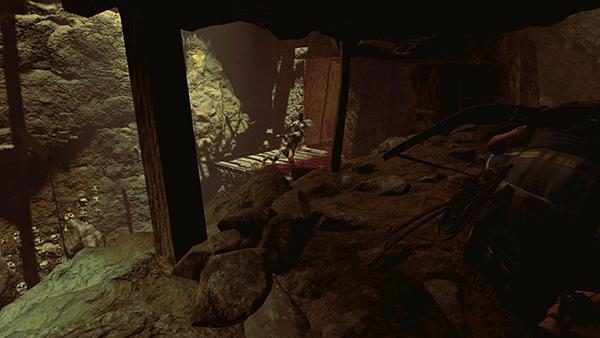
Climb, then jump to the left. Axe-climb down the wall then rappel down to the bloodstained wooden platform.
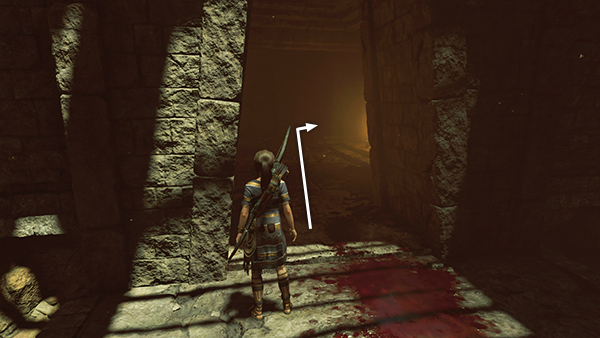
Go through the doorway and crawl into the low opening ahead on the right.
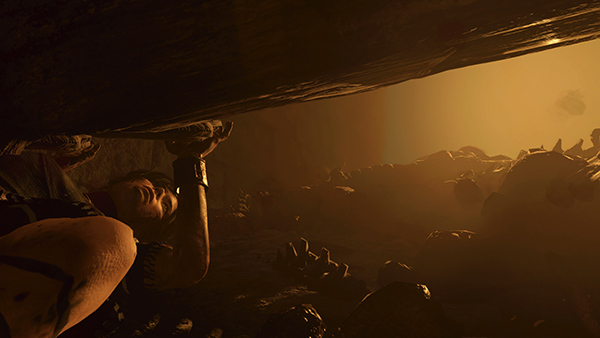
Continue through a long, narrow crawlspace filled with discarded body parts. Ugh!
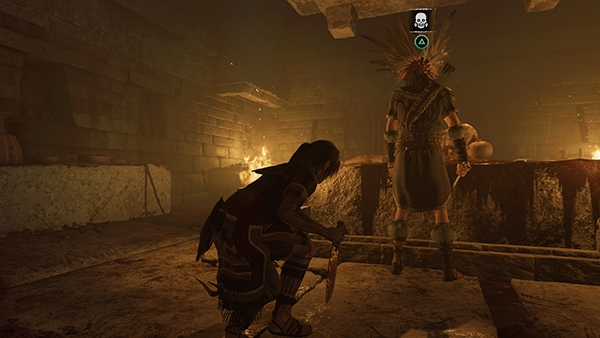
Soon you'll emerge in a small room where a cultist is standing at a table with his back to you. Sneak up behind him and kill him with a melee attack.
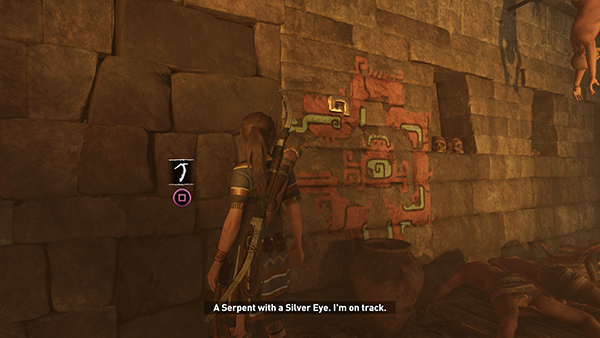
There's a painting of a serpent with a silver eye in the eastern corner of the room. Use your climbing axe to break down the crumbling wall next to it.
[Belly of the Serpent Walkthrough]
Copyright © - Stellalune ( ). All rights reserved. Feel free to copy or print this walkthrough for personal use. By all means, share it with friends, but please include this credit line so people can send me their feedback. No part of this walkthrough may be reproduced on another site without permission. Follow this link for details about this site's advertising and privacy policy.