Logging Camp Second Visit - Voice of God Challenge Tomb (Part 4)
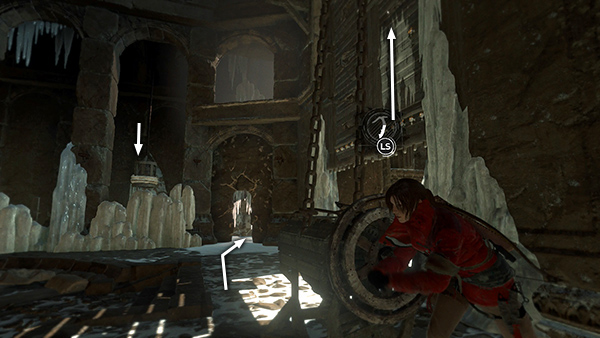
Use the first crank again to re-open the outer door and simultaneously lower the counterweight in the other room. Return through the broken archway to the side room.
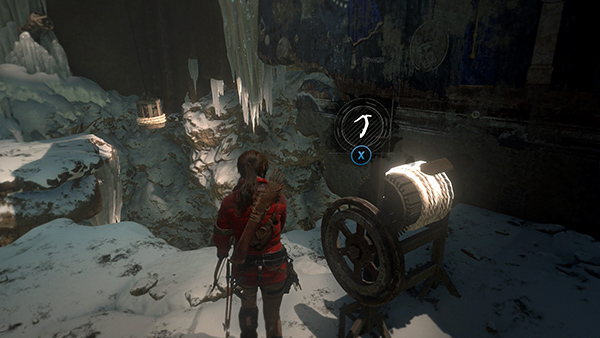
Stand near the second crank and shoot a rope arrow into the counterweight to anchor it to the rope spool.
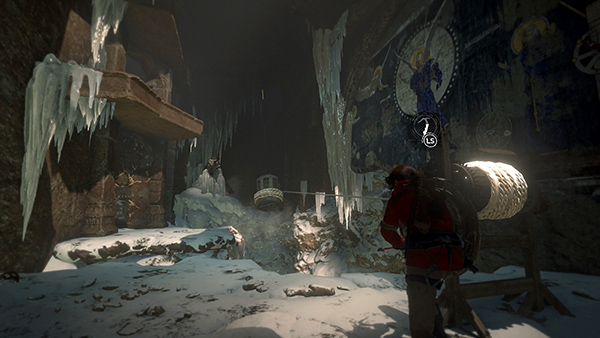
Now use your axe to turn the crank, pulling the counterweight toward you as far as it will go. The crank should then lock into place.
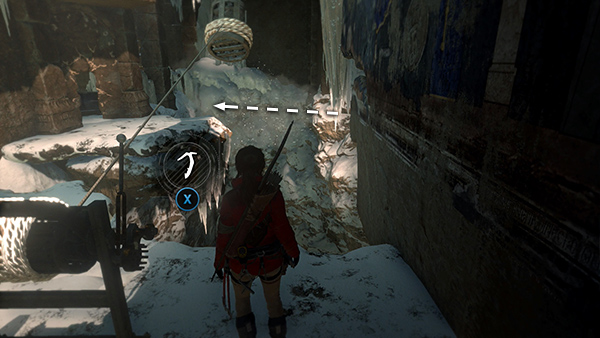
Move around to the right side of the crank and watch and listen as the wind blows across the room. You'll notice there are pauses between each strong gust. Just as the wind is starting to pick up...
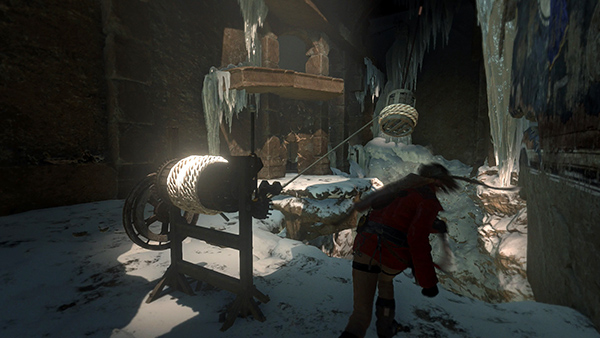
...press Interact to release the counterweight.
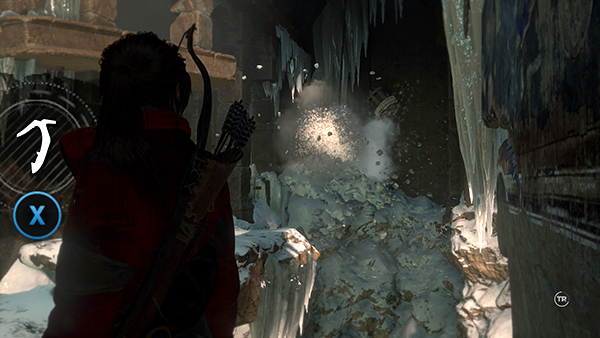
If your timing is right, the wind will blow the counterweight across the room, smashing the ice and freeing a second counterweight there. If it doesn't work the first time, try again until it does.
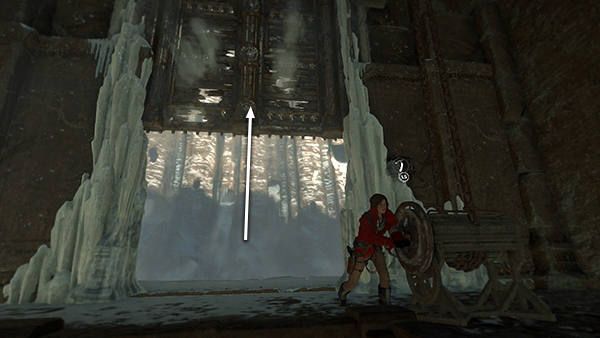
Return to the main room and use the third crank to open the inner door. Head down the steps to find a codex that grants you a new skill: Inner Strength. This automatically restores Lara's health once per battle if she is critically injured. You'll also receive XP and 10,000 Expedition Credits if this is the first time you completed this tomb..
[Part 3 | Part 5 | Return to the Challenge Tomb Walkthrough]
Copyright © - Stellalune ( ). All rights reserved. Feel free to copy or print this walkthrough for personal use. By all means, share it with friends, but please include this credit line so people can send me their feedback. No part of this walkthrough may be reproduced on another site without permission. Follow this link for details about this site's advertising and privacy policy.