Research Base - From the Weather Station to the Prison Block (Part 2)
Drop down onto the walkway below and follow it forward.
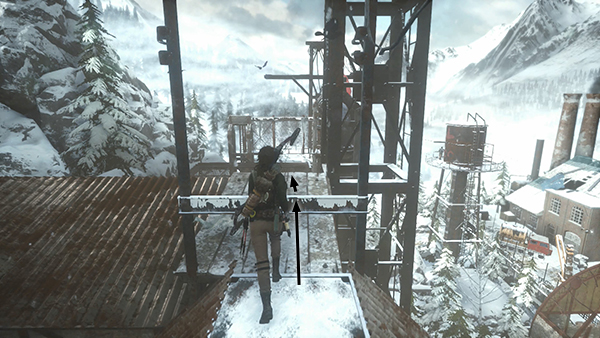
Vault over the girder blocking the path.
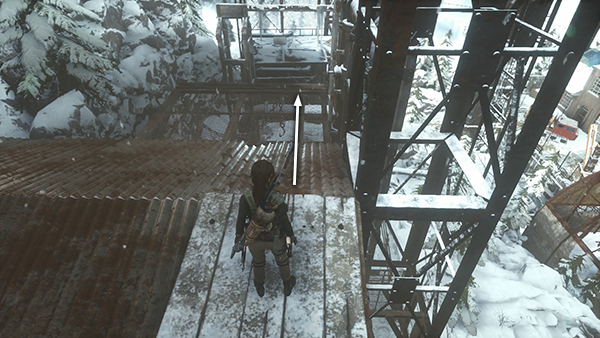
Move down the sloping roof and across a ledge made of metal grating.
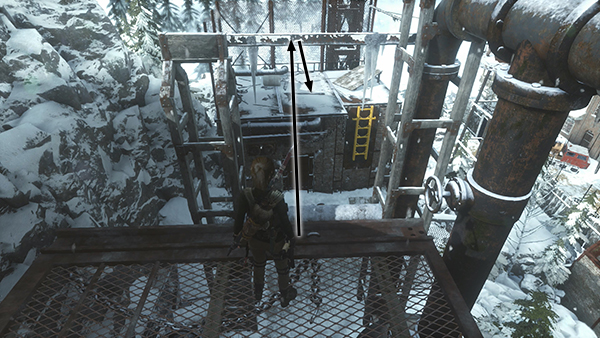
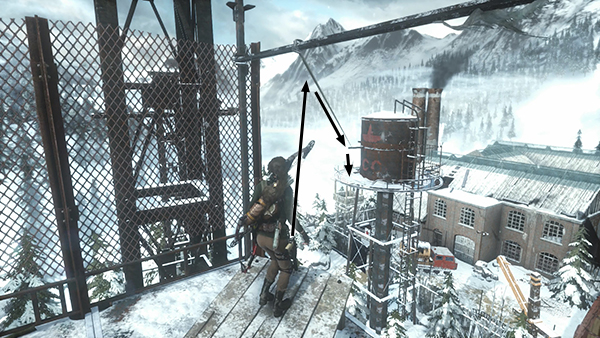
Then jump forward to grab the horizontal bar and swing over to the next roof. (Alternatively, after climbing out of the water tower, drop down into the area below, pick up some arrows leaning against one of the buildings and continue forward. Climb the yellow ladder to get onto the roof where you would end up if you took the high route.)
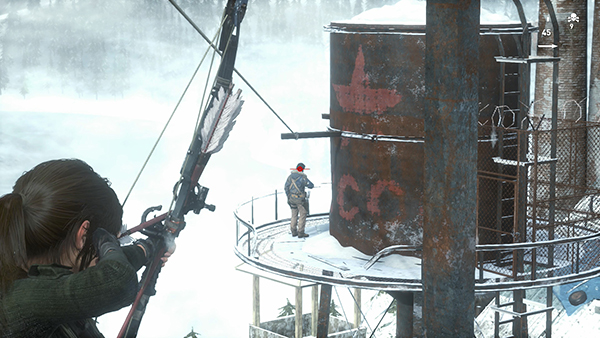
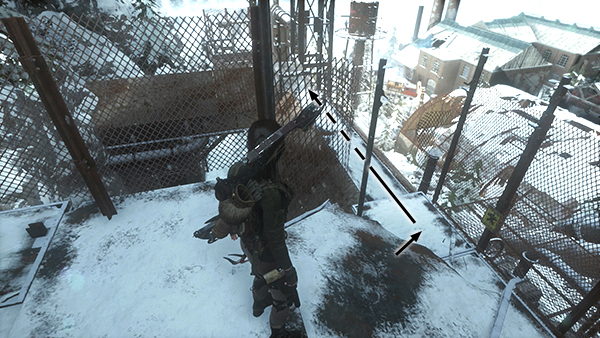
Shoot the guard on the water tower ahead.
Then ride the zip line down to where he was standing. Loot the body...
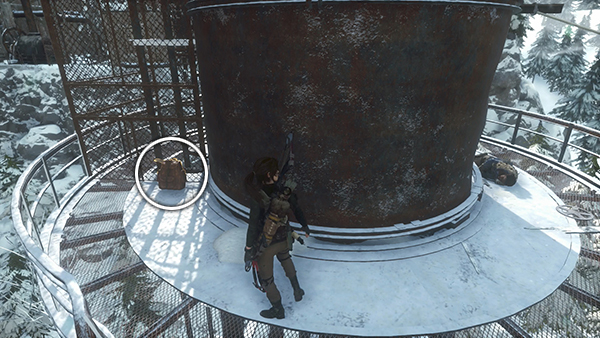
...and go around the back of the tower to find the Explorer Satchel (1/1) for this area.
NOTE: If you followed this walkthrough, you'll already have found the 3 survival caches. If not, the satchel will reveal them on your map. When you reach the next base camp, you can then fast travel to the Weather Station camp and backtrack for the caches.
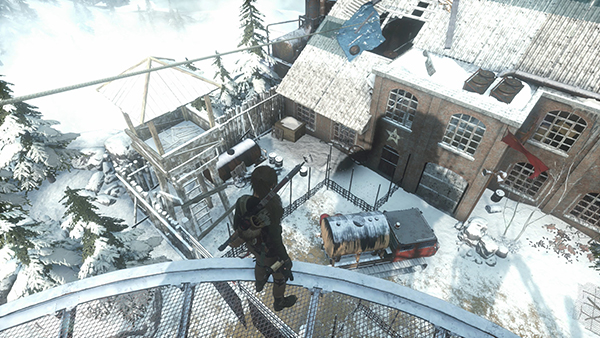
Before sliding down the next zip line, look over the edge to spot the truck with the last fuel tank (4/4) for the Scorched Earth Challenge.
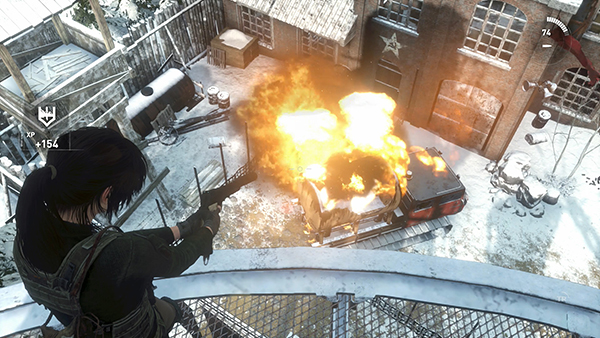
Shoot the red barrels next to the truck to blow up the tank and complete the challenge.
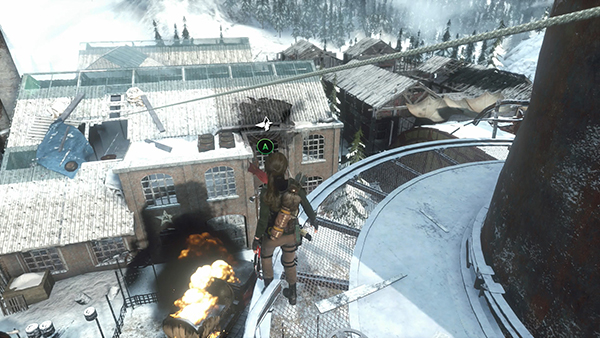
Then slide down the zip line into the building.
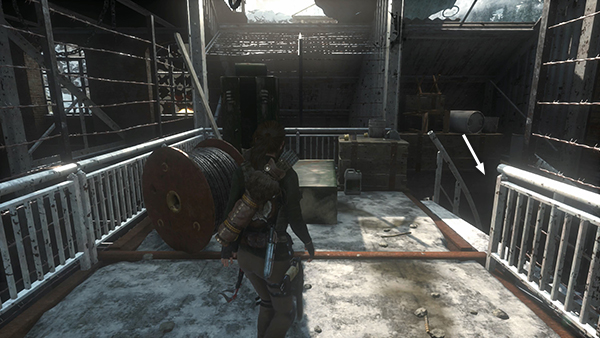
Before going off in search of Jonah, turn around and head down the stairs to the lower level.

Make a U-turn to the left to find the last document (4/4), Protector from the Radio Calls series.
[Part 1 | Return to the Research Base Walkthrough]
Copyright © - Stellalune ( ). All rights reserved. Feel free to copy or print this walkthrough for personal use. By all means, share it with friends, but please include this credit line so people can send me their feedback. No part of this walkthrough may be reproduced on another site without permission. Follow this link for details about this site's advertising and privacy policy.