The Prophet's Tomb - Trapped Passageway
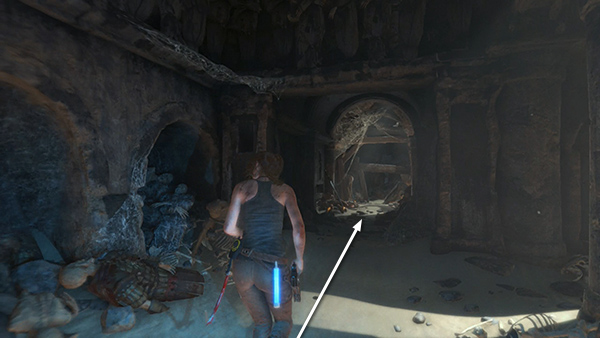
Follow the passageway to the northeast (directly opposite where you found the document).
A little way along, Lara triggers a spike trap. Fortunately a collapsed beam stops it before it can do any damage.
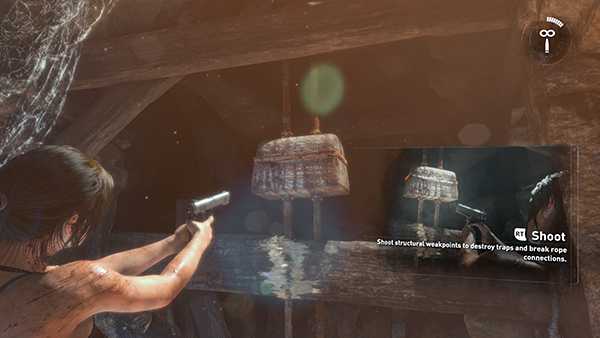
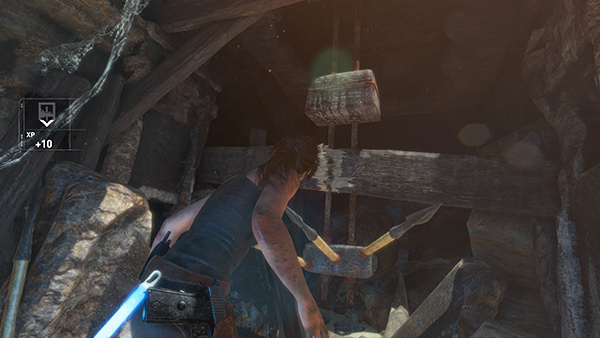
To get past it, press LT/Right Mouse to draw your pistol. Use the right stick or mouse to aim at the wooden block at the top of the trap. You'll notice the targeting reticle turns red when you're aiming at a viable target. Then press RT/Left Mouse to shoot.
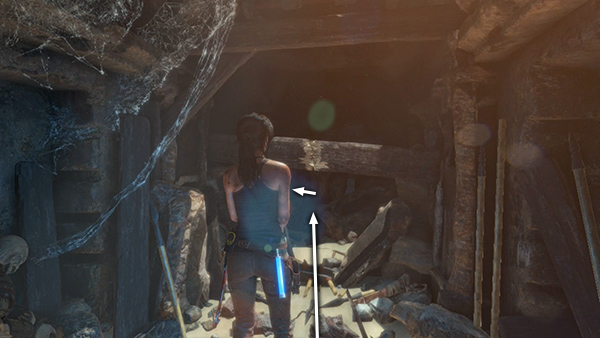
This destroys the trap so you can move under the low beam and continue along the passageway.
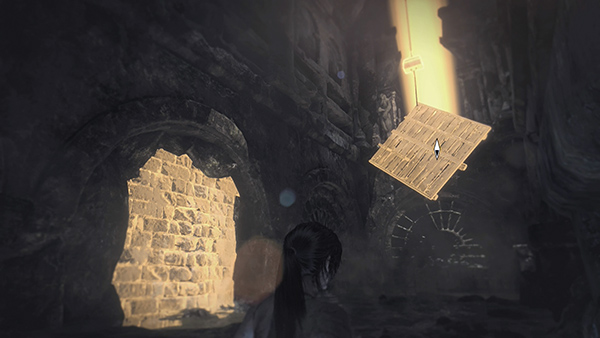
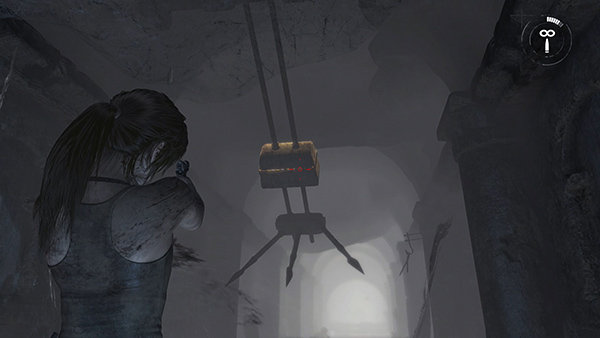
A bit farther along the floor collapses, plunging Lara into the room below. Activating Survival Instinct will give you a hint as to how to proceed. The objects you can interact with are highlighted in yellow.

Start by shooting the small block above the suspended wooden pallet. (Hold LT/Right Mouse to draw your pistol, aim with the right stick or mouse, and shoot with RT/Left Mouse.) This drops the pallet into the water.
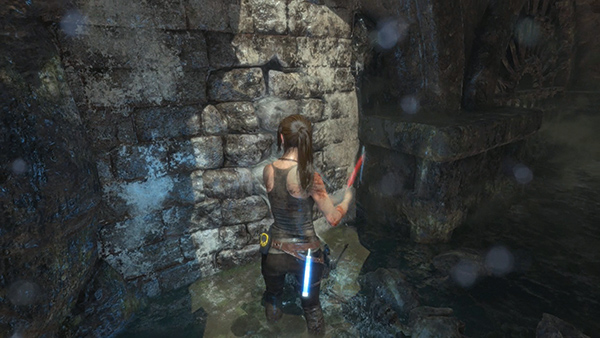
Now use your axe to break down the crumbling wall where the water is leaking in.
Water then floods into the room, raising the pallet so you can climb onto it and scramble up to the exit. (If you break open the wall before freeing the pallet, just climb onto the ledge near the entrance. You can shoot from there.)
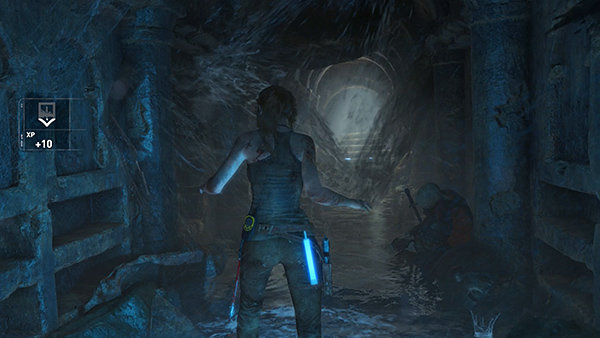
Continue along the passageway and slide down a muddy slope into another room. As you move forward, Lara steps on a trap which clamps tightly around her ankle and triggers another set of swinging spikes. This time you need to act quickly.
Hold LT/Right Mouse to draw your weapon as the spiked armature swings down toward you. Quickly swivel the right stick or use the mouse to aim at the wooden block. (If you have the game difficulty set on "Adventurer" Lara will automatically aim at the block when you press LT/Right Mouse.) Then press RT/Left Mouse to fire, shattering the trap before it impales Lara.
Take half a second to breathe a sigh of relief, but don't get too comfortable. There's still the small matter of the ankle trap. Oh, and the room is now beginning to flood.

Wait until Lara is completely submerged and you'll see an on-screen prompt indicating you should tap Interact repeatedly to pry the trap open. Keep mashing the button until the climbing axe icon fills up with white. At this point, the trap will give way.
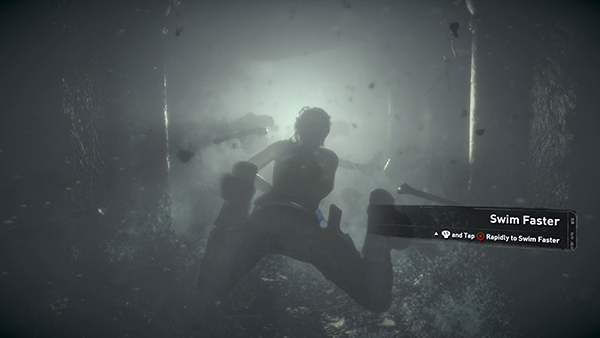
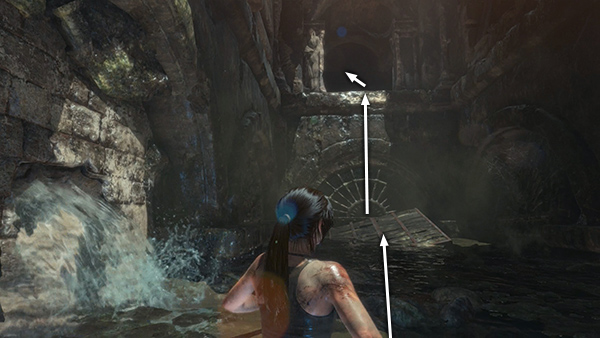
Now you need to swim to the end of the passageway before Lara drowns. Press the left stick forward and hold B on the controller or Shift on the keyboard to swim faster.
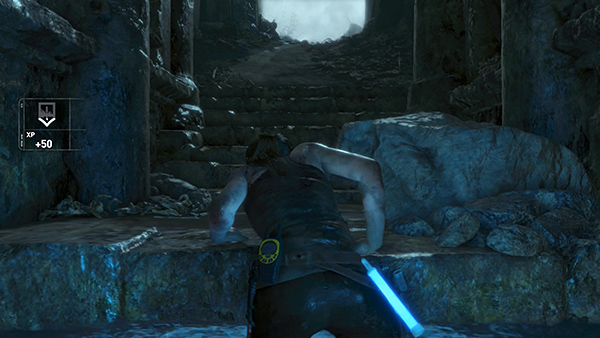
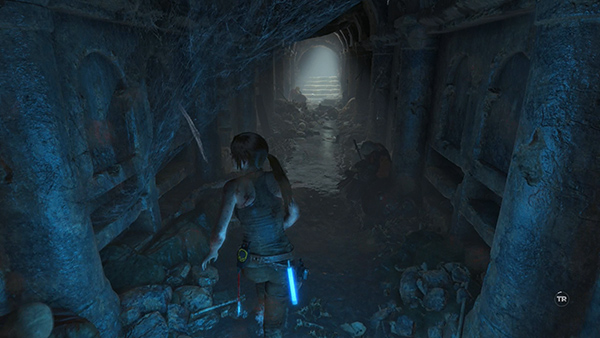
When you reach the end of the tunnel, Lara (hopefully) surfaces gasping and choking. Collect yourself and head up the stairs into the tomb.
[Return to the Prophet's Tomb Walkthrough]
Copyright © - Stellalune ( ). All rights reserved. Feel free to copy or print this walkthrough for personal use. By all means, share it with friends, but please include this credit line so people can send me their feedback. No part of this walkthrough may be reproduced on another site without permission. Follow this link for details about this site's advertising and privacy policy.