Path of the Deathless - First Skirmish with the Deathless (Part 2)
After you've taken care of the first swordsman, achievement or no, there are still more Deathless to contend with. They don't all attack at once, and fortunately there is plenty of room to maneuver, but things can still get pretty hectic. Again, there are many ways to approach this fight, but here's a strategy that worked consistently for me:
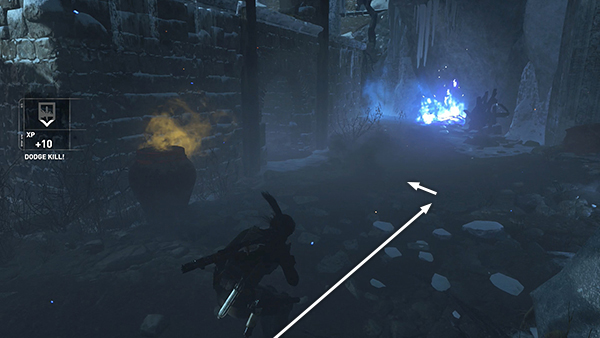
Move to the right of the starting position and turn to face the archway under the first rectangular stone structure.
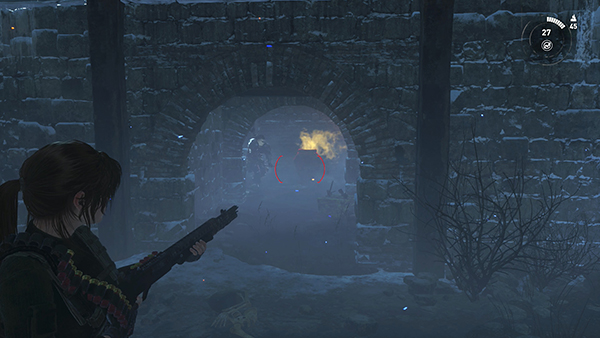
Notice the Greek fire vessel on the other side of the archway. Wait for the next 2 enemies to approach. Just as they're about to move under the archway toward Lara...
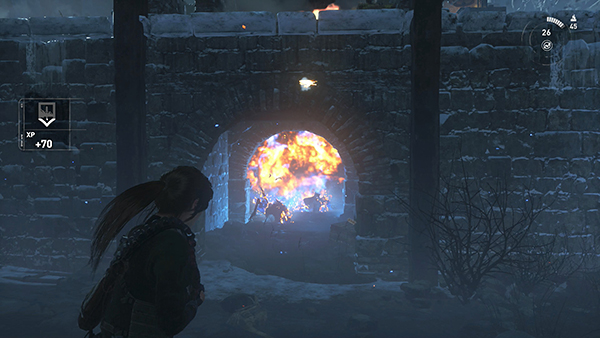
...shoot the vessel, to destroy both enemies. If you only get one, the other will probably be weakened enough to take out with a shotgun blast.
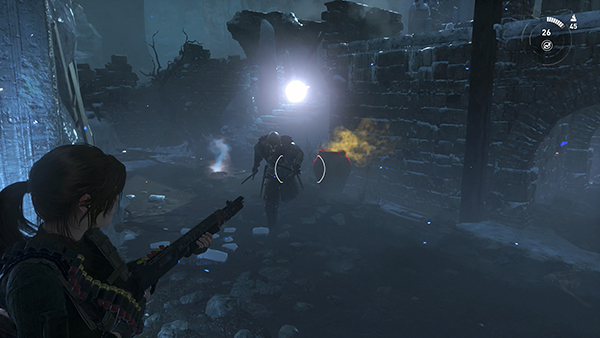
The next next 5 enemies—a mix of swordsmen and archers—will come around either side of the stone structure, through the archway, or over the top. So stay sharp. If one comes from the left, you may be able to take him out by shooting the Greek fire vessel on the left (assuming you didn't use it against the first swordsman).
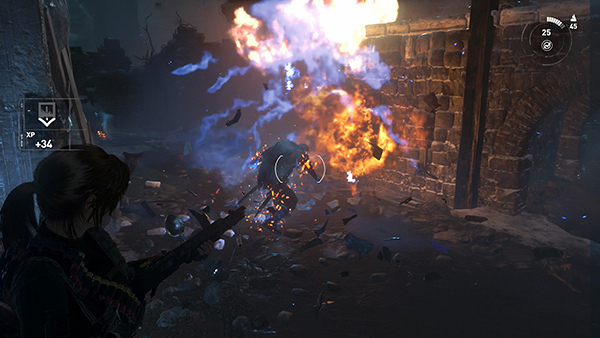
Lovely pyrotechnics! If that's not an option, use the Dodge Kill (for the swordsmen not the archers) or just blast away with the shotgun.
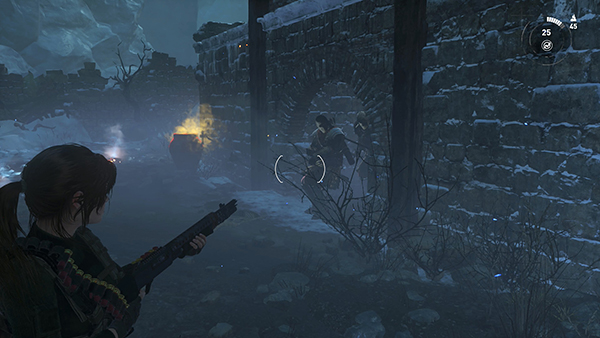
You can't use the dodge maneuver on Deathless archers, since they attack from a distance. Use the shotgun or rifle, or poison/explosive arrows, assuming the archers are far enough away that you won't damage yourself in the process.
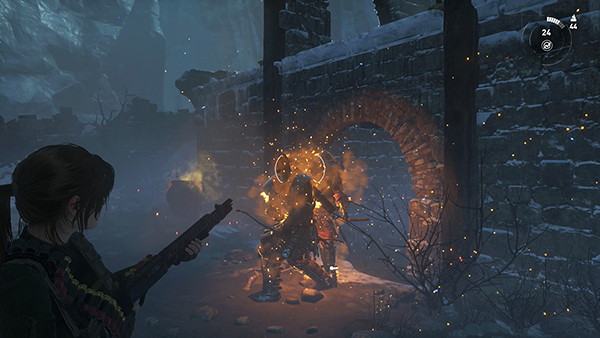
Again, a combination of regular shotgun blasts and dragonfire shells, assuming you've unlocked them, work quite well.
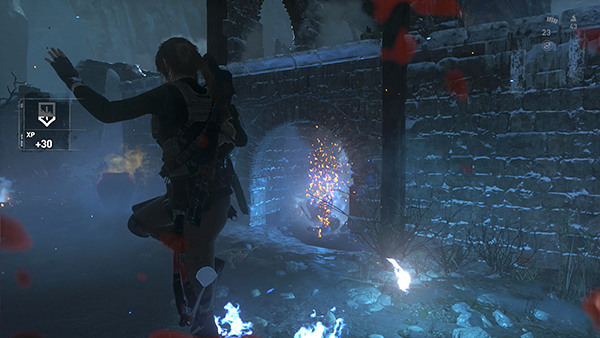 Quickly move out of the pools of Greek fire their arrows leave behind, since these continue to damage Lara even after the archers have been destroyed.
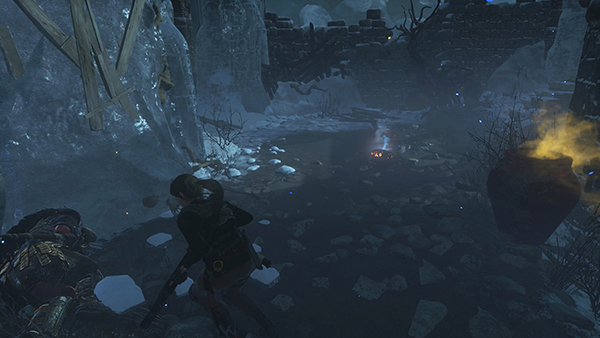
Each time you destroy a Deathless warrior...
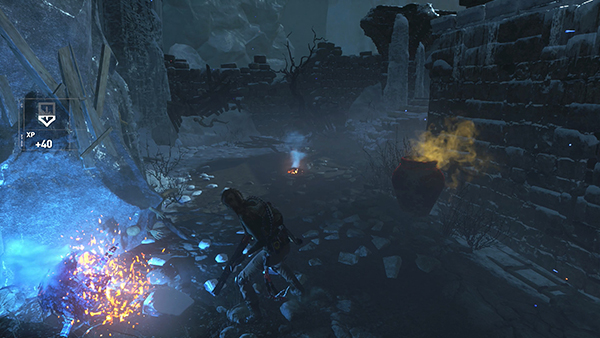
...he disintegrates in a cloud of ash and sparks...
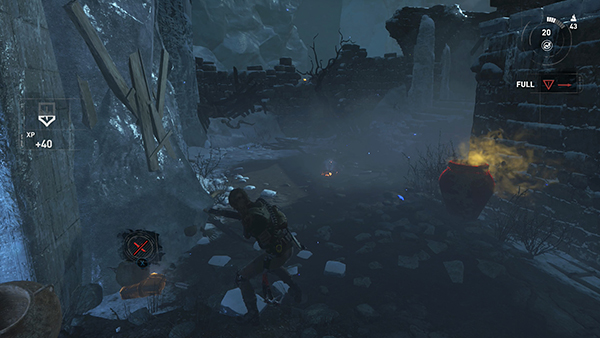
...leaving behind a small, square pack. Loot these for arrows, ammo, and other supplies.
[Part 1 | Part 3 | Return to the Path of the Deathless Walkthrough]
Copyright © - Stellalune ( ). All rights reserved. Feel free to copy or print this walkthrough for personal use. By all means, share it with friends, but please include this credit line so people can send me their feedback. No part of this walkthrough may be reproduced on another site without permission. Follow this link for details about this site's advertising and privacy policy.