The Orrery - Secret Entrance Beneath the Observatory
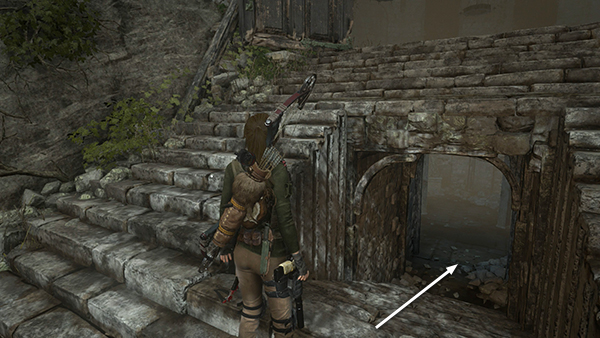
Head down the secret staircase that Jacob revealed to Lara in the cutscene.
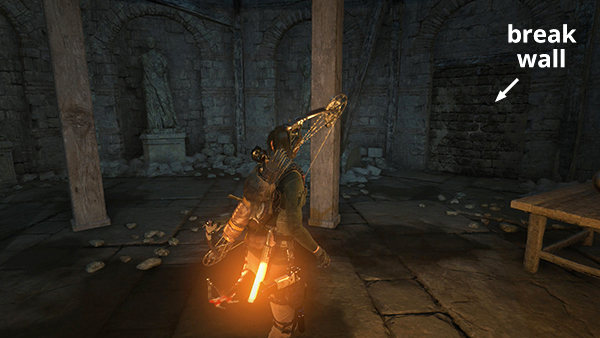
Use your axe to break through the crumbling wall ahead on the right. Then follow the passageway down into THE ORRERY.
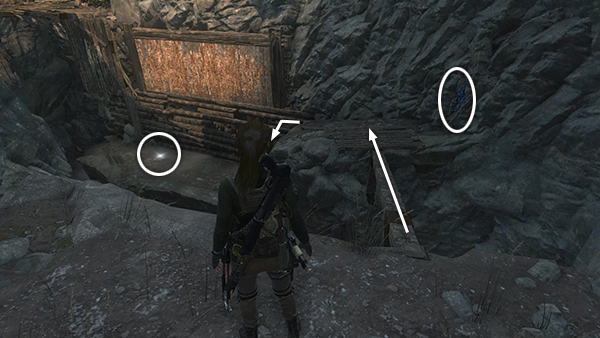
Soon you'll come to a deep chasm. A flashing light on the ledge ahead indicates a buried survival cache (1/3). Walk across the narrow, wooden beam. Then drop down on the left and dig up the cache.
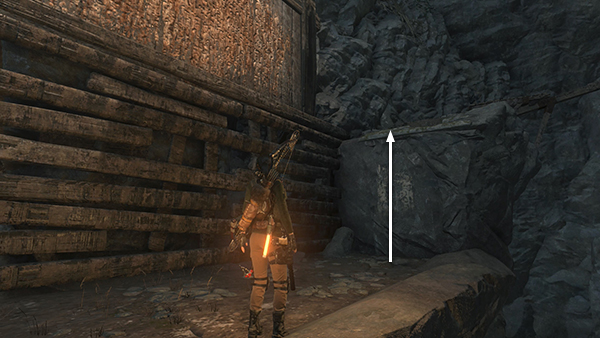
Climb back up.
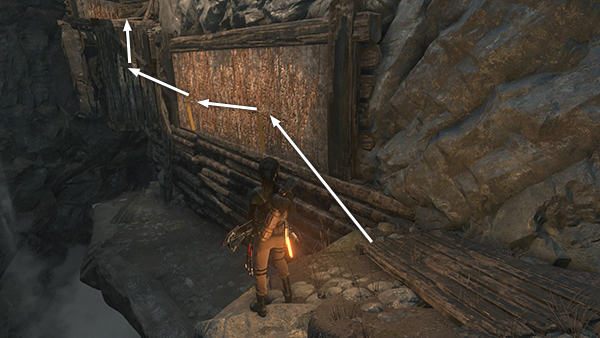
Shoot a few climbing arrows into the long, wooden wall. Jump across and scramble up onto the next ledge.
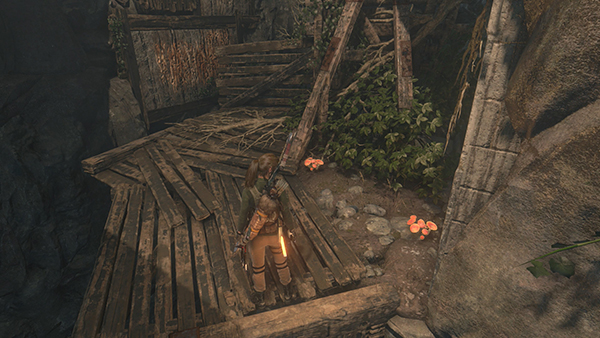
Pick some mushrooms here.
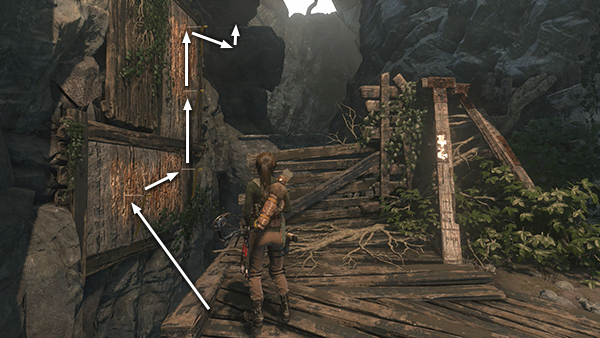
Then shoot 4 more climbing arrows into the wall ahead, so you can reach the ledge above on the right.
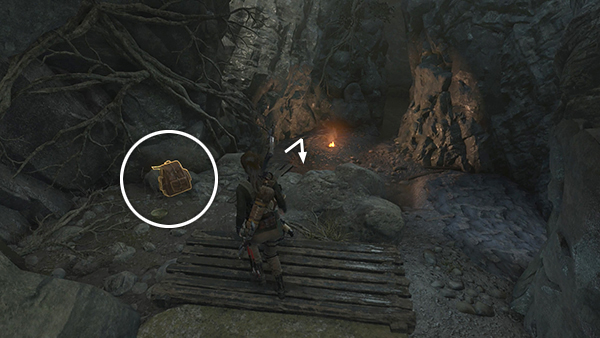
Here you'll find the Explorer Satchel (1/1), which reveals the locations of this level's 3 survival caches on your map. Jump down into the cavern ahead to find the Solemn Crevasse Base Camp.
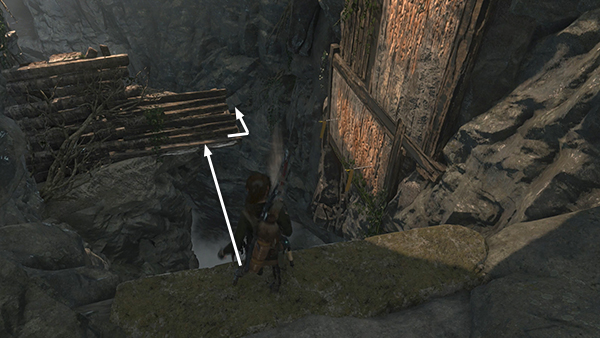
If you missed the first cache, you can jump back over to the previous ledge, as shown above, and then backtrack to get it.
[Return to The Orrery Walkthrough]
Copyright © - Stellalune ( ). All rights reserved. Feel free to copy or print this walkthrough for personal use. By all means, share it with friends, but please include this credit line so people can send me their feedback. No part of this walkthrough may be reproduced on another site without permission. Follow this link for details about this site's advertising and privacy policy.