Mountain Peak - Climbing to the Summit (Part 2)
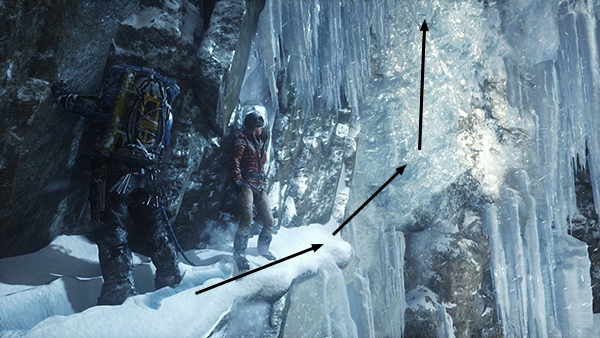
Next comes a brief cutscene in which Lara tells Jonah she has a good feeling about what lies ahead. Then the two prepare to ascend. Where the path becomes a narrow ledge, Lara automatically stands with her back to the cliff wall. Press on the left stick to sidestep along the ledge. At the end, lean then jump to the right and quickly press X to latch onto the next climbable ice wall.
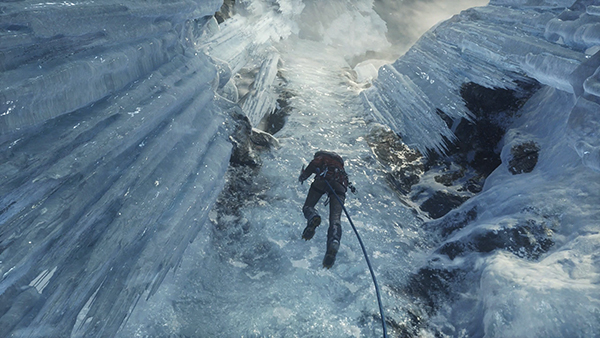 As you climb the sheer wall, Jonah follows behind Lara.
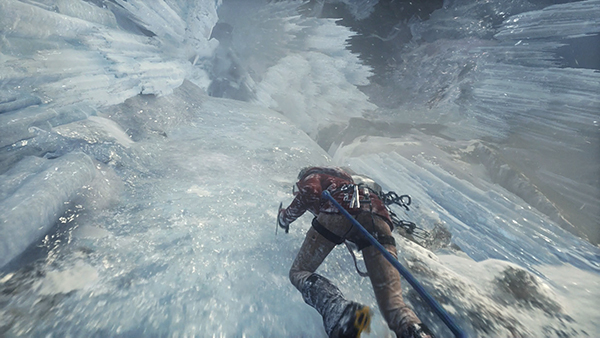
When you near the top, a huge chunk of ice and rock breaks off and plummets toward you. Just stand still as it passes.
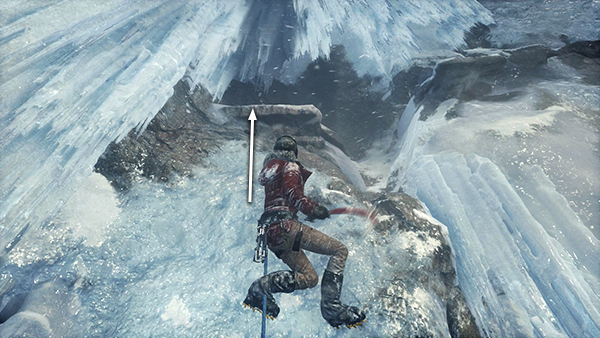
Then climb up as far as you can and jump straight up. Lara automatically grabs the ledge above.
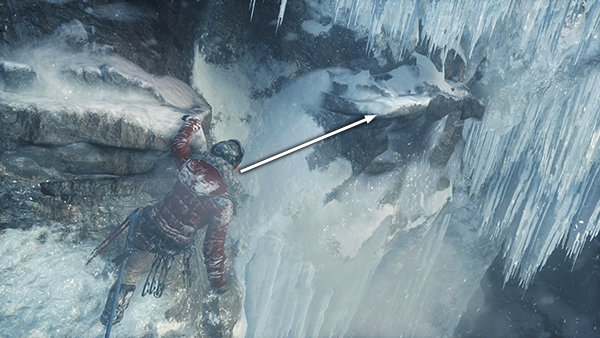
Jump across the gap to grab the next ledge to the right.
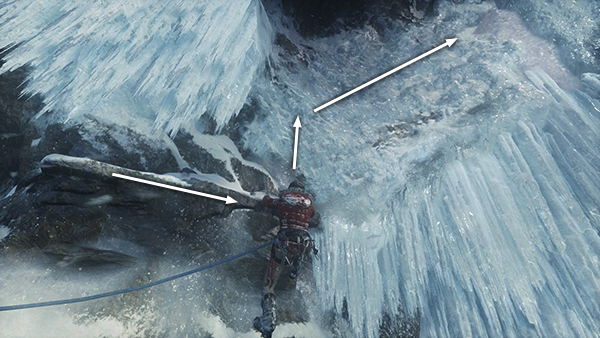
Then jump up, quickly latch onto the ice with your axe, and climb upward then to the right.
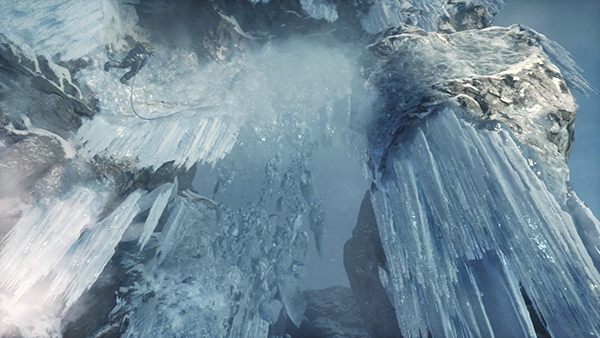
The ice wall shatters leaving a wide gap where Lara was about to climb. Lara tells Jonah she can make it across.
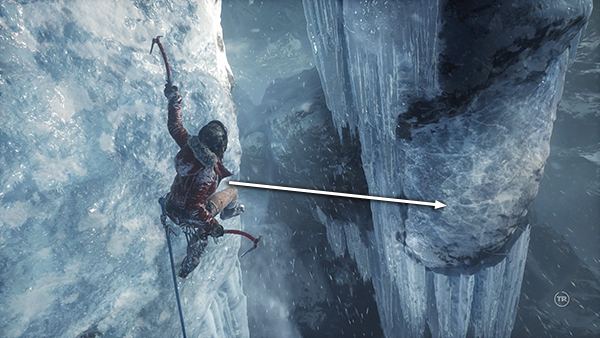
Lean then jump to the right. Hold Jump (A on Xbox controller/Space on keyboard) while in the air for the longest possible jump. Then quickly press Interact (X on Xbox controller/E on keyboard) to latch on with one axe. Due to the long jump, Lara almost loses her grip...
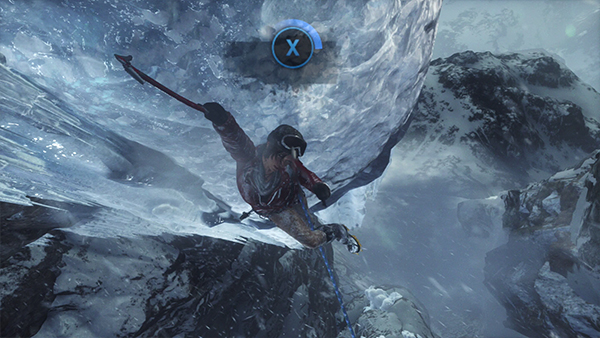
...so you'll need to quickly press Interact again to dig in with both axes so you don't fall.
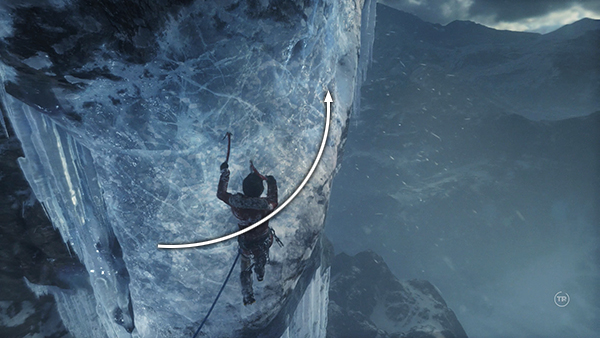
Continue climbing up and around to the right.
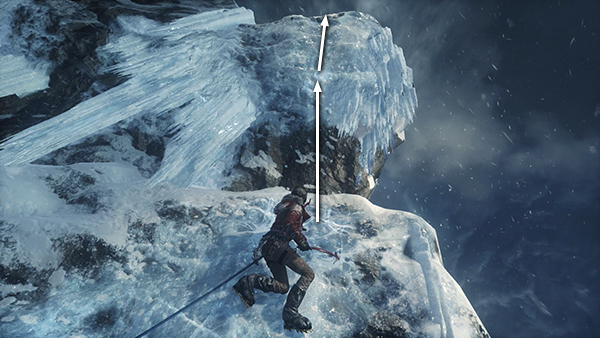
When you can't go any farther, jump straight up and press Interact to latch onto the ice above.
In another short cutscene, Lara climbs onto the upper ledge and catches a glimpse of the ruins ahead. Then a lightning strike causes the ground to shake. Lara loses her grip and falls backward, still tethered to Jonah. Lara takes a hit as she swings into the cliffside but recovers quickly.
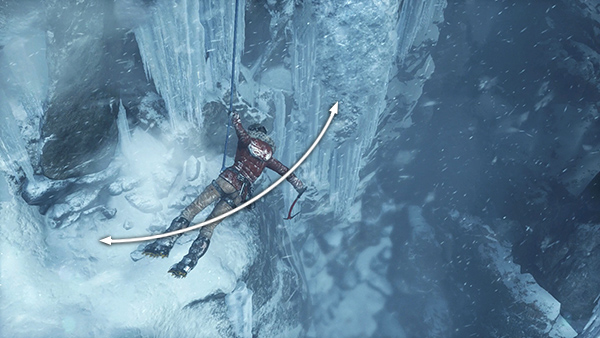
Press forward and back on the left stick or W/S on the keyboard to swing toward the ice wall ahead. When you get close to it, press X to try and latch on with your axe. The first time you get close enough, Lara whacks the ice but can't get a firm hold. Try again.
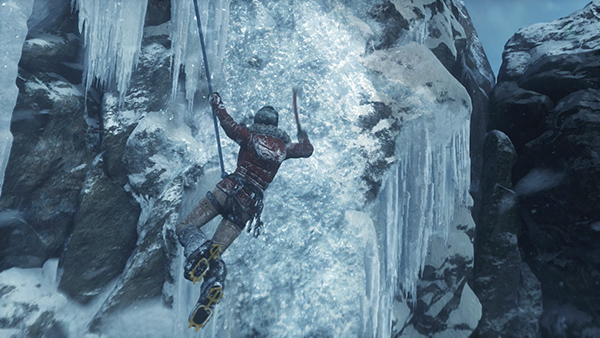
This time she'll latch on.
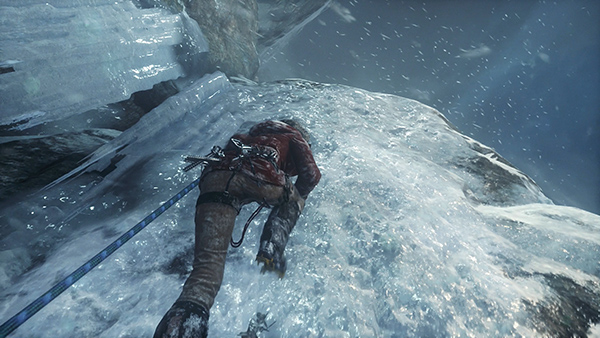
Climb to the ledge above.
[Previous | Next | Return to the Mountain Peak Walkthrough]
Copyright © - Stellalune ( ). All rights reserved. Feel free to copy or print this walkthrough for personal use. By all means, share it with friends, but please include this credit line so people can send me their feedback. No part of this walkthrough may be reproduced on another site without permission. Follow this link for details about this site's advertising and privacy policy.