Logging Camp - Entering the Gulag
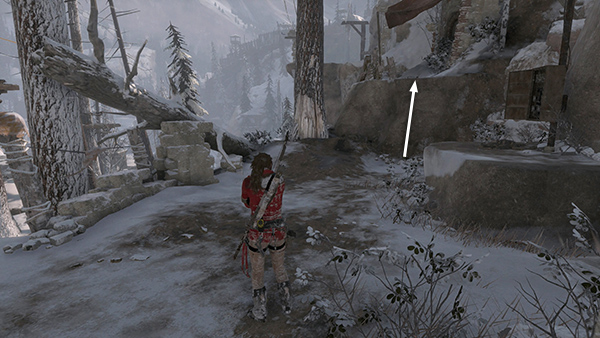
From the Sheltered Ridge Base Camp, climb onto the sandy-colored stone ledge.
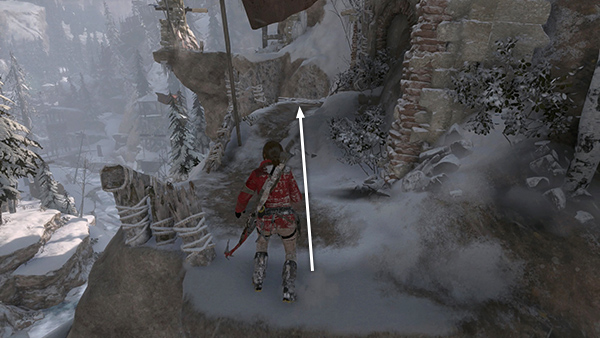
Follow the path westward along the cliffside.
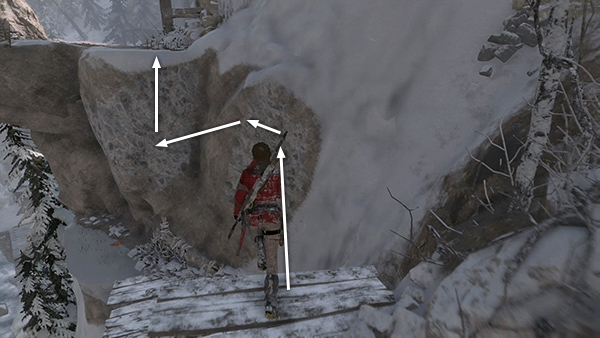
When you come to the edge, jump and latch onto the climbable wall with your axes. Climb upward and to the left. Jump and latch onto the next climbable section to the left. Then climb onto the ledge above.
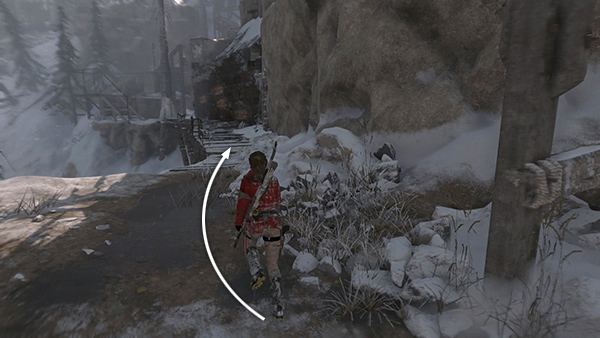
Continue forward to a rickety wooden walkway.
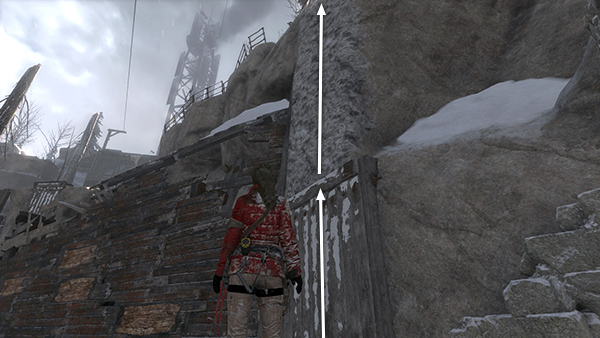
It's possible to run and jump quickly across as the walkway collapses beneath you, but it's much safer to just scramble up the painted wall on the right and then use your axes to scale the climbable wall.
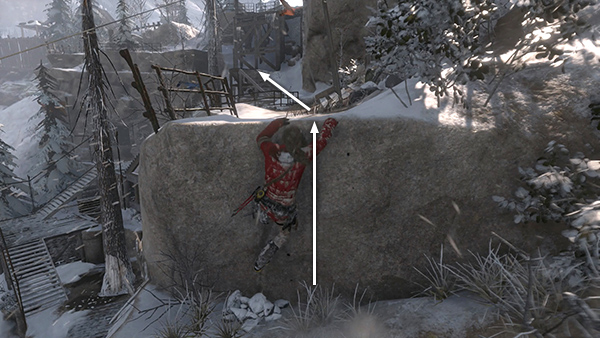
At the top, climb onto the low ledge on the left and continue forward to the wooden staircase.
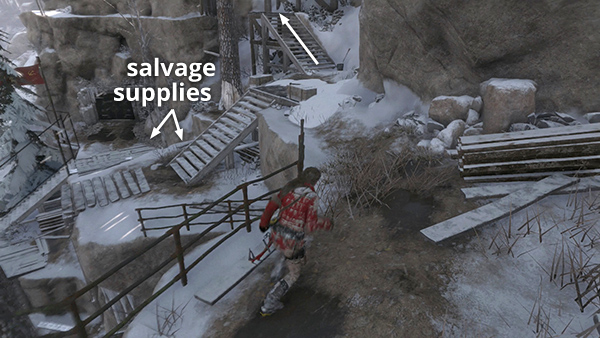
Go downstairs just far enough to find a box of supplies and a salvage crate. Then climb the stairs to the top.
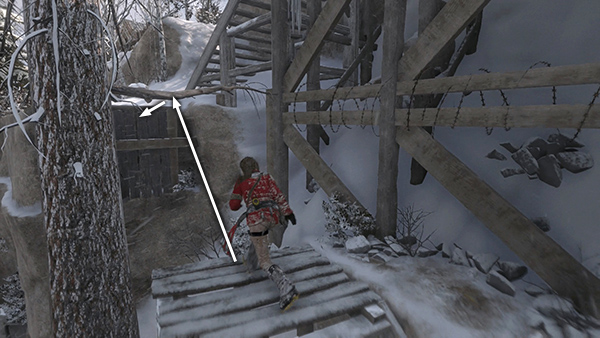
Use the tree branch to swing across the gap and pull up.
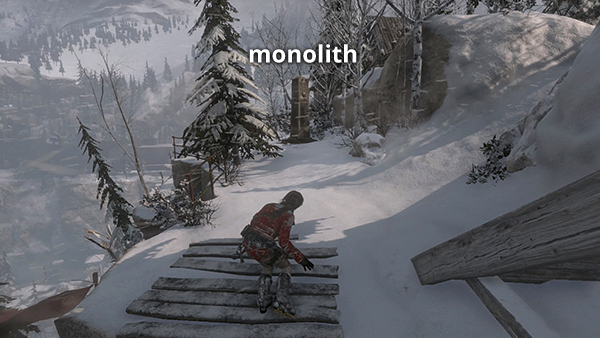
Lara goes into a defensive crouch as she senses enemies nearby. They can't see her from here, so you're OK if you stay quiet. Move forward and examine the monolith (1/3) for XP, Russian language skill, and a map update showing the location of several coin caches.
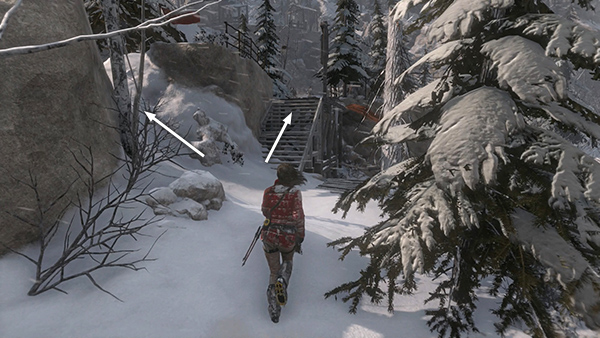
Now turn around and get ready to fight. There are 3 Trinity soldiers ahead. One is standing on the deck of the wooden shack above on your left; the other two are near the campfire at the top of the stairs. If you want to attack aggressively, it's not too hard, since they aren't very powerful.
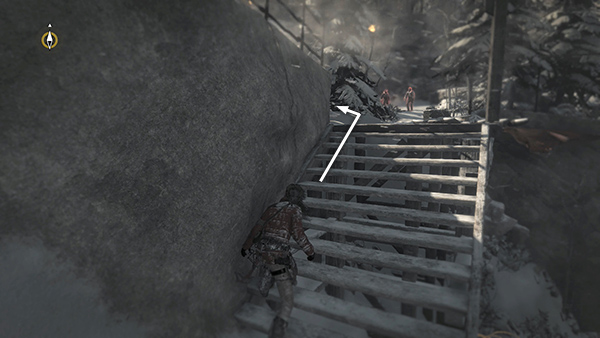
You can probably work out your own stealth approach—there are lots of options—but one possibility is to move up the stairs and duck behind the pine tree on the left.
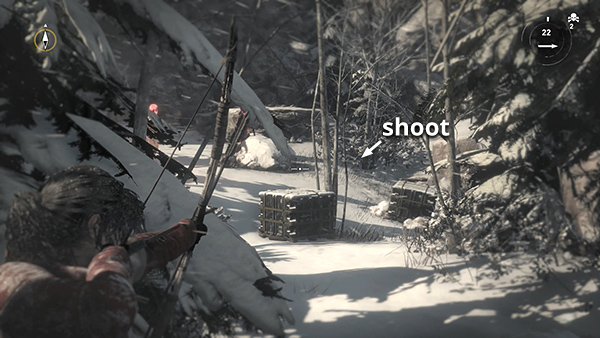
Shoot an arrow into the bushes to the right of the 2 men near the campfire. One should go check it out.
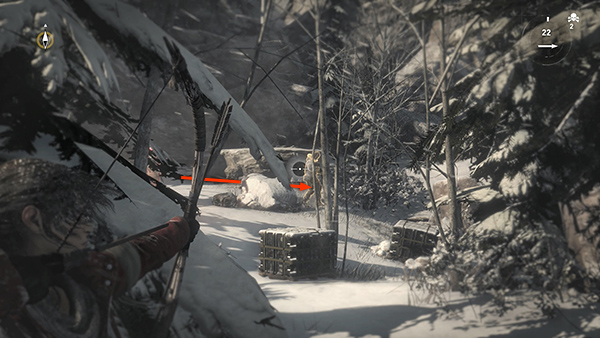
You can then take him out with a silent headshot.
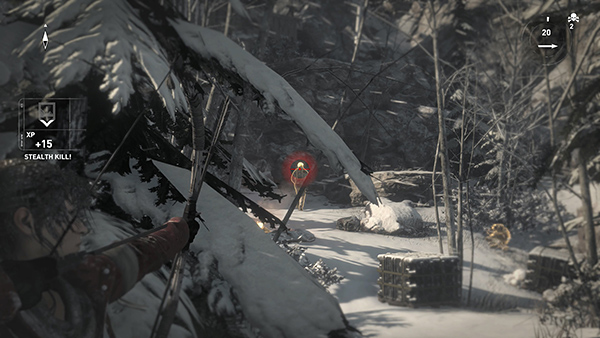
Kill his buddy, hopefully before he notices you.
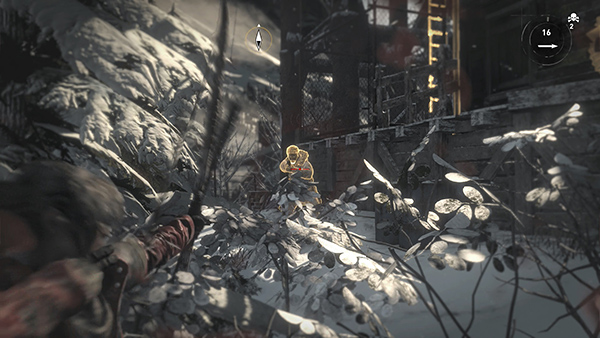
Then deal with the third man near the shack. You can try to stay hidden in the bushes, but this doesn't always work. If he notices Lara, switch to your pistol if you like and kill him quickly.
[Return to the Logging Camp Walkthrough]
Copyright © - Stellalune ( ). All rights reserved. Feel free to copy or print this walkthrough for personal use. By all means, share it with friends, but please include this credit line so people can send me their feedback. No part of this walkthrough may be reproduced on another site without permission. Follow this link for details about this site's advertising and privacy policy.