Geothermal Valley - House of the Afflicted Challenge Tomb (Part 4)
Step back outside and slide down the zip line on the left.
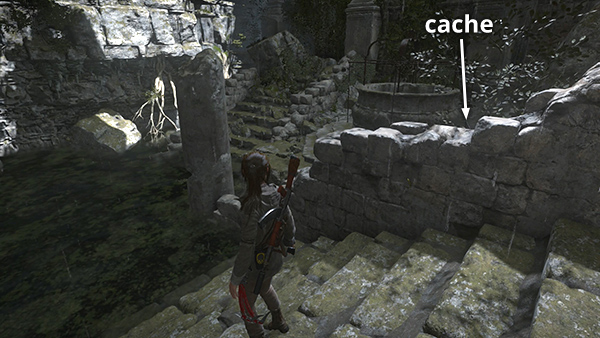
If you missed survival cache #3 on the left near the stairs, get it now. Exit the room through the main door and turn left.
Use the Infirmary Base Camp if you need to. Then continue through the hallway where you found the relic earlier.
This takes you back to the room with the huge metal cauldron.
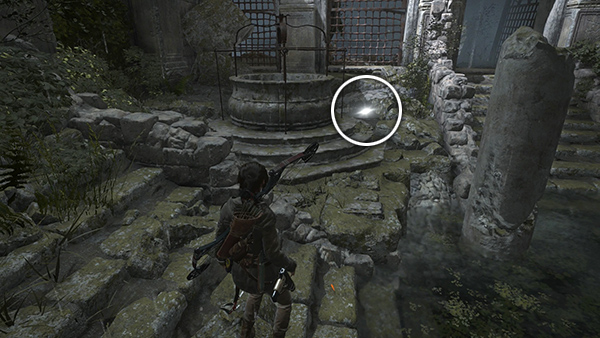
If you missed survival cache #2, get it now. It's buried just to the right of the cauldron (when standing in the middle of the room facing it).
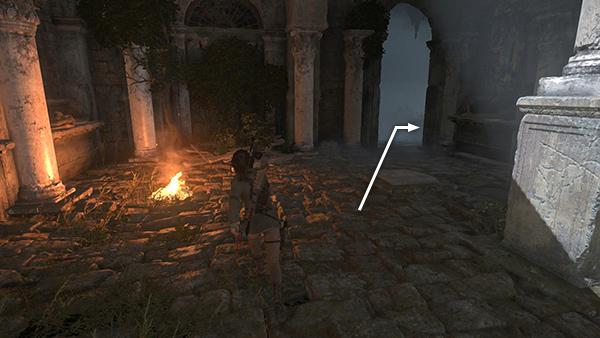
Then follow the passage to the southeast, eventually emerging from the ruins where you fought the wolves earlier.
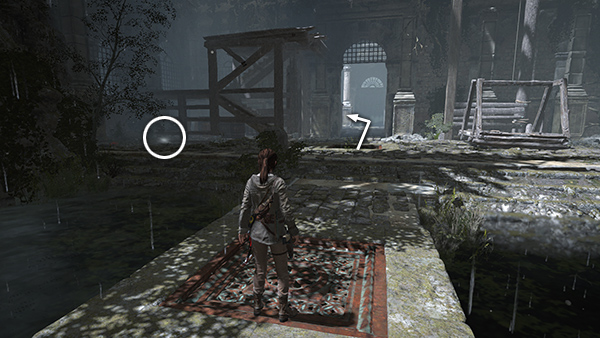
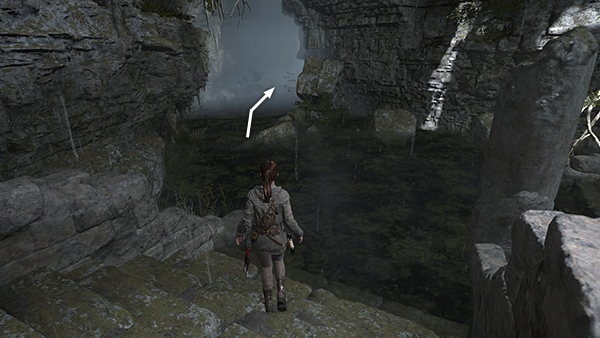
Crawl through the low opening where you first entered this area.
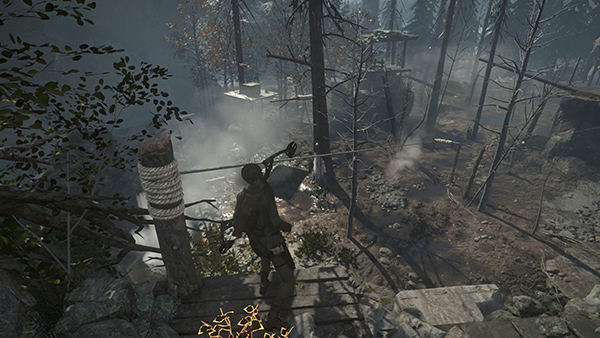
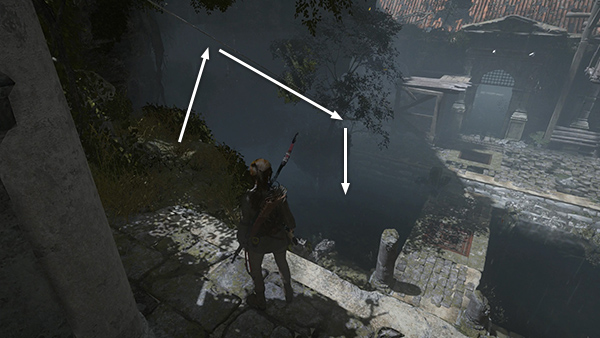
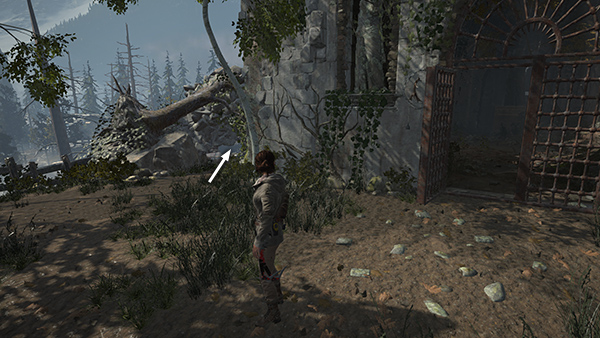
Stand by the rope-wrapped post and shoot an arrow into the beam below and to the right to create a zip line so you can slide down. Pick up the main walkthrough at the section EXPLORING THE LOWER VALLEY.
[Part 3 | Return to the Challenge Tomb Walkthrough]
Copyright © - Stellalune ( ). All rights reserved. Feel free to copy or print this walkthrough for personal use. By all means, share it with friends, but please include this credit line so people can send me their feedback. No part of this walkthrough may be reproduced on another site without permission. Follow this link for details about this site's advertising and privacy policy.